
Index
This tutorial is too large to show on 1 page, so it is spread over multiple pages. Use the links in the index below to go to the page where you want to be.
- Introduction, abbreviations and symbols, and start tutorial 1: click here
- Start tutorial 1, setup and first rows: click here
- tutorial 1: slanted lines, open structures, part 1: click here
- tutorial 1: slanted lines, open structures, part 2: click here
- tutorial 1: slanted lines, open structures, part 3, working at the back side: click here
- tutorial 1: slanted lines, closed structures, part 1, with triangles pointing upwards: that is this page
- tutorial 2: slanted lines, closed structures, part 2, with triangles pointing downwards: click here
- combining structures and summary: click here
- tutorial 3: click here
Video
For the basics with closed structures you can watch this video: https://youtu.be/kFDvaSobZzg.
The instruction chart
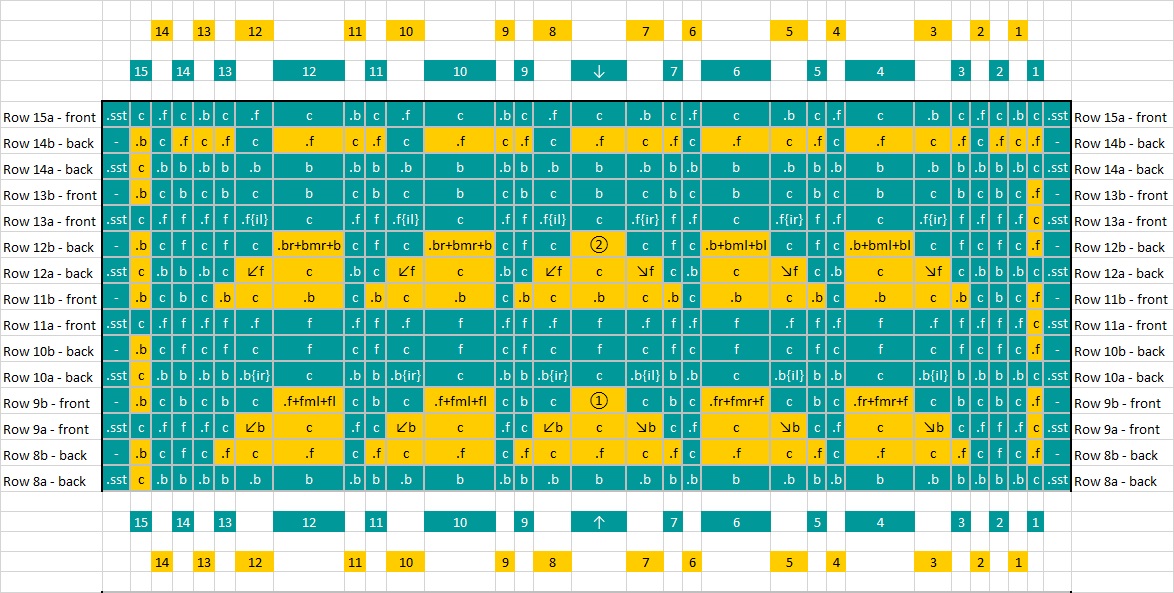
This is the next part of the instruction chart. In this part of the tutorial we will mainly focus on rows 9b and 12b. In these rows you will see new abbreviations, such as fml, fmr, bml and bmr. These are so-called ‘middle’ stitches, to create the closed structures. It’s actually solid squares for triangles :-).
In the instruction charts you can see that not every column is the same width. That is because some instructions simply contain more characters and thus require more space. Some instructions are very long, so I have replaced them with, for example, ① and ②. This is simply explained in the legend to the instruction drawing, so you don’t have to memorize it, and it can also differ per pattern. In this case, these are the instructions for the instruction chart.
①: fr+fmr+f+fml+fl
②: br+bmr+b+bml+bl
Row 9b
|
Notation: Row 9b – front f, b 2x, *([fr+fmr+f], b)* 2x, [fr+fmr+f+fml+fl], *(b, [f+fml+fl])* 2x, b 3x You will now understand many of these instructions. The instructions now also include ‘fmr’ and ‘fml’. These are ‘filling’ stitches as you see with solid squares, where you make stitches between the mesh stitches. Until now, with combined stitches you worked in the mesh stitches of the row below. The ‘fmr’ and the ‘fml’ are made between the mesh stitches. These stitches are regular double crochet stitches! So not extended. This gives the best result, the structure will not become a thick ‘blob’. The stitch has enough stretch to accommodate the slightly longer length (because it is of course slightly diagonal). Watch the video or photos below to see how to make the stitches. |
Here are some more screenshots from the video. Sorry that not all photos are sharp, the software I use to take the screenshots cannot always pick it up properly. Click on the photos to see them in their entirety and full size. Btw, these are screenshots from my videos of my Dutch channel.
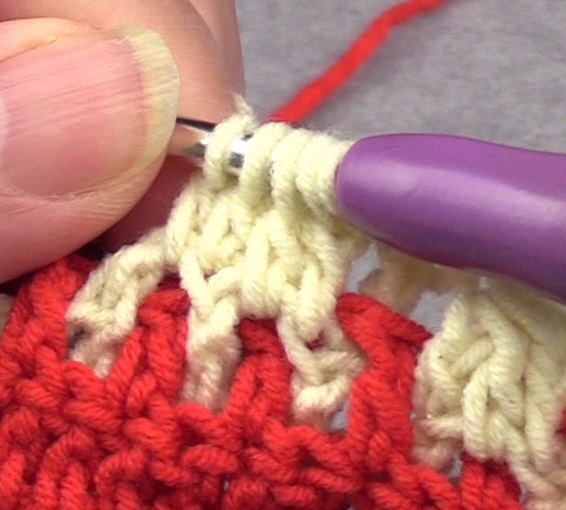
 This is the starting situation for the first [fr+fmr+f].
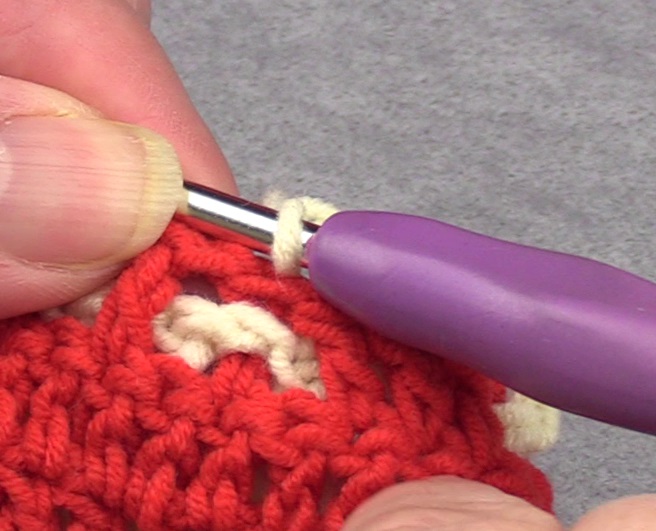
 Here you can see the position where you need to insert. This is where the last stitch of the b 2x is also made. This is the same as with the open structures. You work the first stitch towards the right, after the in-between chain.
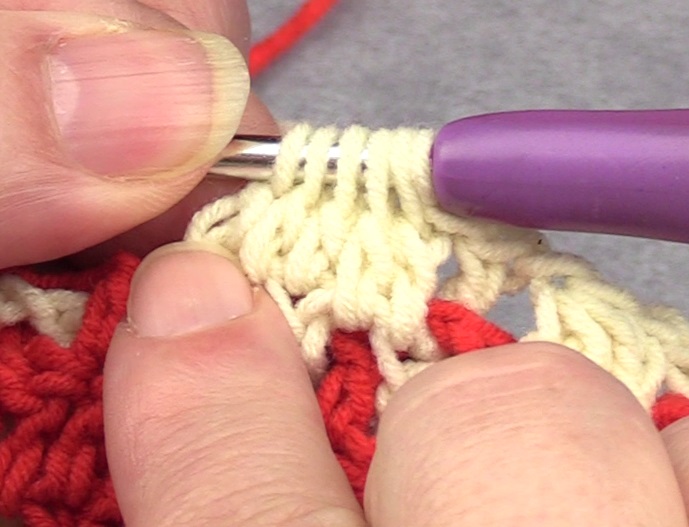
 The ‘fr’ has been created. This is an extended dc. We have a combined stitch here again (because of the square brackets), so you don’t complete the stitch.
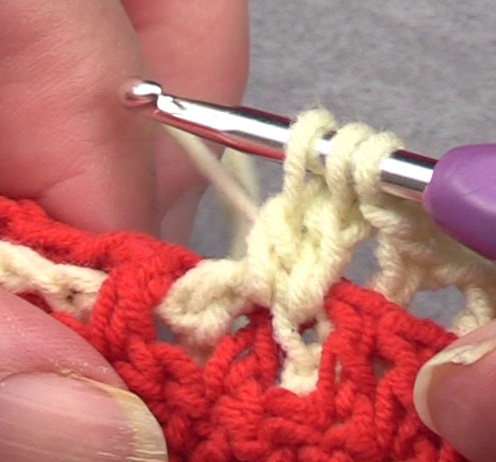
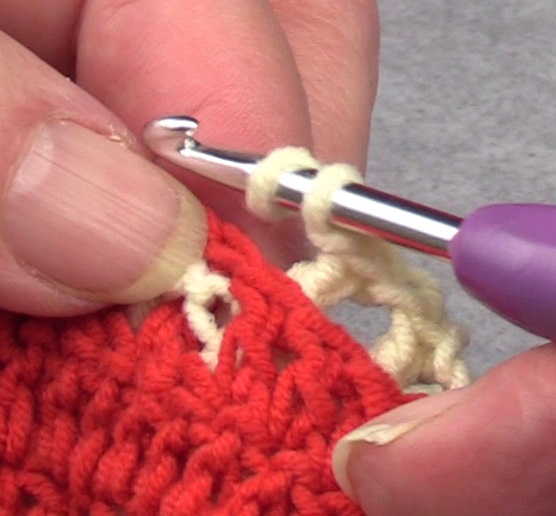
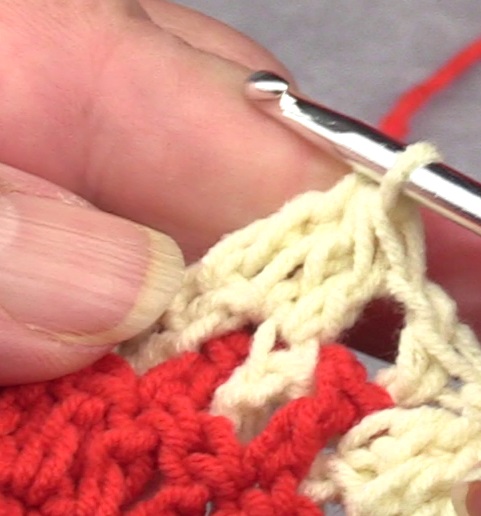
The ‘fmr’ was made here. You can see that this was made in the chain opening. This is a dc (so not extended!), and you do not finish it.
A ‘fmr’ may need to be created in an underlying dc. This is the case if you have made a part of solid squares in color 2 in the row below. This is not a mesh stitch but a ‘filling’ stitch that you have to work into.
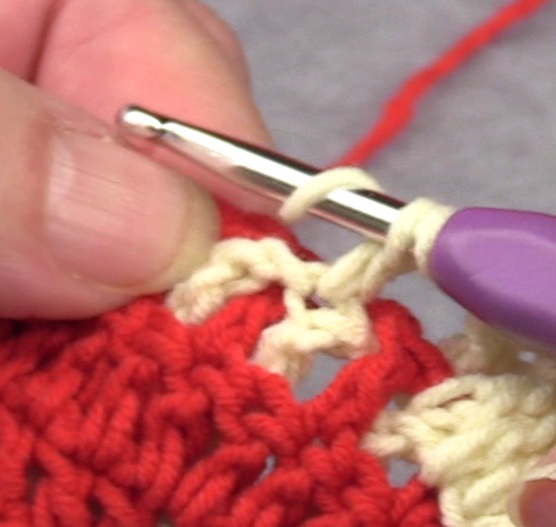
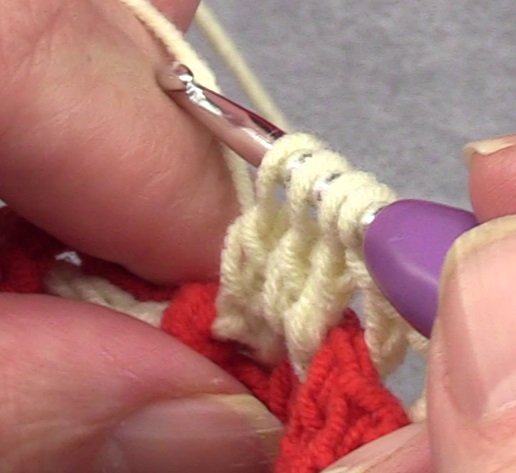 And here is the ‘f’ made in the next mesh stitch.
 The stitch is now completed.
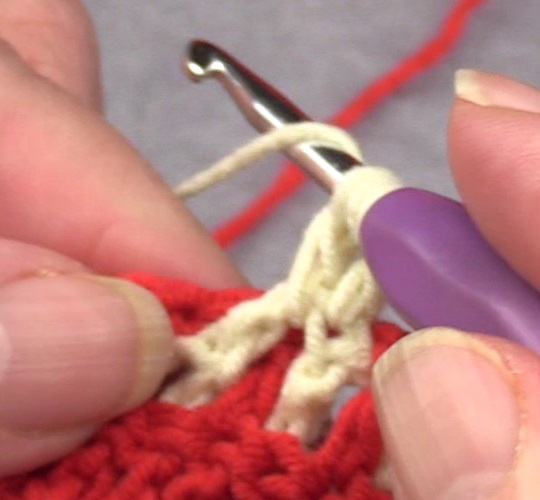
 This is the beginning of the [fr+fmr+f+fml+fl]. The first part, the fr+fmr+f, has already been made here.
The ‘fml’ is now worked to the left in the next chain opening. An ordinary dc. Do not complete the stitch.
A ‘fml’ may need to be created in an underlying dc. This is the case if you have made a part of solid squares in color 2 in the row below. This is not a mesh stitch but a ‘filling’ stitch that you have to work into.
 And now the ‘fl’, an extended double crochet in the next mesh stitch.
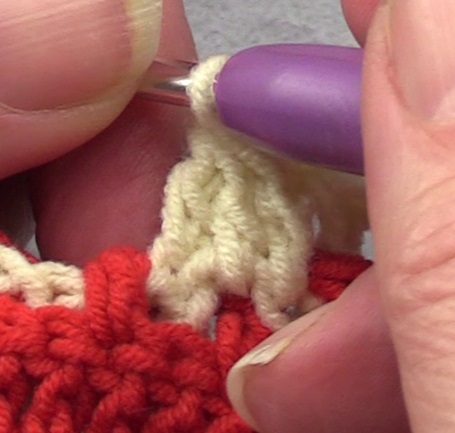
 Now crochet all 5 stitches together, here you see the result.
 This is another [f+fml+fl]. The first stitch, the ‘f’, a double crochet, has been made.
 The ‘fml’ is now made in the chain opening. An ordinary dc.
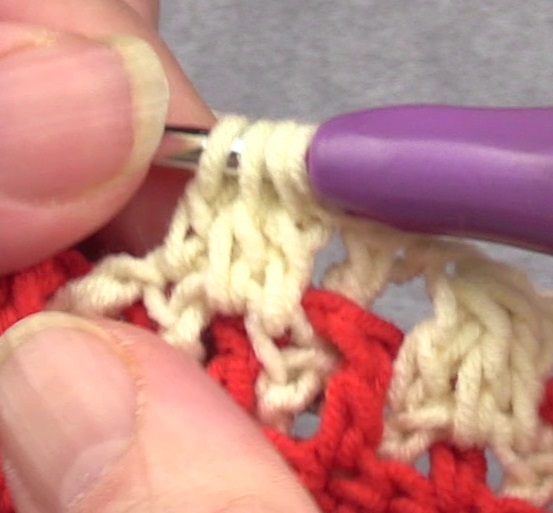
 And here the ‘fl’ has been made, an extended double crochet, and all 3 stitches have been worked together.
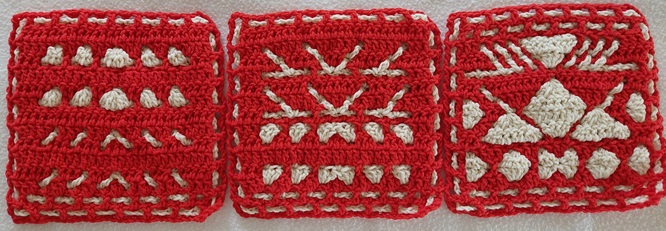
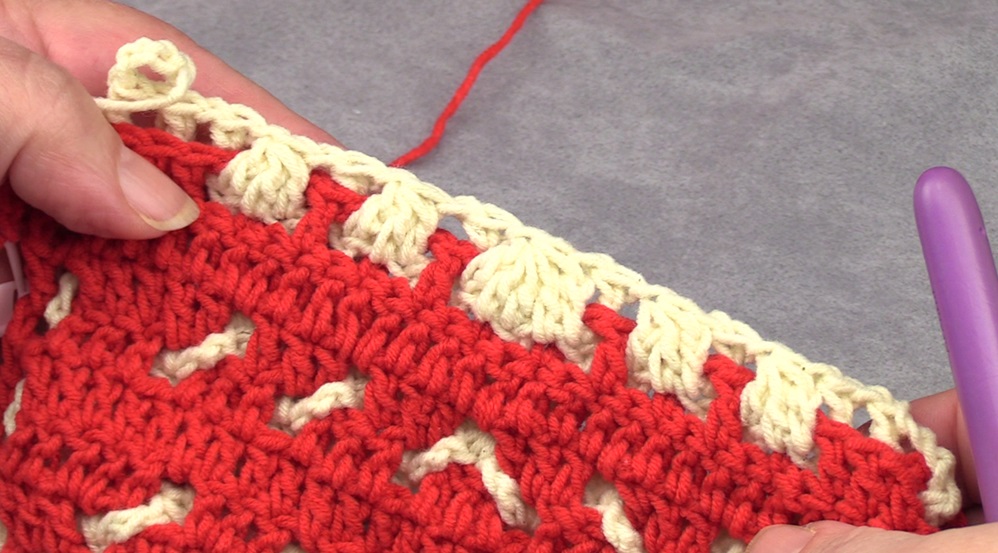 This is the result of row 9b. Here you can see again that the slanted sides do not look very nice yet. But that will be fixed in the next round!
In row 10a you will again encounter instructions with {ir} and {il}. That works the same as before. These make the slanted lines look neat.
Row 12b
|
Notation: Row 12b – back: b, f 2x, *([br+bmr+b], f)* 2x, [br+bmr+b+bml+bl], *(f, [b+bml+bl])* 2x, f 3x This is again the same notation as before. The ‘bmr’ and the ‘bml’ are new. You now work the middle stitches at the back of the piece, the front of the piece. The ‘bmr’ and the ‘bml’ are regular dc’s. They are made in a chain space between 2 mesh stitches or in a filling stitch if the row below in color 2 is a part of solid squares. Watch the video how to make the stitches. But I think you know how to do this now. |
Closed structures, but with the point downwards
In this part we did the closed structures worked in multiple stitches at the bottom, resulting in one stitch at the top. In the next part we will do it the other way around. Click here to go to the next page.
Video