
The border
The border is made by doing 2 rows. First with color 2, and then in color 1.
I’ve chosen to do the border in color 2 in light yellow, all the way around. You could also choose for doing the border in the color of the block that you go around. In this case you have to switch colors of course, but this can be done in the normal way when doing a color change in crochet. This means that when doing the last dc in a color, you will work the stitch until you have just the last 2 loops on your hook, and then finish the dc with the yarn in the new color.
 Put your work with the front side up! The border in color 2 will be made just like the first row in color 2, but this time at the front side of the work. This makes that the v-stitches on the top will face you nicely and face the same way as the next border.
So crochet BPdc’s with in-between-chains and work into the last low border in color 2 of each block. Crochet 3 chains in the corners, to get a nice rounded corner. I started crocheting at the corner where color 1 still was attached after the last block. Use a standing BPdc there as the first stitch.
 I worked a bit in color 2 and then a bit in color 1 on the second border. I didn’t cut off my yarn in color 1 after the last block, but just did 3 chains as a first dc. Now crochet with color 1 along the border, and use BPdc’s instead of BPedc’s that you were used to do when doing the first row in color 1 for the blocks, and of course with the in-between-chain. This makes that the white border is laying just a bit closer to the yellow border. Here you see the corner. Make a regular dc just before and just after the corner, with 3 chains in between them.
 This is how it looks when a corner is done. Rounded nicely.
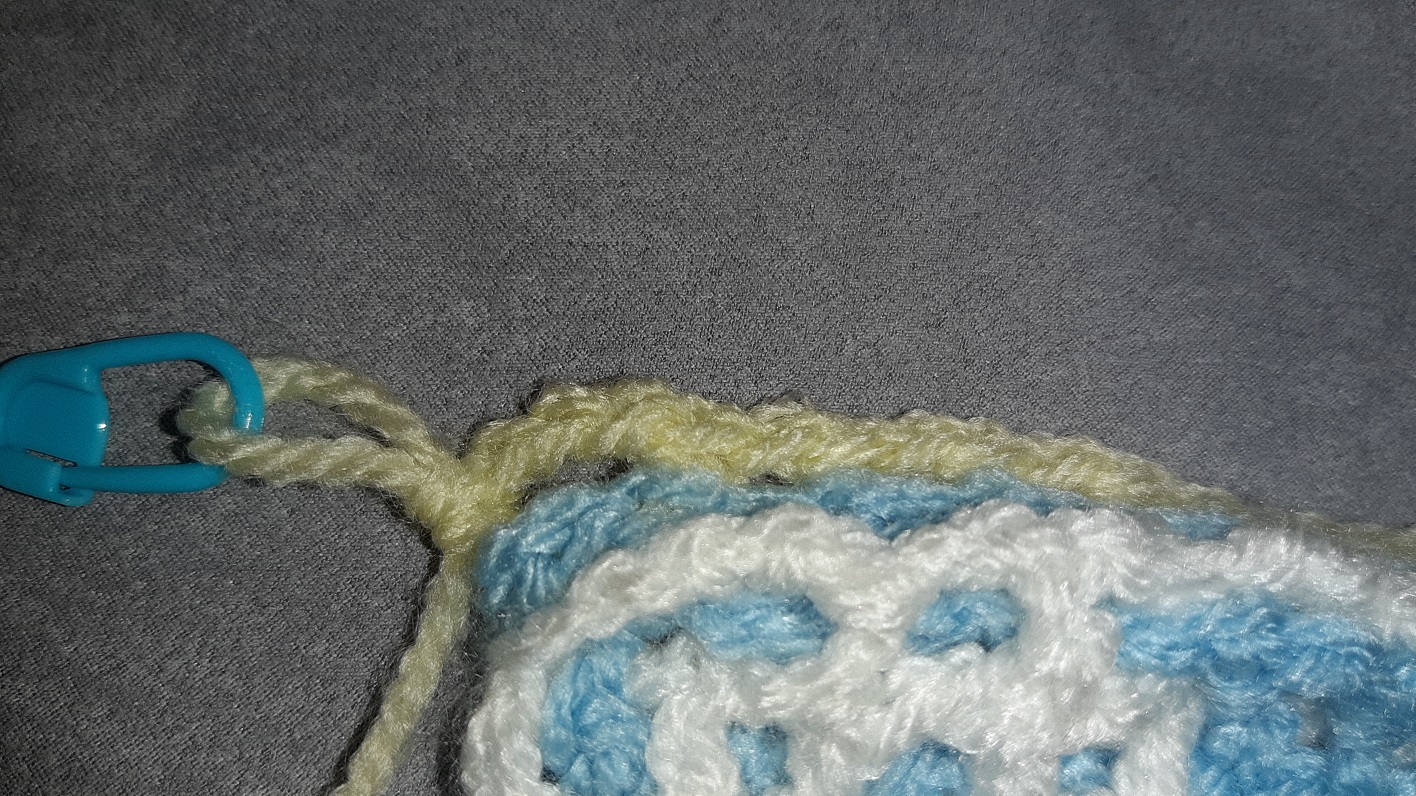
 When you are finished doing all sides in color 2 and have come to the corner where you started, you have to pay attention, when closing the row, that you go in front of the white dc, so that this falls nicely to the back. I made 2 chains here, and the third chain will be made invisibly by needle, by going under the v-loops of the very first stitch, going back into the last made chain, and then back to the left (the way in which you crochet) to finish the end.
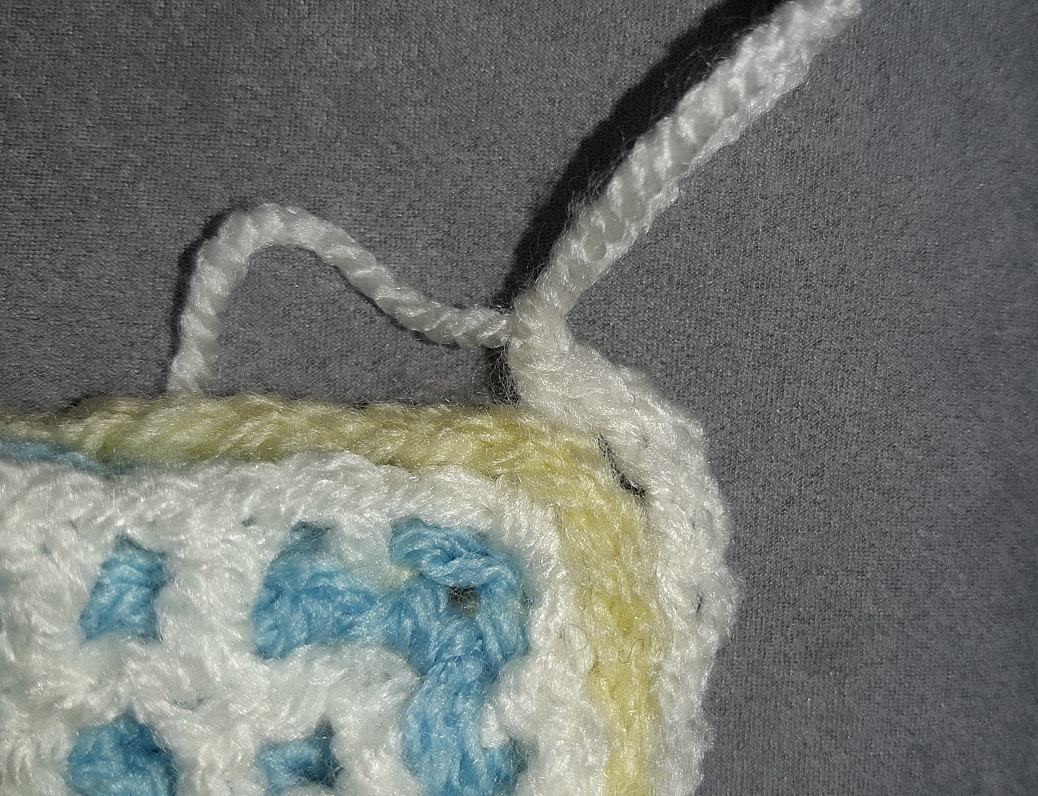
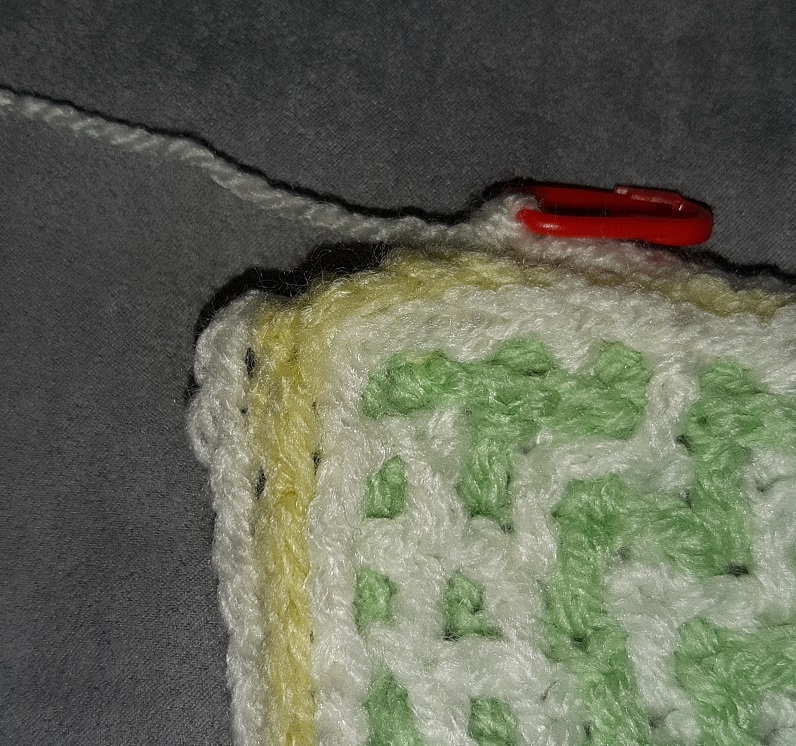 Here you see the result, the white dc is at the back.
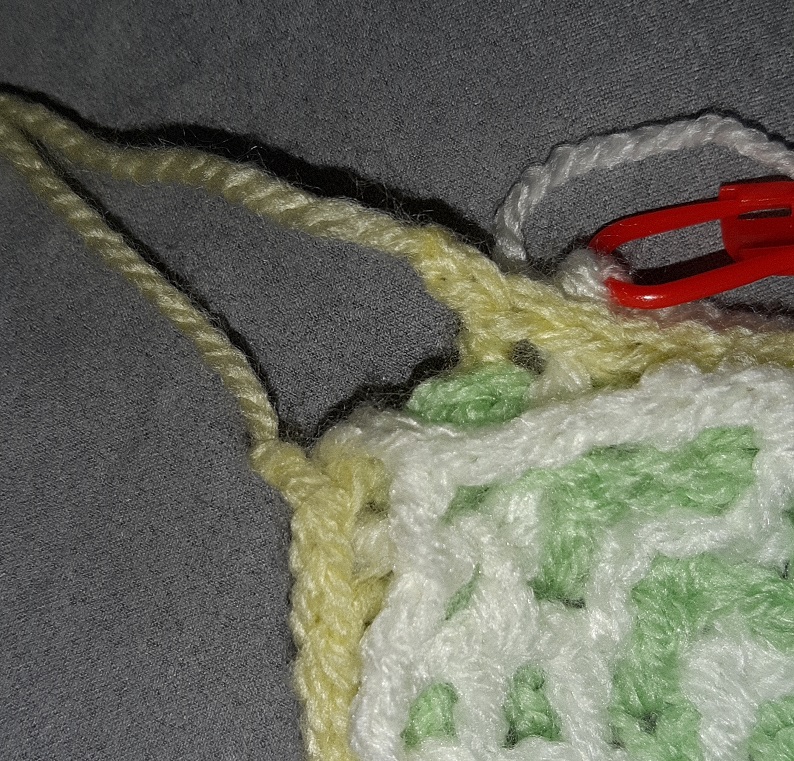
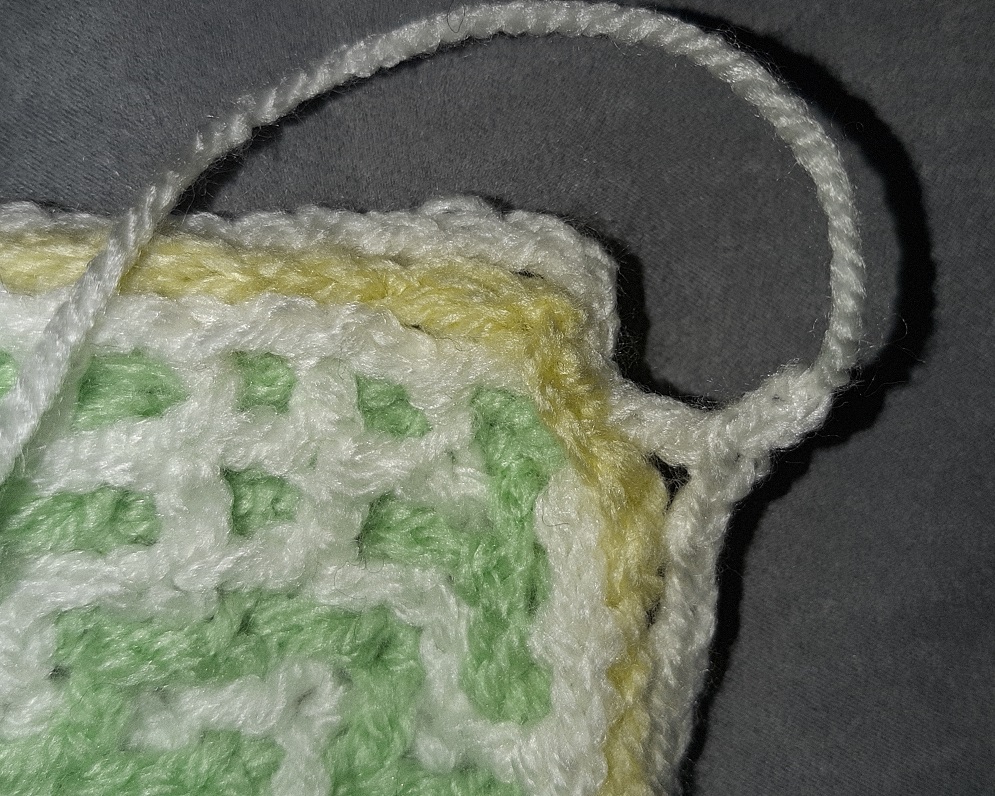 Crochet after the last dc in color 1 in the corner another 2 chains and make again the last chain by needle.
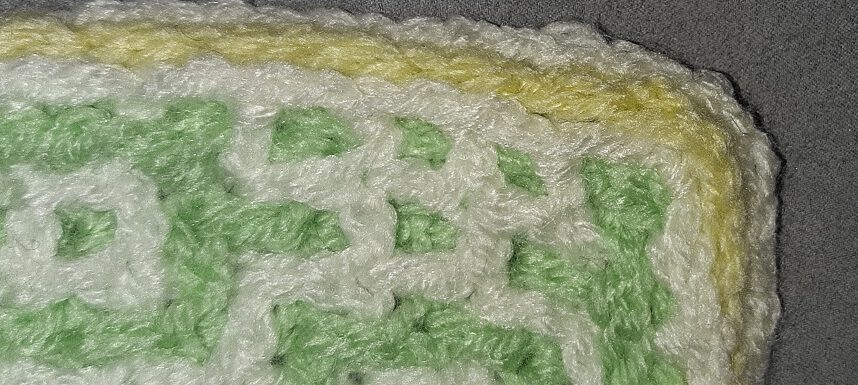
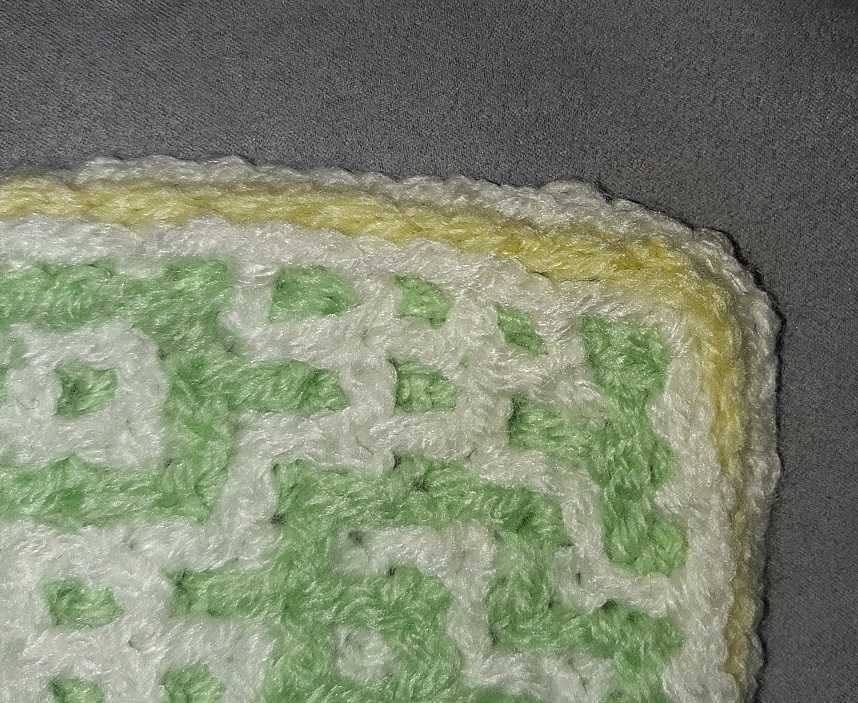 The border is now finished! This is how the border looks at the front.
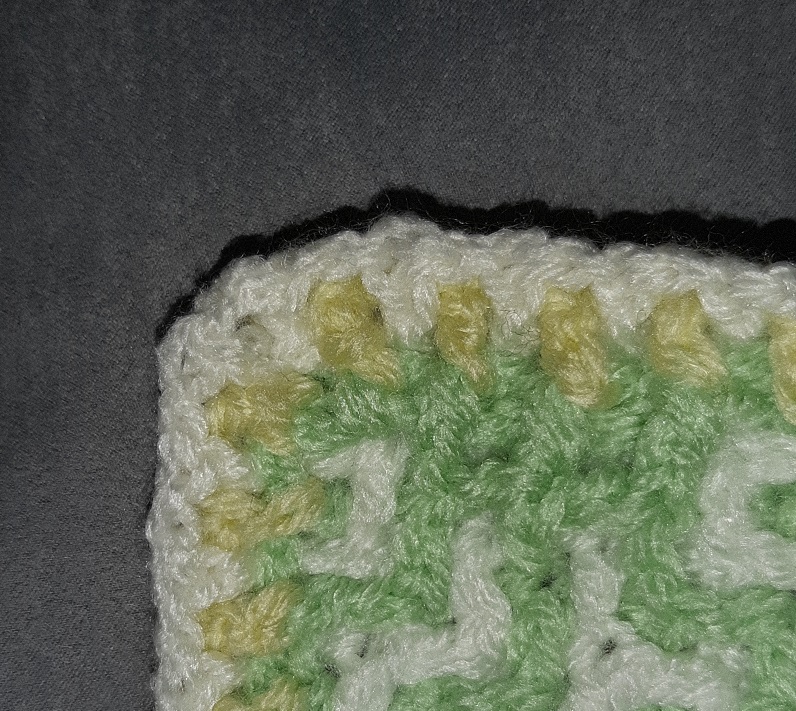 And this is how the border looks at the back. If you don’t like to see the stitches in this other color, you can prevent this by crocheting with the color of the block.
The End
I hope with all of my heart that you enjoyed making the blanket! I also hope that you found it fun to do interwoven crochet just a little bit different, with lots of colors. Please share your work on the Facebook-groups (see the overview page), because it is great fun for me to see which color variations you have chosen!
See you at the next project!