
Hi! Although almost all information is on the info page of the interwoven version (click here), I decided to make an extra page with some explaining. So please continue to read.
The technique
 You will find the explanation of the technique with the practice piece. There you will find the download of the patterns and the links to the videos with the explanation.
Link to the practice piece: click here.
Yarn usage
Pay attention: this information is for the mosaic crochet version!
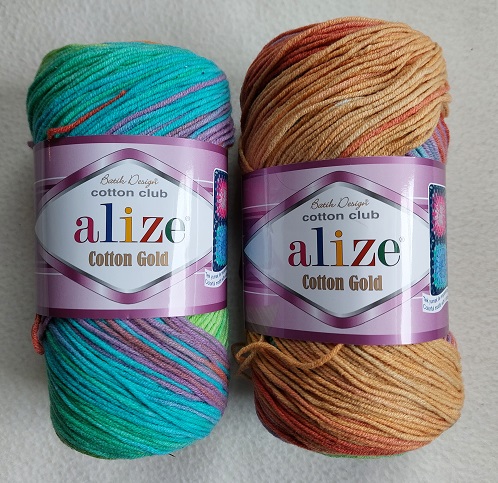
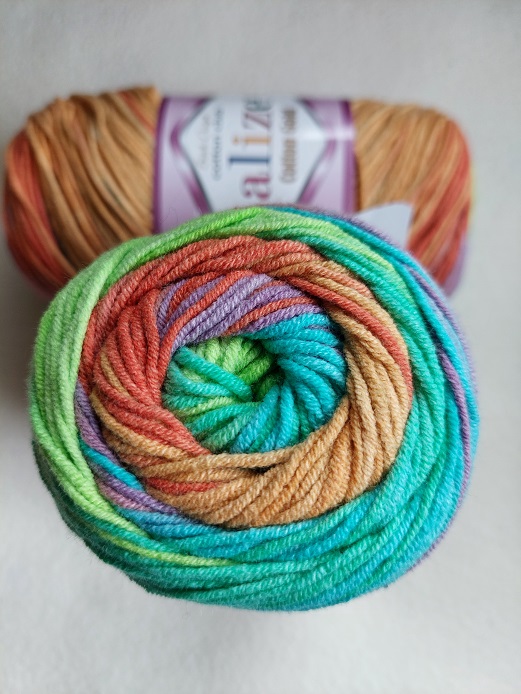
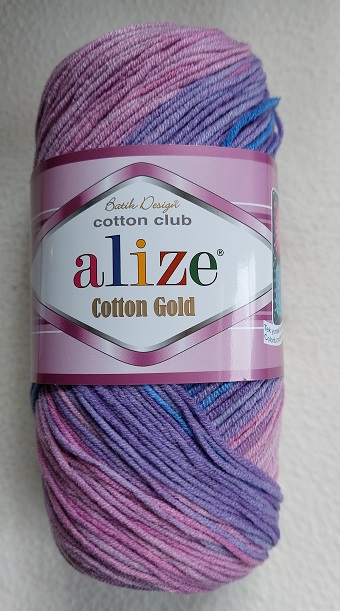
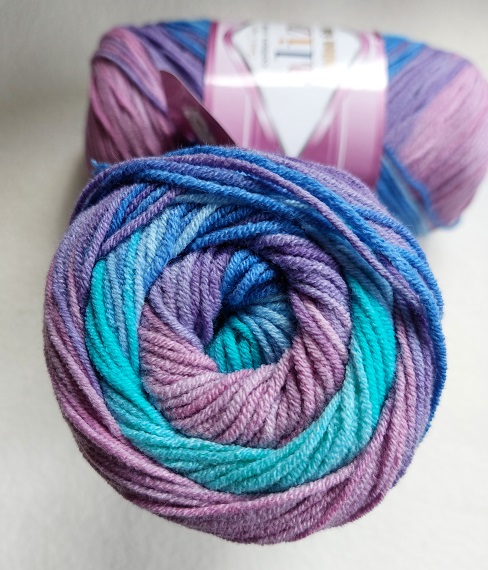
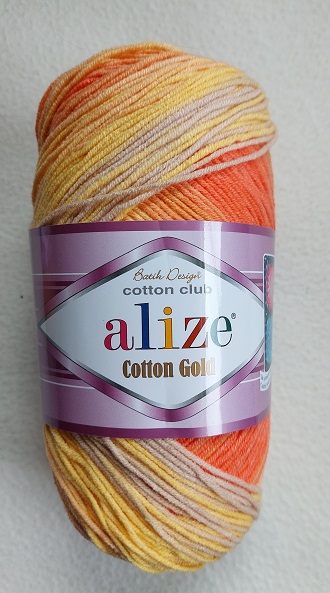
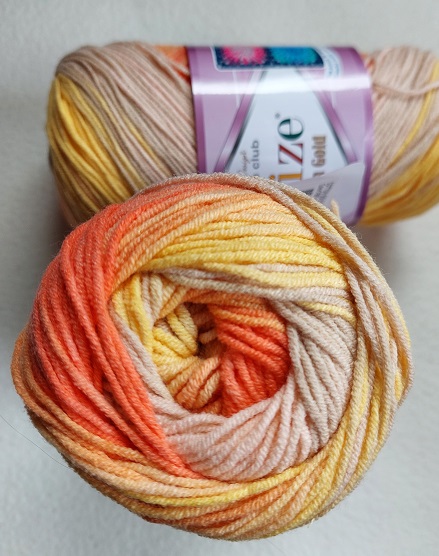
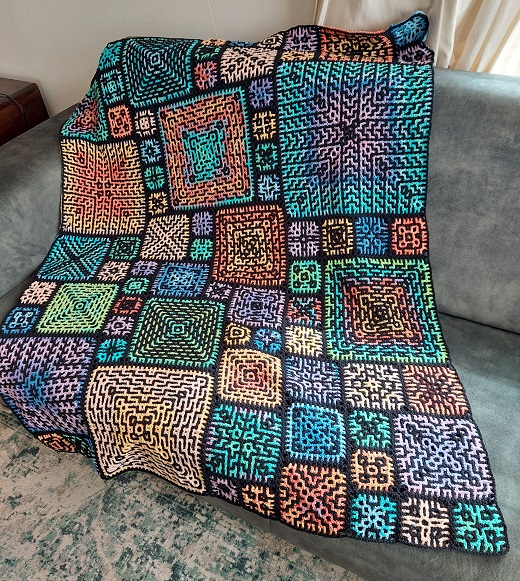
For this blanket I used Alize Cotton Gold, Solid and Batik. If you want to use different colors, then choose colors that have a good contrast. Use one color overall for the background. I used Alize Cotton Gold black.
Overview of the batik colors I used
The small version
For the small version you need 2 balls of each batik color:
Alize Cotton Gold Batik 4530, 4531 and 7687.
You need 6 balls of Alize Cotton Gold Black 60.
The size of the blanket is about 138 cm x 115 cm.
The large version
For the large version you need 4 balls of each batik color:
Alize Cotton Gold Batik 4530, 4531 and 7687.
You need 11 balls of Alize Cotton Gold Black 60.
The size of the blanket is about 138 cm x 220 cm.
The usage for the practice piece is included. Do take 1 extra ball of white if you don’t want to reuse the blocks for the blanket!
The balls are 100 grams and have 330 meters working length. It is a 55% cotton and 45% acrylics mix.
I used hooksize 4 mm.
Please do the practice piece first, to check your yarn usage.
Note Well With these amounts of yarn you will have enough to do ‘cherry picking’. I ‘tweaked’ picking the colors of my blocks by sometimes skipping parts of the batik yarn, to get to the place I wanted to be. I have specified how much yarn each block uses for each color in a separate file, so you can make an ‘educated guess’ how the colors will look eventually. For the blanket you will surely have leftovers, but this is a creative process in which you decide which batik color you will use for which block. This could mean that you will use up almost everything of one batik color, but will have quite some leftovers of another color. The given amount of yarn gives you enough freedom of choice to your taste, but do keep an eye on the usage. Simply make a nice set of cushions or a baby blanket from the lefovers. When you’ve done the CAL you will see how easy it is to combine blocks yourself and create your own design.
Do you want to create your own design or use another yarn?
If you want to know how much yarn you need for a different design, for example by using the blocks differently or for a cardigan or a shawl, you can calculate how much yarn you need using the info I supplied for the yarn usage. But suppose you want to use another yarn, then you can calculate how much you need per block. This is in the paid version of the pattern, with all info and the explanation how to calculate.
Does it look the same as the interwoven example?
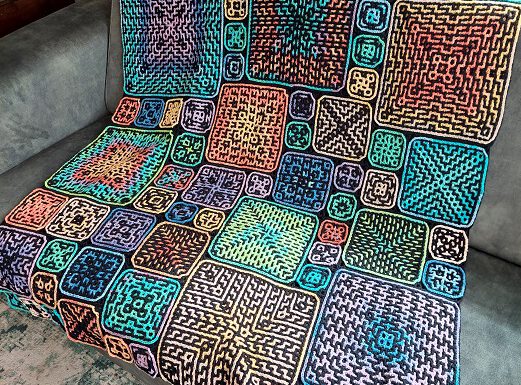
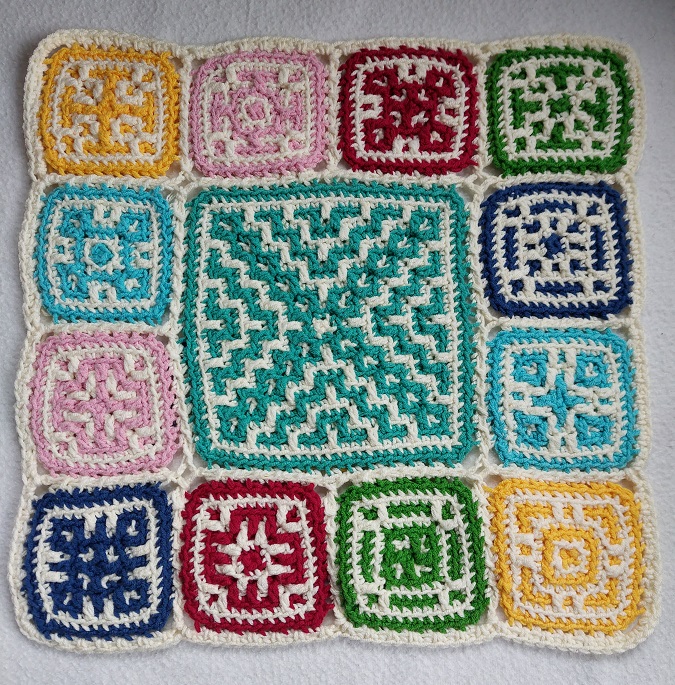
 Well, of course mosaic crochet has a different structure, that is definitely true. But do compare the pictures of the two practice pieces. Doesn’t look so much different, does it? I find interwoven to have a more ‘defined and bold’ look, mosaic has a more ‘delicate’ look. Both are beautiful! And here you also see a part of layer 5 of the blanket in mosaic.
I figured out a way to do the setup for the center of the mosaic version that makes it look exactly the same as the interwoven version! The patterns of other designers are mostly done with one color in the center, which is actually a bit easier, but that would have meant I had to alter the patterns if I would do it that way. And that was not what I wanted, because I wanted to make it exactly the same. So simply try it, especially if you’ve done mosaic crochet in the round earlier.
Do interwoven anyway?
If you look deep into my heart, I say: do this! Because, when you see the back of the interwoven version, you will see this is also very beautiful! Really worth doing this! I’ve heard this from everyone that I showed my blanket, they are amazed every time that you get such a fun result on both sides with the interwoven technique.
I sometimes hear people find doing interwoven hard. But when the coin drops, it is so easy! Really. The very first time I did an interwoven project, in 2018, I was a bit scared I made something that was too hard to do. The technique was fairly unknown at that time. When I read the comments at the start of that CAL, I sometimes felt really discouraged. But then the comments started coming of people that persevered! And almost without exception they were very enthusiastic! I therefor want to encourage you to take a look at the videos! Just try it, there’s no hurry. Surely, I do recommend to start with the beginner tutorials, and you can try the practice pieces of the previous CALs. These are all available on the website, with accompanying videos. But maybe you will find interwoven in the round easier! I really tried to explain it as clear and simple as possible, although I assume that you are already familiar a bit with interwoven crochet. So, give it a try!
Wishing you lots of fun crocheting this blanket!