
This tutorial is split up in several parts because of the many pictures.
- page 1: introduction and first row: that’s this page
- page 2: the next ‘increase’-rows: click here to go to the page
- page 3: the ‘decrease’-rows and finishing: click here to go to the page
Introduction
The following tutorial can of course also be used for other crochet or knitting projects. It’s a very simple method where you do only single crochets, and first do a couple of rows with increases, and after that a couple of rows with decreases. Next you attach the order to the crocheted work, and voila, ready! But I will show you this here in detail and of course I will show you what to do with the starting- and ending-threads of the mosaic crochet.
You can, like I do here in the tutorial, do your single crochets (sc) just in the top loop, like with the mosaic crochet. You can also do sc’s the ‘regular’ way, so by working through 2 loops of the previous row. In this case you have to work a row at the front, turn your work and work the next row in the back and repeat this. This way you will prevent the work getting slanted.
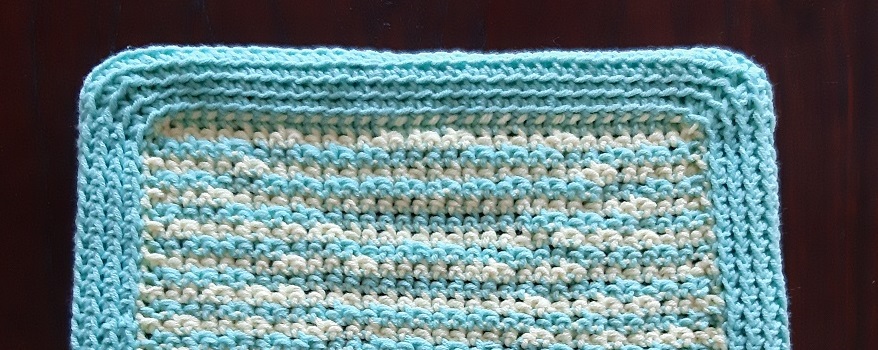
I’ve used the practice piece of the mosaic crochet tutorial. If you look closelu you will see a row with errors, for which I will make a tutorial how to fix this. It is better to frog a row like that, epecially if you have to take away dc’s, but I will address that later in the that tutorial. See the menu if the tutorial is available yet.
Click on the pictures to see them fully and full size.
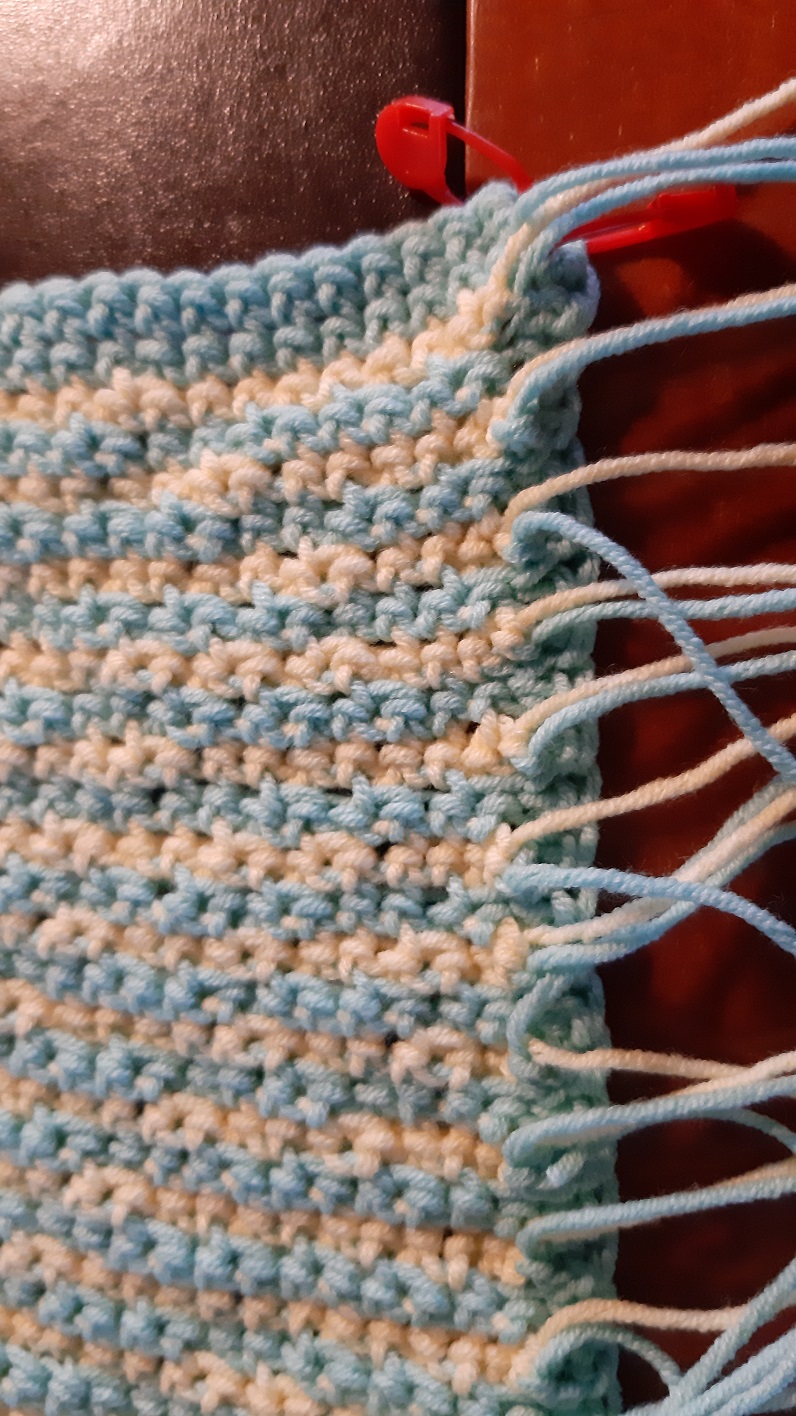
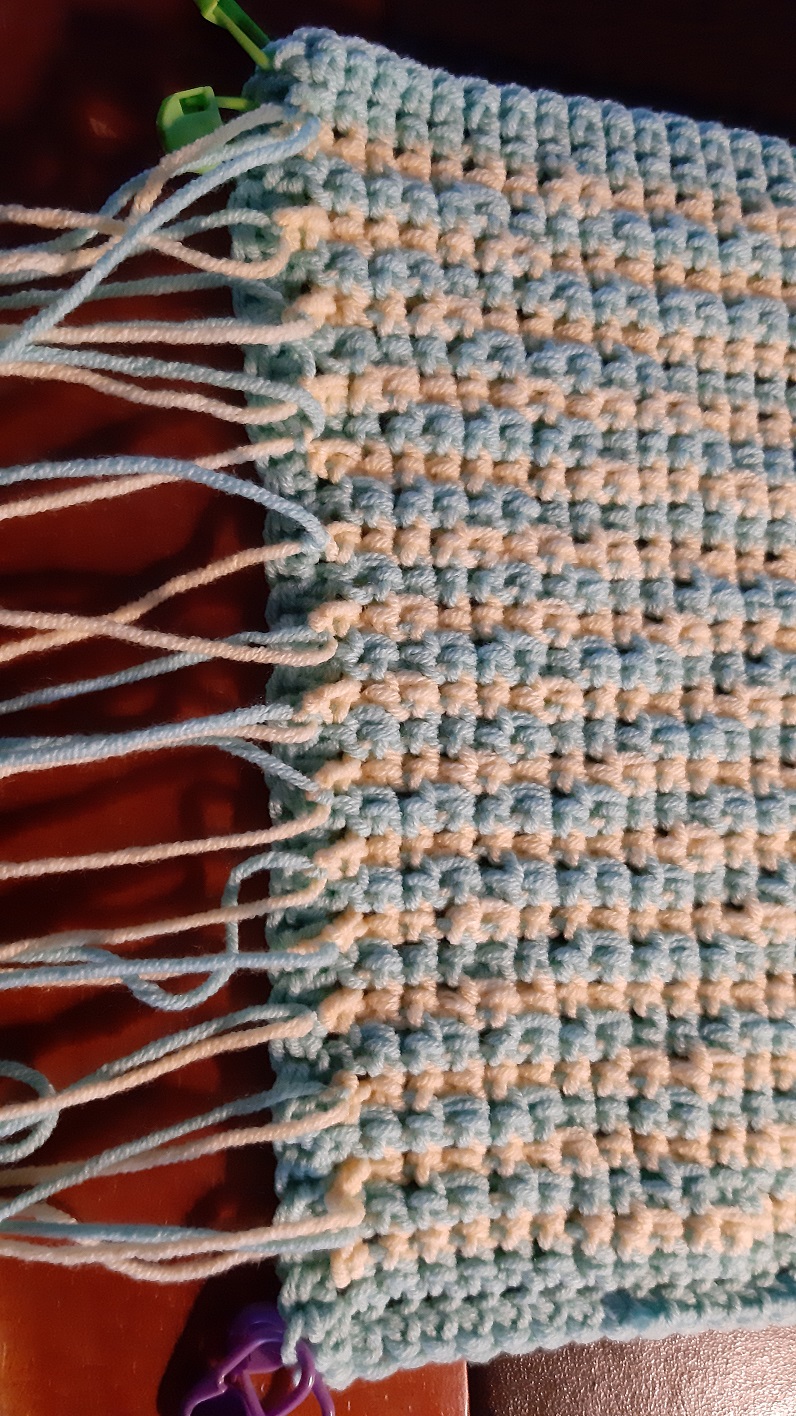
Fringe
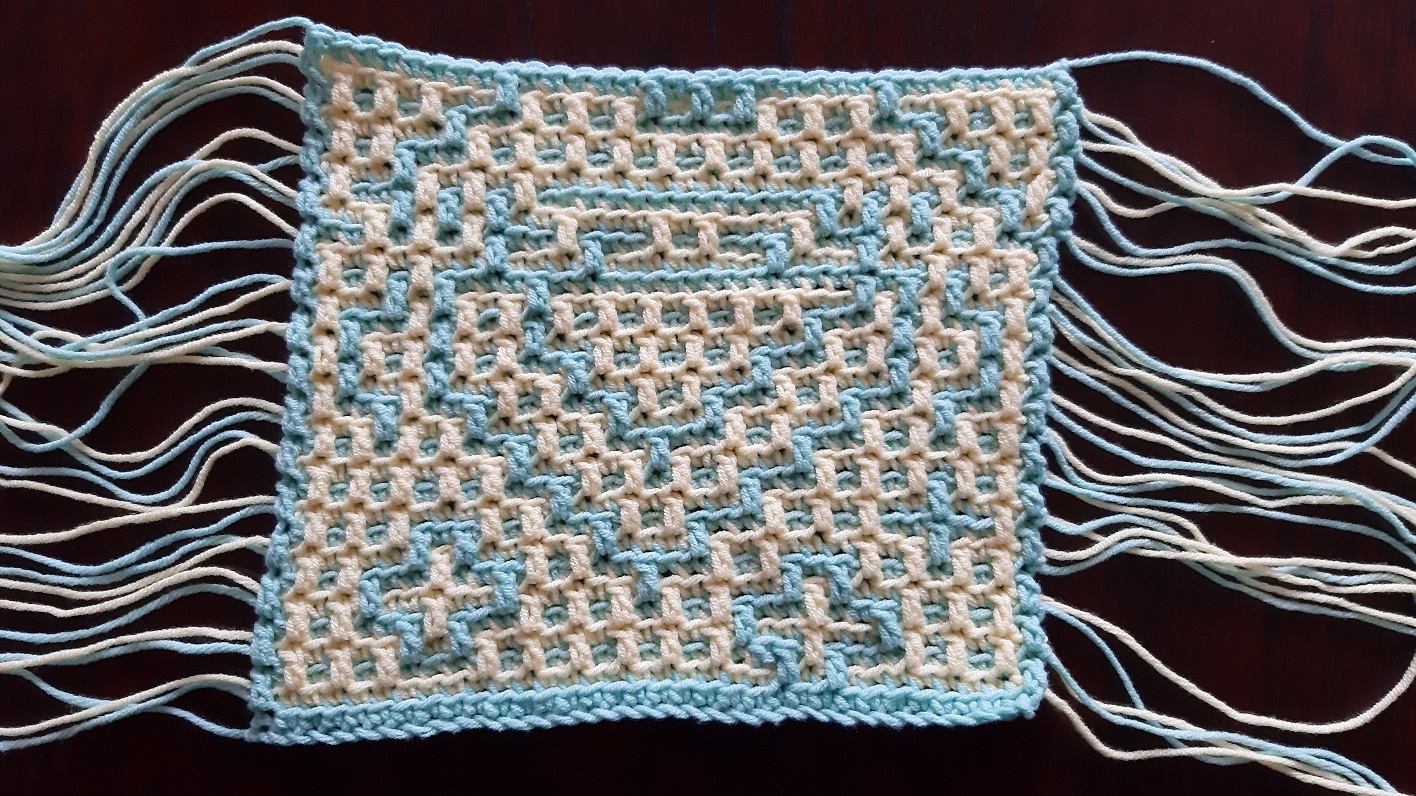
This is the practice piece without border. You see the threads of each row stick out at the sides. You can choose to not do a border, but use these threads as fringe. Add some yarn to make the fringe a bit more full, unless you find it okay to leave it this way. Make cords to make really neat fringes.
The first row
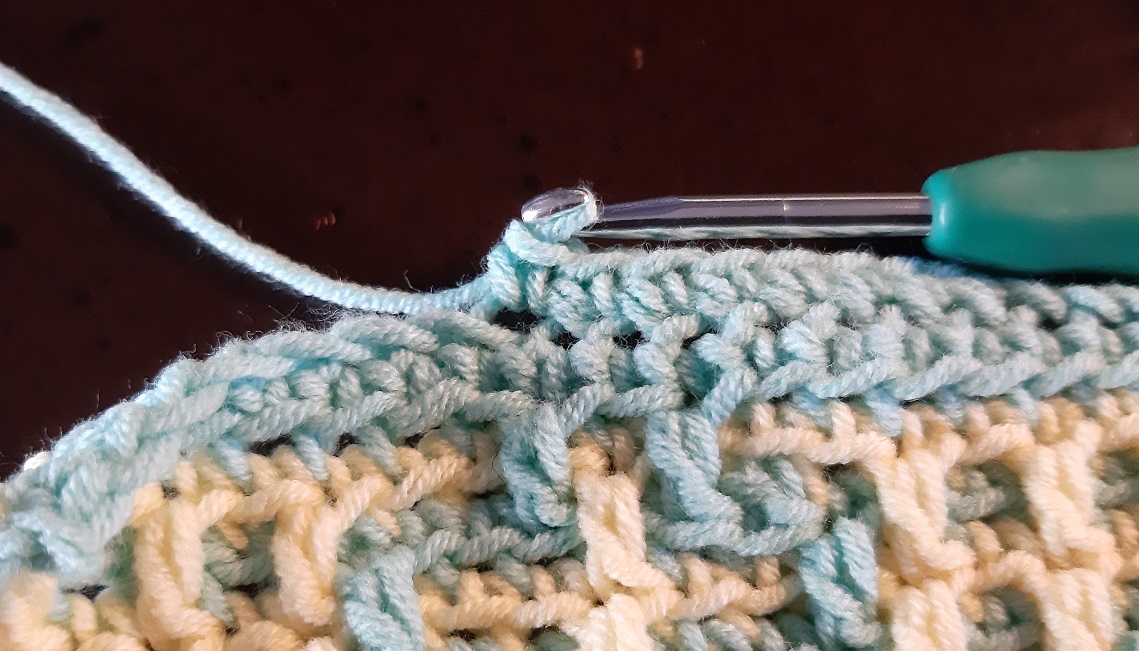
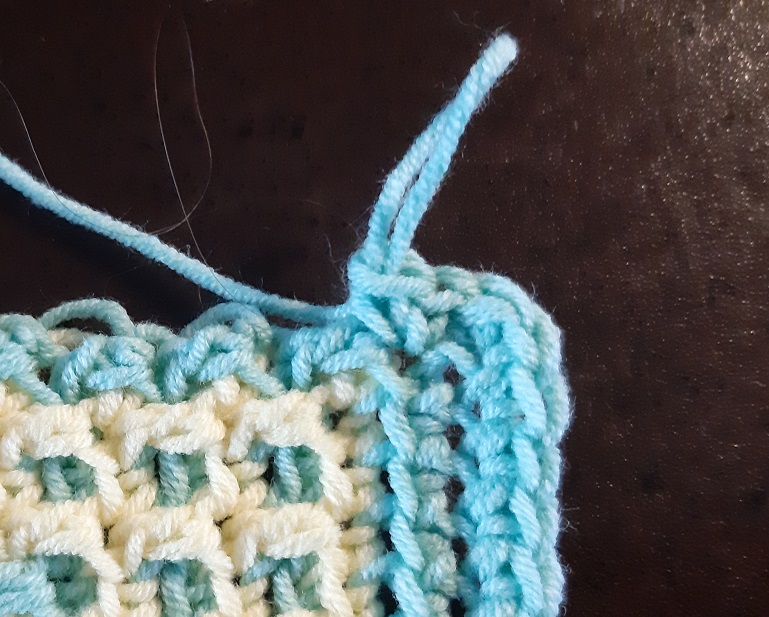
When you start making the sc border, start somewhere at the middle of the bottom or top row of the piece. This works just nicer for the corners. I started here at the bottom. Make a standing sc as your first stitch. Do a sc in every stitch.
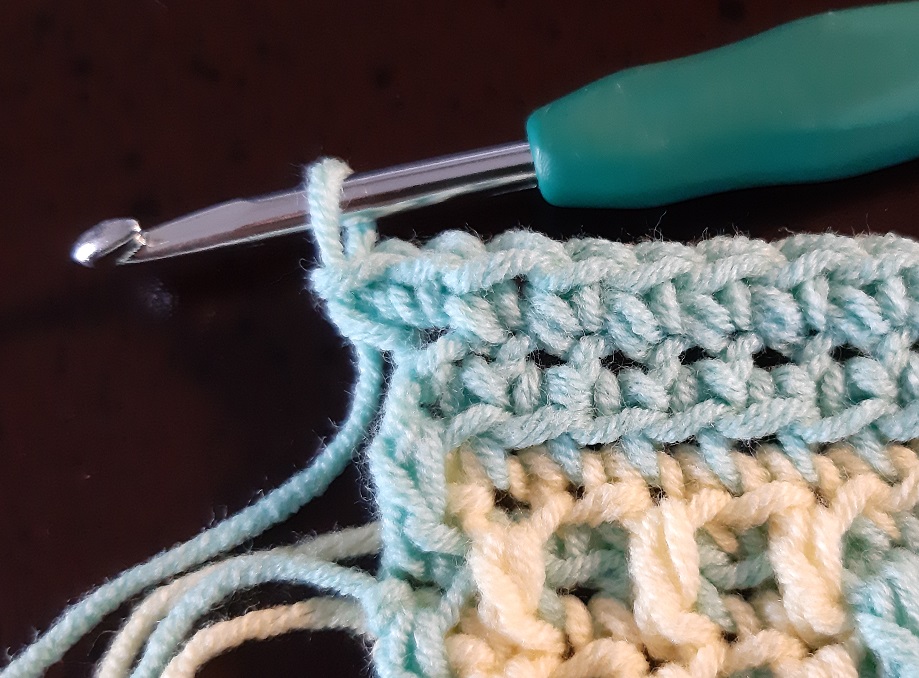
When you have come to the first corner, you will do an increase by making 2 sc’s into the last stitch.
Turn your project a quarter and continuw with the side. Make again 2 sc’s into the first stitch.
To make my increases I have used the method of making 2 sc’s extra for each corner. You can also do 1 sc into the last stitch of one side, then 2 chains, and then 1 sc into the first stitch of the other side. I have chosen the 2-sc-way, because that gives om closer result, so thay you won’t have thread peek through later 🙂 .
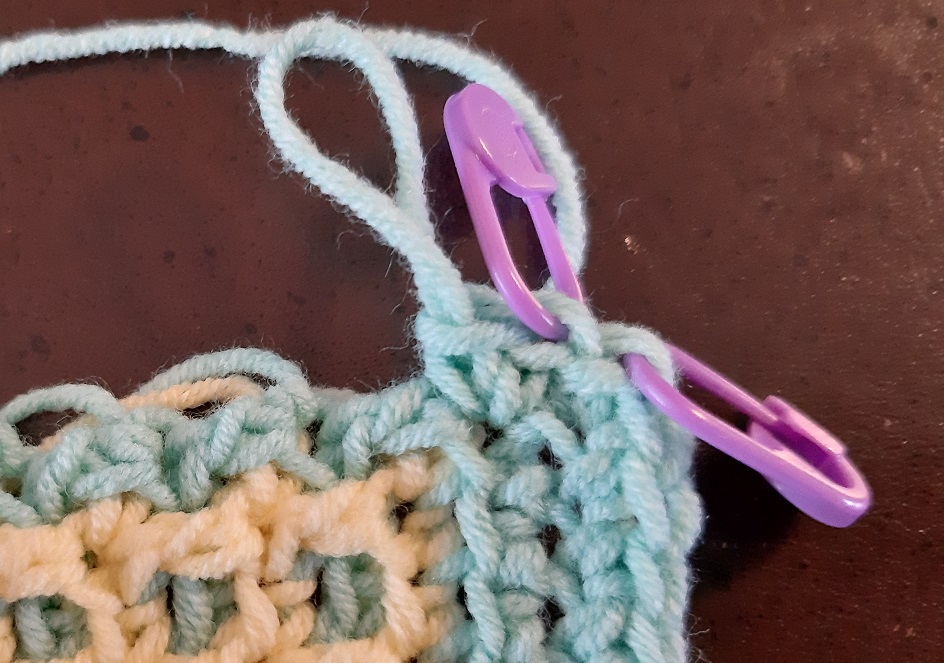
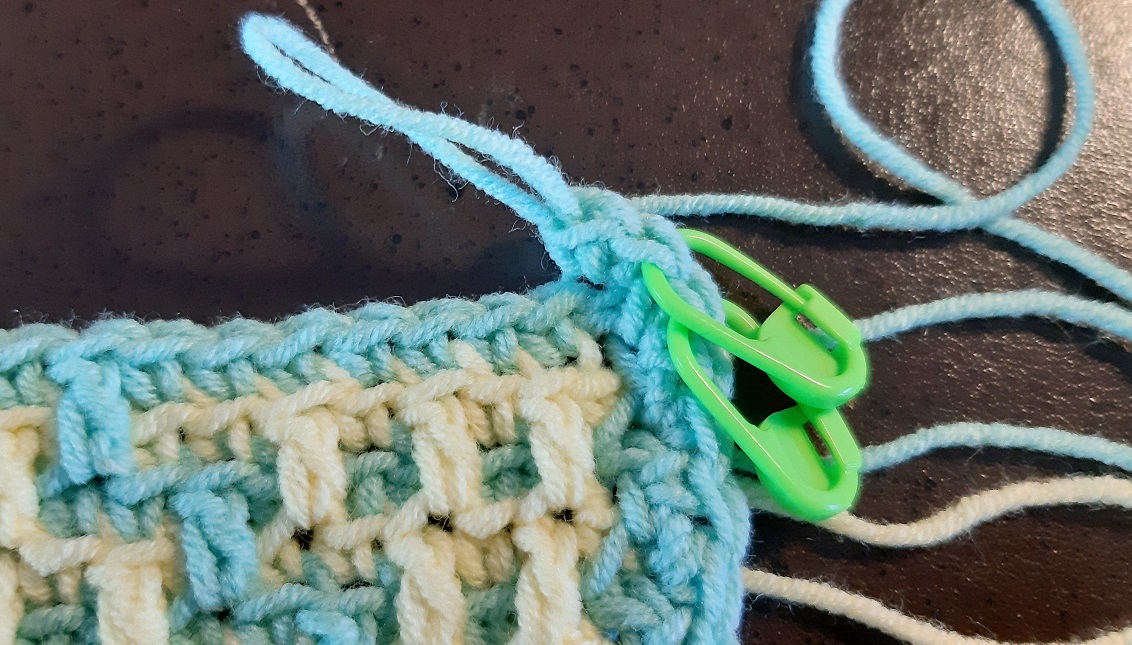
Something I like to do is placing markers, so that in the next row you can see exactly where to worrk into. Here I placed a marker into the last stitch of the bottom border and the first stitch at the side. A bit double maybe, but especially when you will go working back and forth like I gave as an option at the introduction, you don’t have to remember if you put the marker into the first or last stitch. This way you will never go wrong.
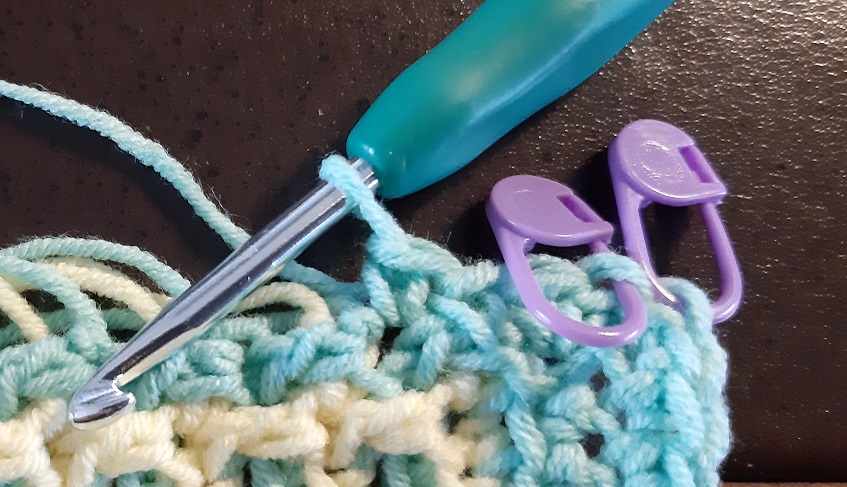
When you continue with the side, as a rule of thumb you will make 1 sc for each row. In this case I had the green dc’s at the sides, that covered the yellow sc’s. So I did 2 sc’s per dc.
Calculating how many sc’s you have to make
Before I start explaining this: do not take a smaller hook for the border! That works weel for making a border with an interwoven crochet project, because the two layers of filet crochet are worked through each other and you wokr with chains in between dc’s, but here you just cannot(!!!) do that! Remember that if you will do that at the top and bottom, you will be working smaller all of the sudden! That doesn’t work! The only thing you could maybe try is to use a smaller hook for the sides, but its better to figure out how many stitches you need. By the way: you always need to test it!
Okay, we will do some math to get the number of sc’s! For small pieces it doesn’t matter much, but for big projects, like the HAL CAL 2020, you will definitely make too many. You can calculate it as follows. I will use the data of the HAL CAL as an example. It is 241 stitches wide and 321 rows high.
Measure the width of your project: for me 241 stitches were 146 cm. By the way, it doesn’t matter iif you work in inches or cm, just don’t mix them. Now measure the heigth of your project: for me 321 rows were 154 cm. If you would do a sc in every side row, so 321 sc’s, you will definitely have too many. Now fill in this: (number of stitches of the width * heigth in cm or inch) / (width in cm or inch). For the HAL CAL blanket this is (241 st * 154 cm) / 146 cm = 254 stitches! So you have to decrease 321 – 254 = 67 stitches.
My method to see how to do the decreases is as follows: I divide 321 into 67, which makes 4.79 uit. So somewhere in between the 4 and 5 stitches. When you divide 321 into 5 deel, I will get (approximatley) 65 ‘pieces’ of 5 stitches. When I now will make 65 pieces of 4 stitches, I will get 256 stitches. That’s pretty close to 254. So I will make 4 sc’s per 5 side rows. You can go sit and work this out for yourself on paper, or when you’re hady with Excel you can use that, but just see how it works out with your numbers by writing them down in a row and distribute the decreases nicely.
In the case of the HAL CAL 2020 you will first make 3 sc’s in every side row, the you will do a decrease into the next 2 side rows, which results into 1 sc, which makes 4 sc’s in total. Keep in mind of course that you will work into the green dc’s now. Each dc counts as 2 rows. If you don’t know how to make a sc-decrease, look further in the tutorial at the decrease rows.
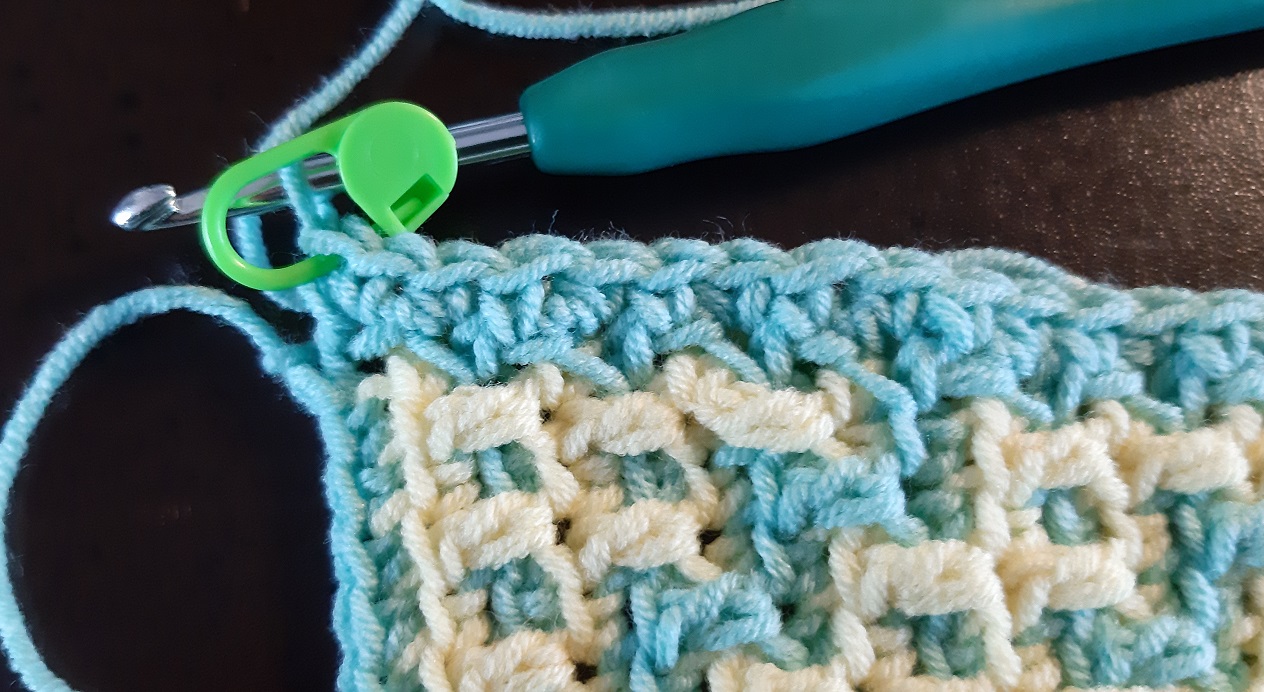
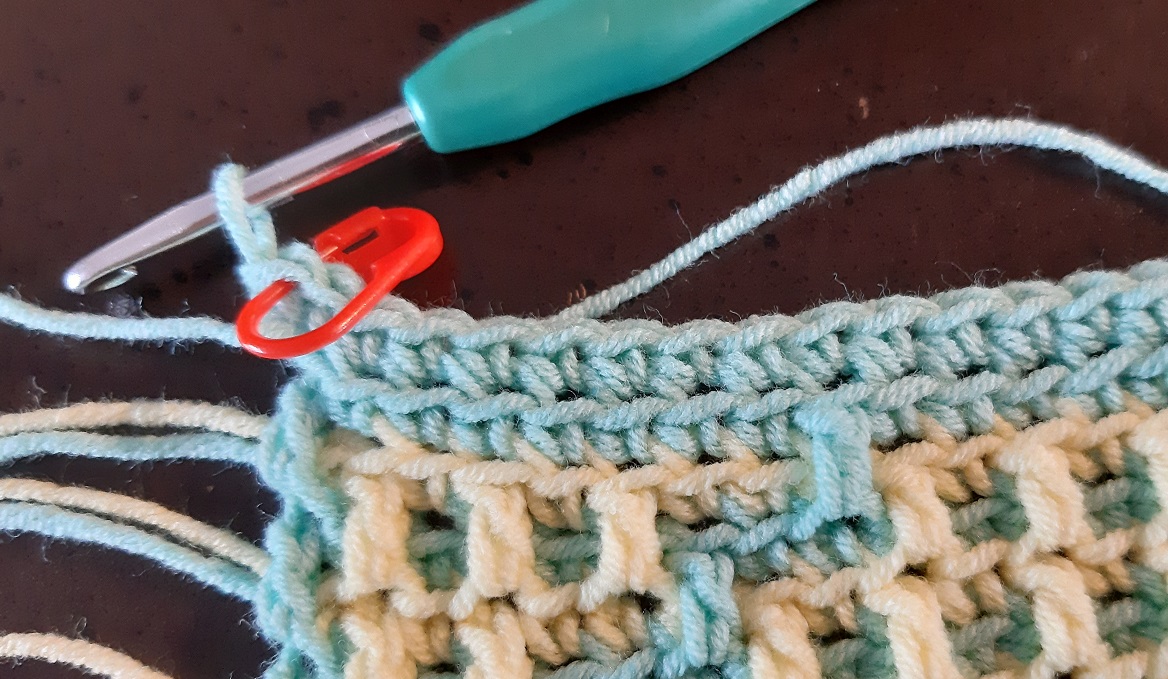
I did the right side here, and did the increase into the last stitch of the side. I put a marker into the last stitch.
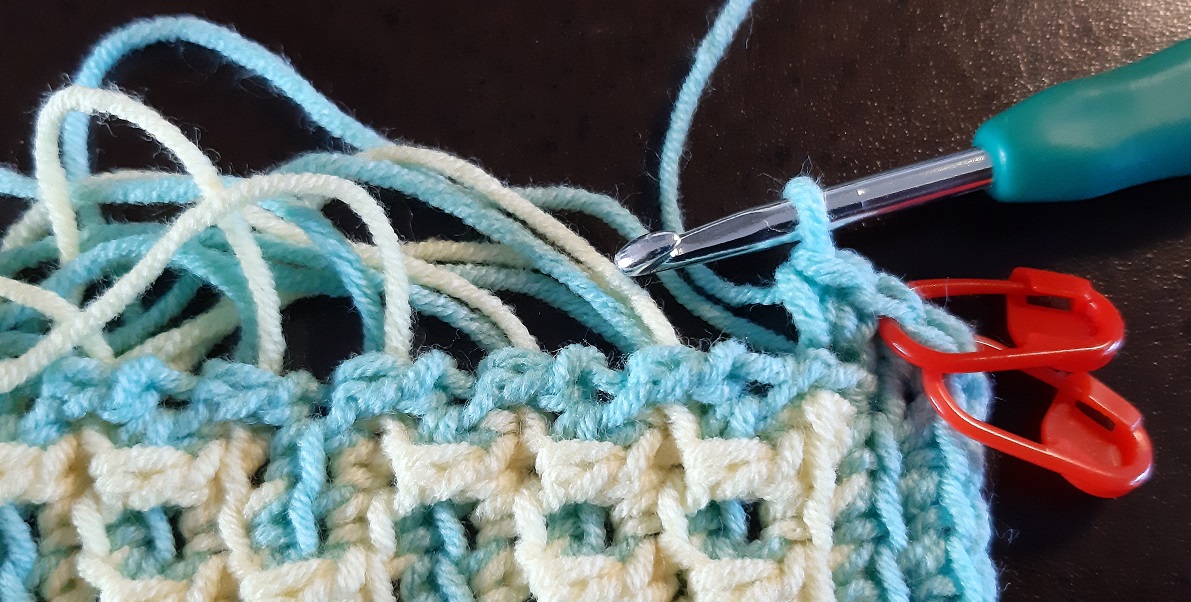
Here the increase into the first stitch of the top row is made and a marker is places into the first stitch of the top row.
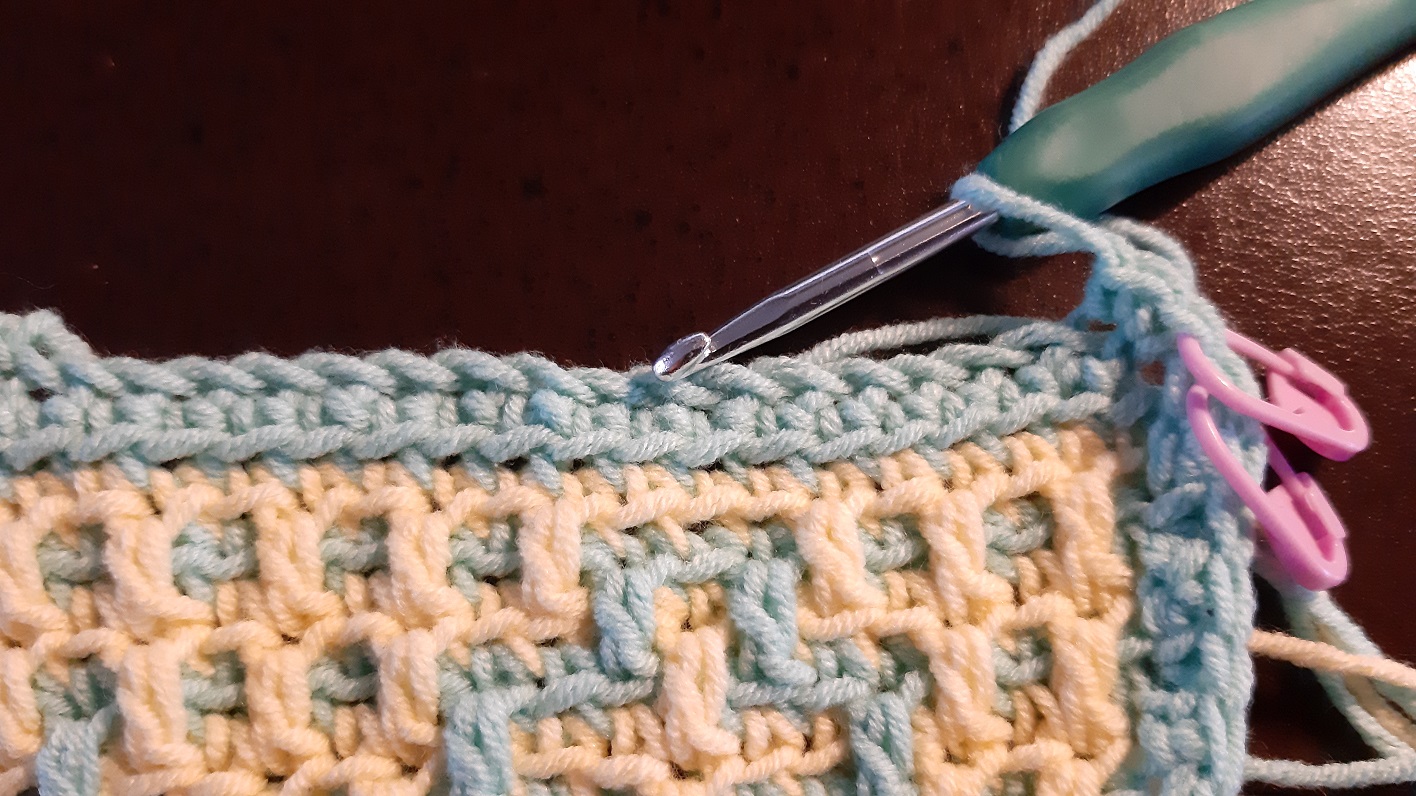
The top is done, and the first corner increase is done and marked. Here you can also see that I worked through the top loops only, like with mosaic crochet.
Next corner increase on the left side. Here you will work just like the right side.

The left side is finished.
And now we are back at the bottom, where we started doing this row. Click on the picture to see that on the left of the full picture. The last corner increase is made.

I’m a een fan of closing the row with an invisible finishing, the duplicate stitch method. I finish the ends at the back.
Finishing the starting and ending threads
Now tie the threads to each other. Some people prefer to do this right before doing the first border row, I prefer to wait until the first border row is done. I prefer to tie the knots with the threads that are closest to each other. A simple knot is enough. Do this also with the threads at the other side.
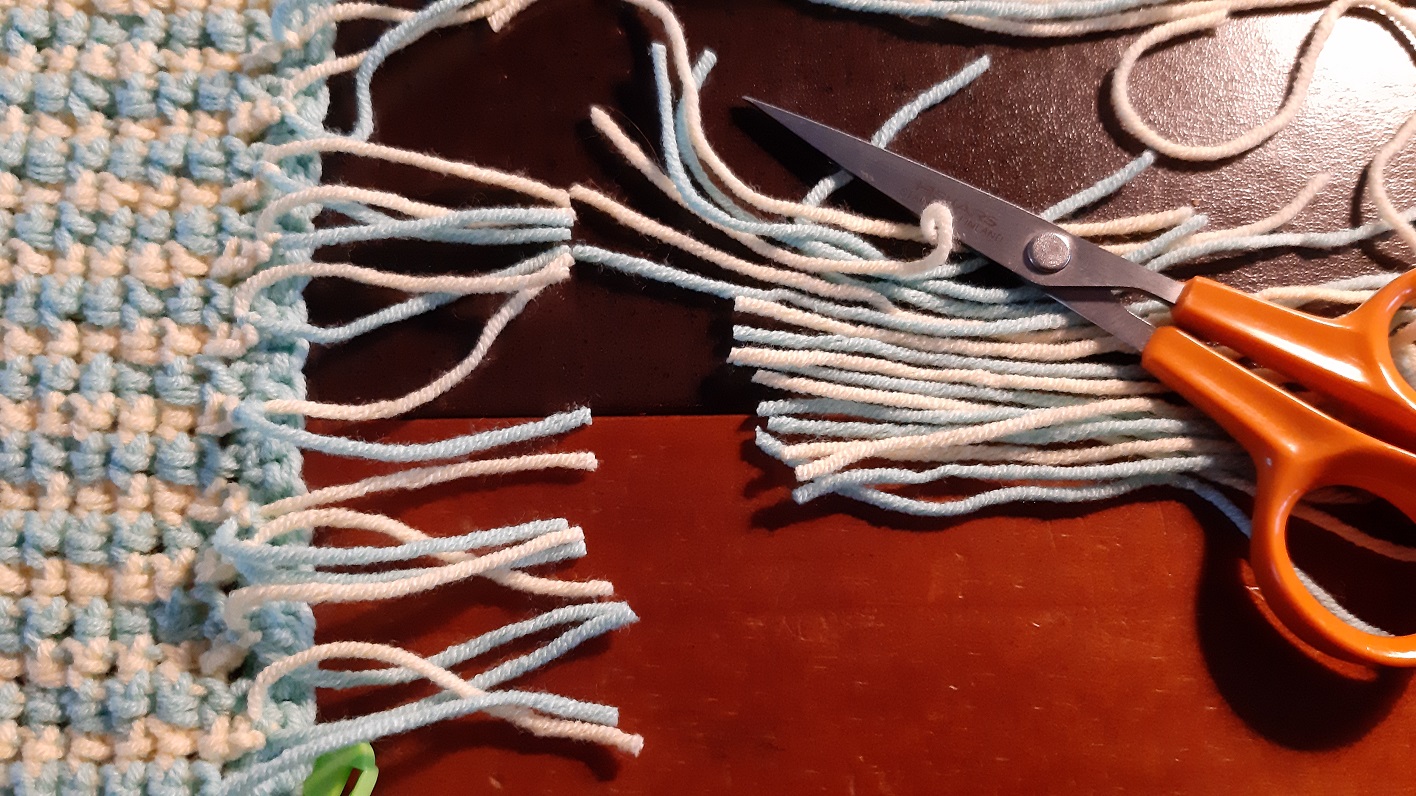
Now cut the threads about 5 cm/2 ich tall.