Freedom, not perfection
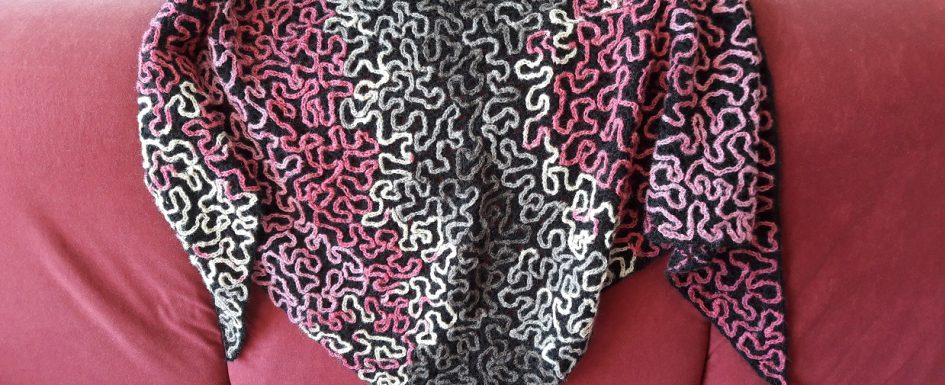
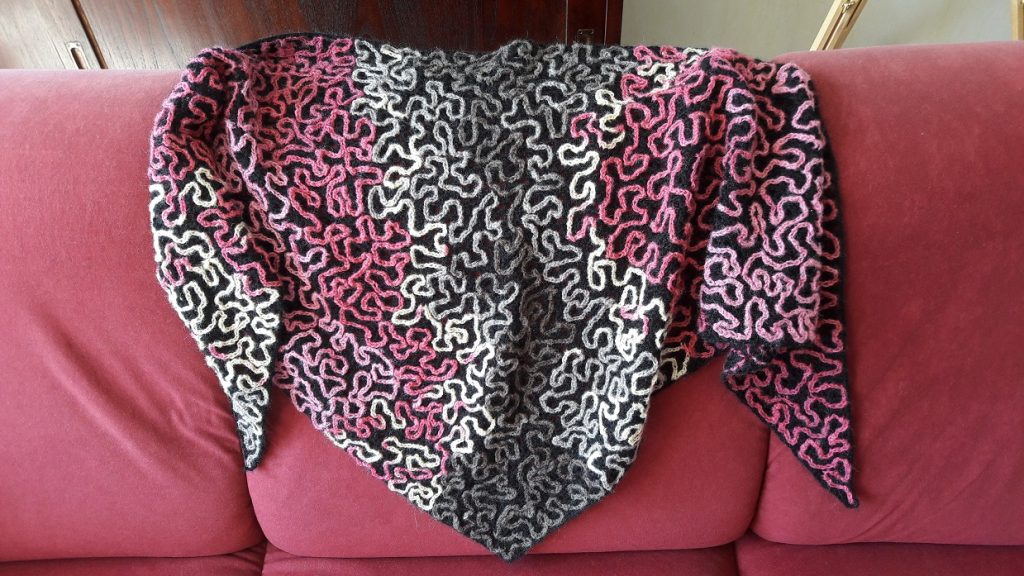
Why I named this shawl like this? Well, with this shawl you do not use a pattern (except for the base, just simple filet crochet), but you go totally free! The curvy lines are made without thinking beforehand how to fill up the base. I started at the point at the right, and made curves all the way over the shawl, and with each curve I decided at that very moment where I wanted it to go, if it needed an extra stitch, or maybe take a stitch out. Oh, of course I frogged little parts when I didn’t like it, and did them again in a slightly other way. And that is not bad! It is like drawing, sometimes you have to change lines, remove them, add some. With this, it is the same. Of course I had to lay down my shawl every once and a while and look at it from a distance, so I could see where I wanted to go approximately, where open spaces were that I wanted to be filled. And sometimes I changed my mind on the go and went another way. But that is the nice thing about it: you can just go free.
Only 1 rule
“Rules??? But you just said you could go totally free???” That’s true. But I had a certain look in mind, so the only rule I wanted to stick to, was to not cross lines. If you’ve ever done freeform quilting on a sewing machine, where the trick is to create curvy lines without crossing them, you know how to do this. If you don’t, I show you in this video how you can practice this with a pen on a piece of paper, so you first get to know how it works. You put your pen on the paper, start, and draw and draw and draw and fill in spaces, and you are only allowed to get your pen off the paper when the entire shape you wanted to fill is filled.
Don’t want to follow the 1 rule?
Hey, that’s okay too! If you want to make curves and cross them, you can do that too! I show in the video, on a piece of paper, what would be the effect of that. And that would probably be a great effect too! So, please do that if you prefer that.
And what about the ‘not perfection’?
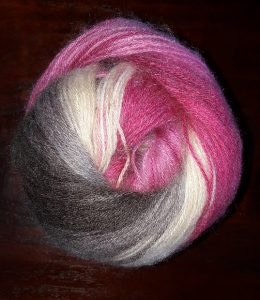
That’s true, I didn’t mention that. So let’s tackle that! When making curves, it sometimes seems to go a little straight. Sometimes the lines seem to touch a bit. But hey! That doesn’t matter! Can you spot the places where that happened to me in the picture? You will probably have a hard time, but believe me, it is in there! And I decided that it didn’t have to be perfect. I left it in. Because you do not see it when you look at it. So don’t push yourself too much! And about the colors: you see that the kind of greyish brown and the yellow is in the middle of the shawl. I swear: I didn’t plan that! I hoped for it, because I thought that would be nice. When I got closer to the middle of the shawl, and saw how the yarn color changed in the ball, I was thrilled how that came out on my shawl. But you also see on the left, the yarn turned into the yellowish color again, while the right side was pink all the way. I did think of cutting the yarn, and find the next place in the ball where it became pink again. But, I reconsidered. I wanted to leave the perfection behind! So I just went on with my idea of letting things go the way they went. And to be honest, I am glad I did. To my humble opinion, it looks more interesting.
Tweaking the colors
If you really want to center a color in the middle, you can use a trick. I’m also working on a vest that I wanted to have certain colors in specific places, and mirror the colors, so here is what I did. I first figured out how the yarn colors went, and then made two balls with the same color repeat out of the 1 ball. And I started working from the center of my piece (at the back of my vest) with one of the smaller balls to one side, and worked from the center to the other side with the other ball. You could use that trick for this shawl also. So if you really want to tweak the colors, please do so! Hey, your choice! That’s fine! Really!
So, now on to some info!
Information
Yarn
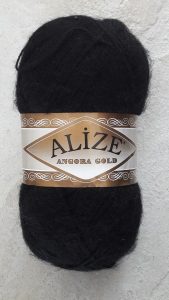
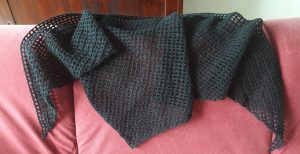
- Alize Angora Gold black: for the base, 1 ball of 100 gram
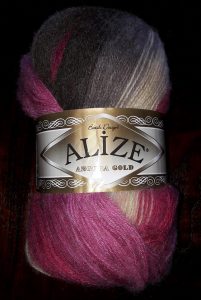
- Alize Angora Gold Batik 6273 for doing the surface crochet, 1 ball of 100 gram.
I didn’t use it all up! I used about 87 grams for the base and 64 grams for the surface crochet.
The yarn is an 80% acrylics and 20% wool blend, and has a length of 550 meters. 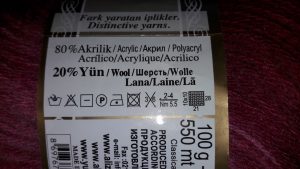
I bought this yarn at my local yarn store: De Wolman (A Dutch store)
The base shawl
You can look for more information about the base of the shawl on the page I made for it by clicking here. You can find the link to the video on how to crochet the base there also.
The tutorial on how to do the shawl and the surface crochet tutorials
Here are the links to the video’s on how to make the shawl and how to do the surface crochet. Have fun!

