
Pages of this tutorial
I splitted the tutorial up in several pages.
- Introduction and row 0 and row 1: click here to go to that page
- Row 2: click here to go to that page
- Row 3: click here to go to that page
- Row 4: click here to go to that page
- Row 5: click here to go to that page
- Row 6 and 7: click here to go to that page
- Pattern description and pictures of the last rows: click here to go to that page
- Tips and tricks: that’s this page
- Joining the blocks: click here to go to that page
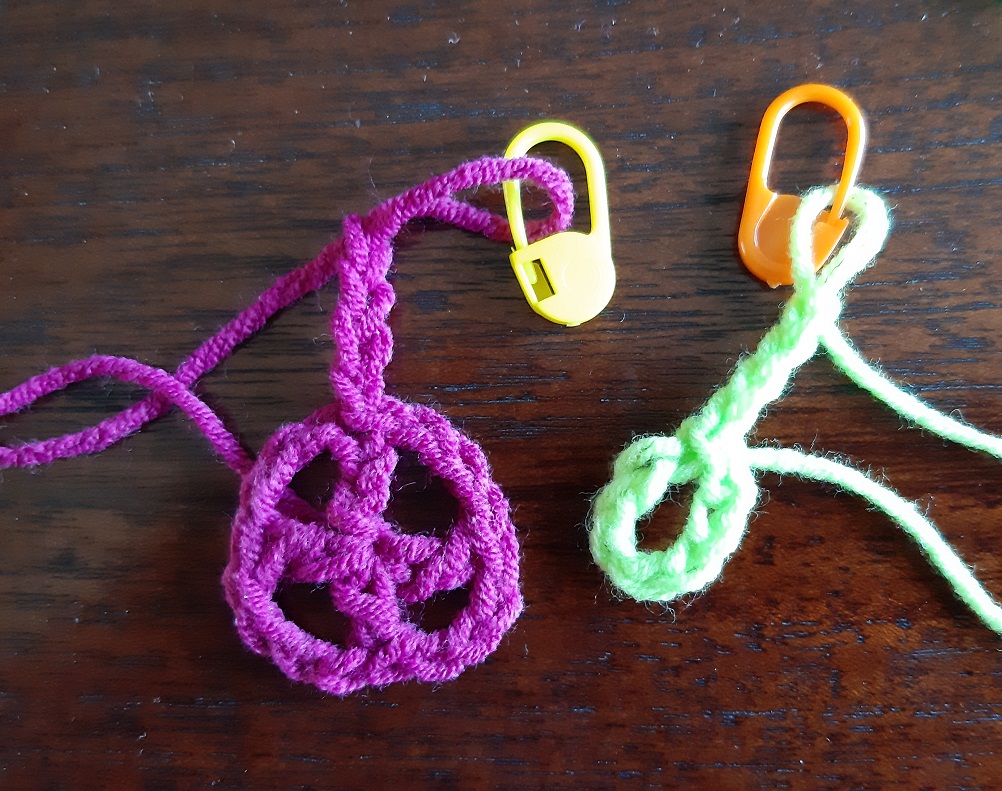
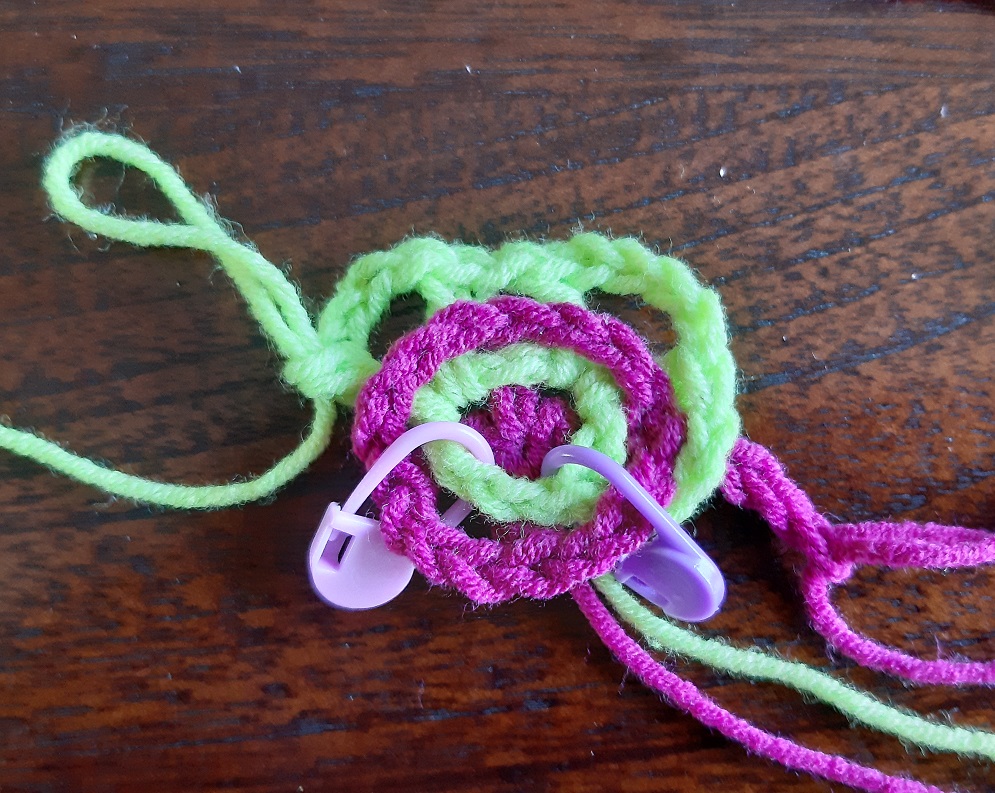
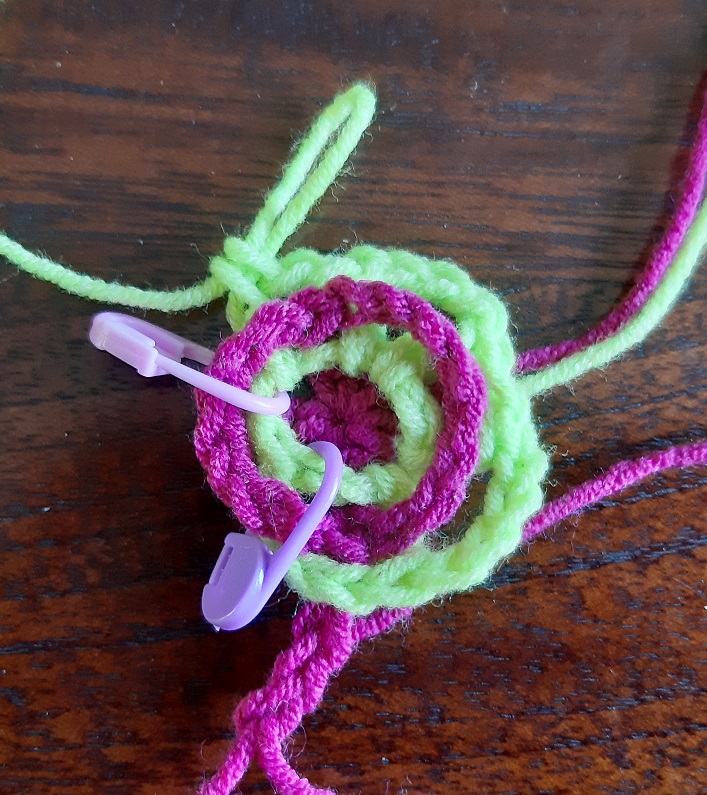
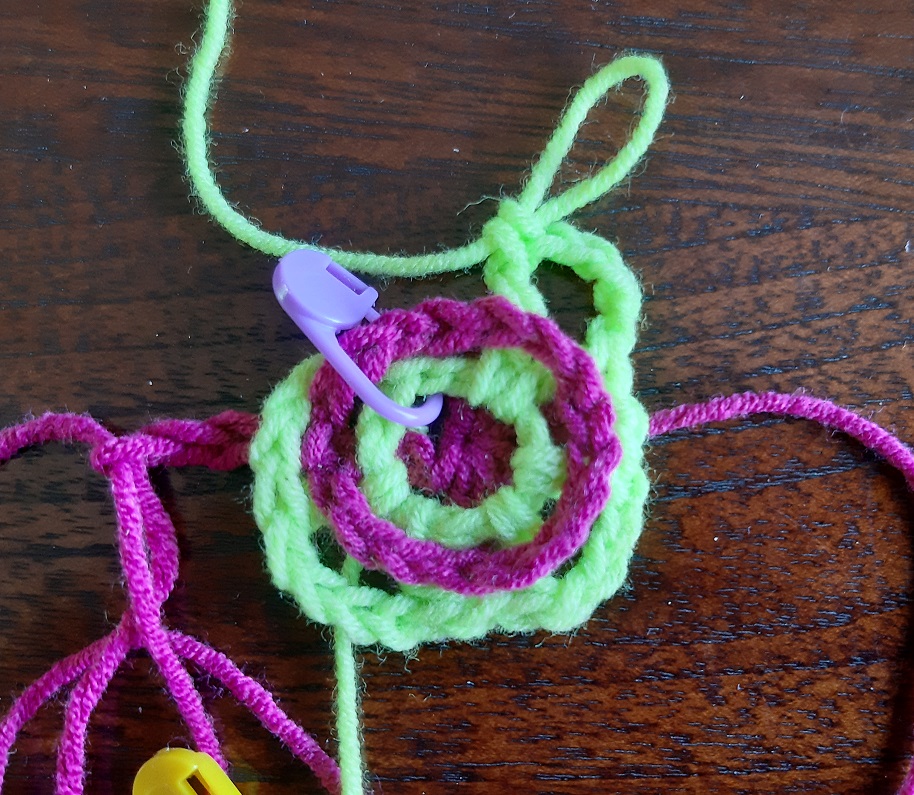
Trick 1: pull the starting circle through
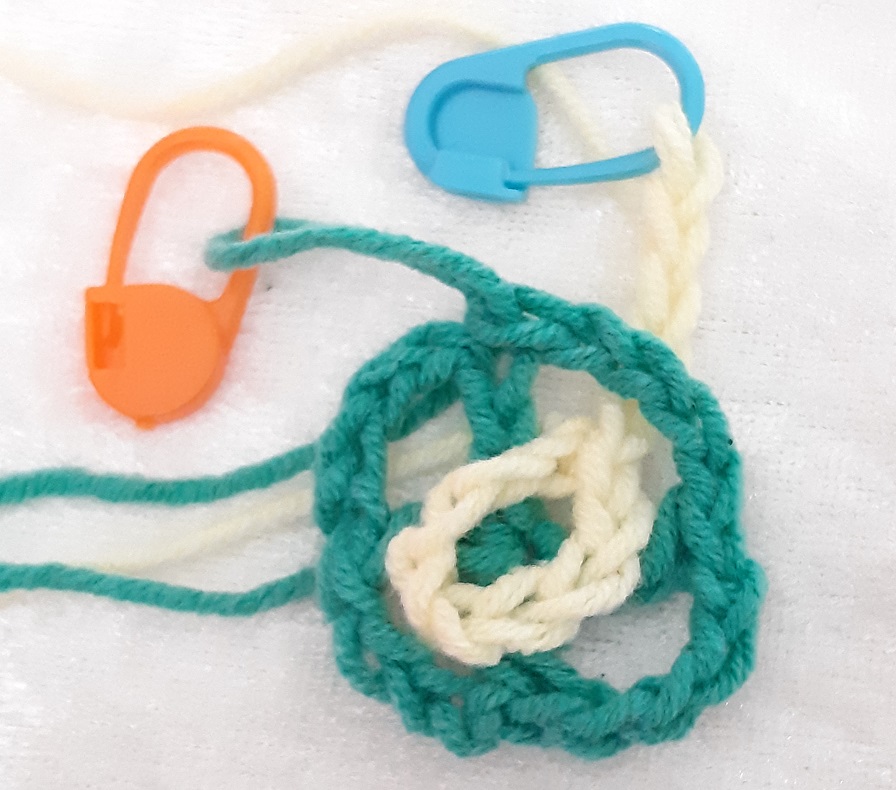
This is how it looked when you did row 1 for this pattern. You put the yellow starting square on the green dc’s first and then you closed the row, while putting the yellow to the back.
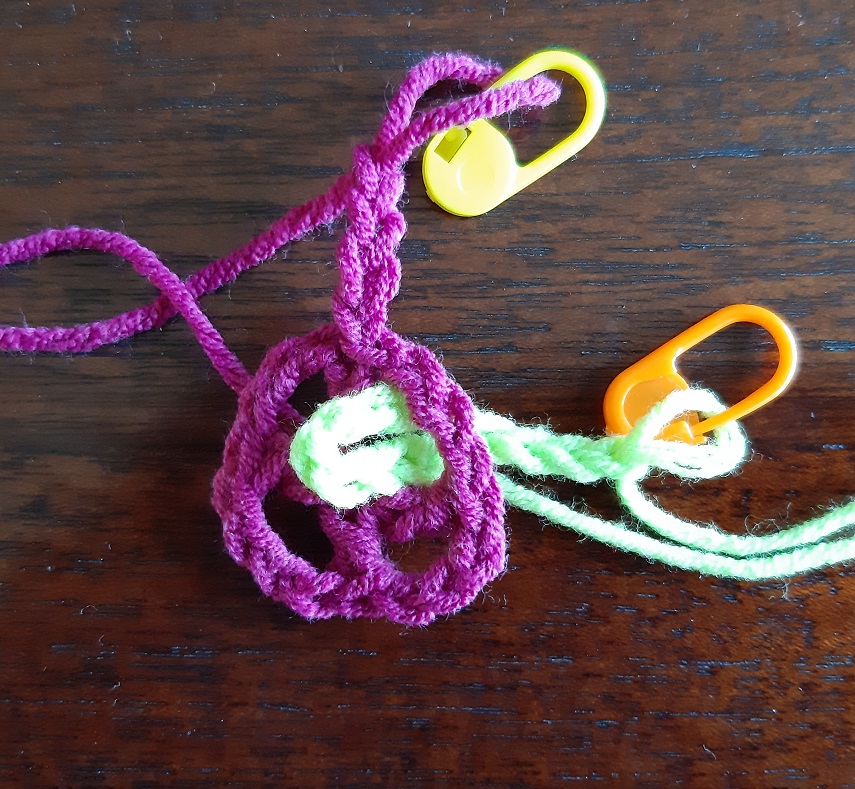
You can also do it this way: you first make the 2 bases with color 1 and 2. I crocheted the first 4 chains of the next rows for both of them, so that you can see it a bit better. Now take the circle of color 2 (here in lime green) and pull it through the corner right of the beginning dc. Voila, same result. This is a trick for the first dc of color 2 (lime) when it has to get TO THE BACK. If the first dc has to be in front, you will simply put color 2 on top of color 1!

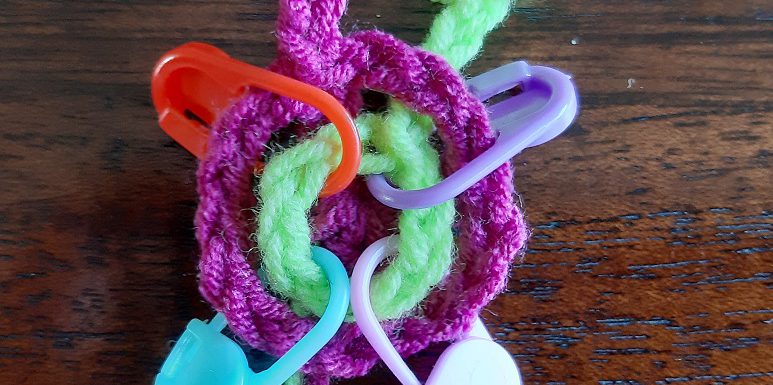
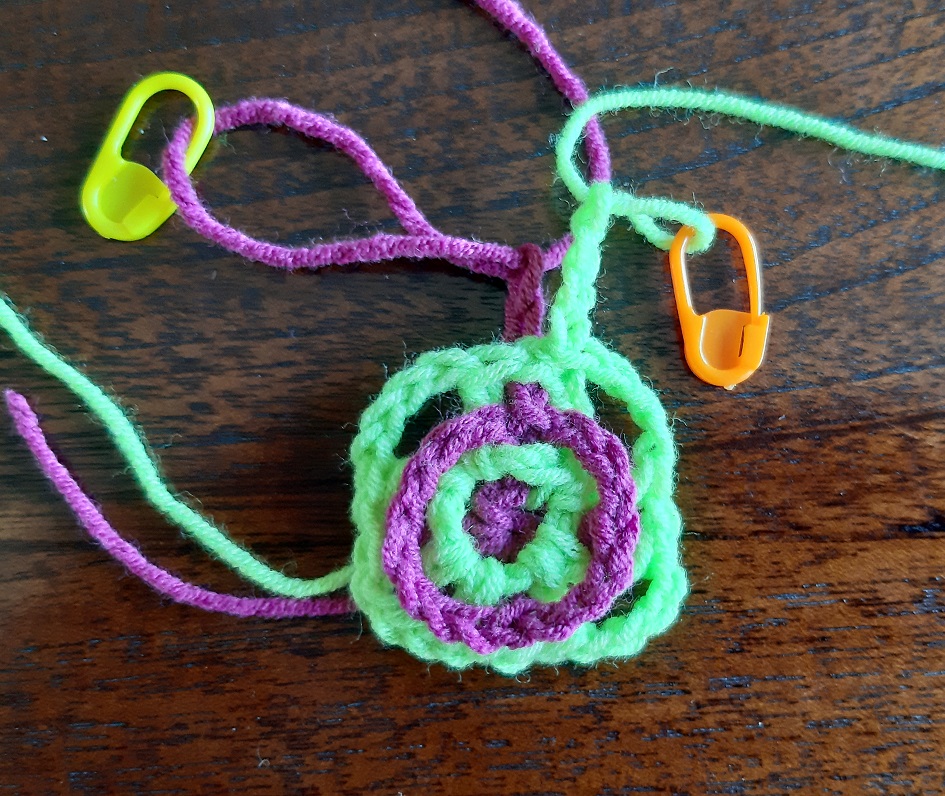
Trick 2: use stitch markers for the corners (row 2)
With the yarns I used here for the tutorial it is fairly easy to see how to make the corners of row 2. I worked with a thinner and dark yarn one time, and it was a bit difficult to see. I then used some stitch markers to mark the corners.
Important: This is for the situation that you have to do the dc’s at the back. If you have a pattern where you have to do the dc’s in front, you can still use the same trick, but in that case you make the dc’s in front (the first 4 chains will be at the front in that case, unless you have a asymmetrical pattern).
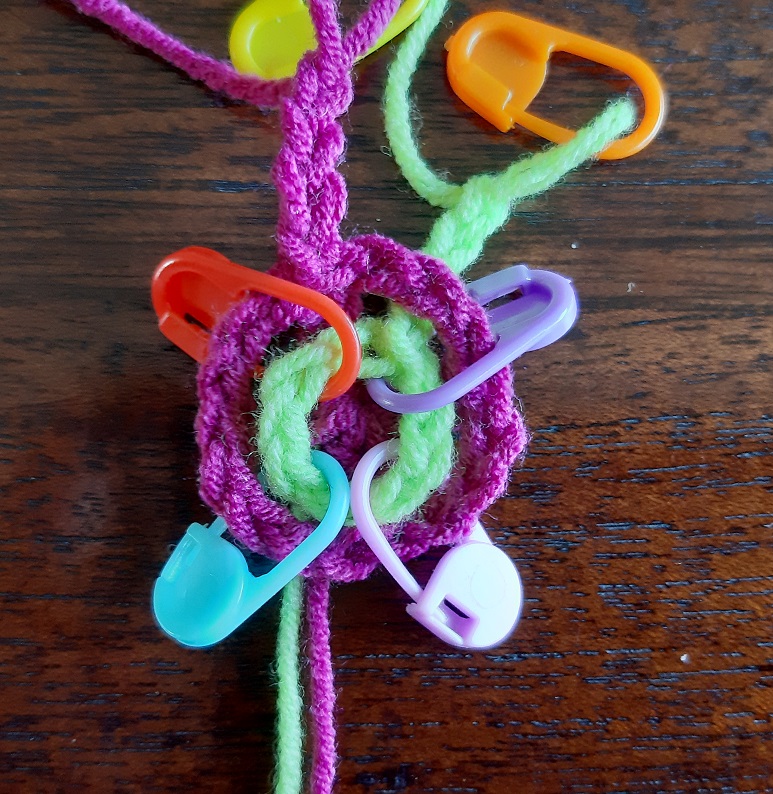
Here you see I marked each corner with a stitch marker. The place where the purple stitch marker is, is the corner where the first 4 chains of the lime green are already made.
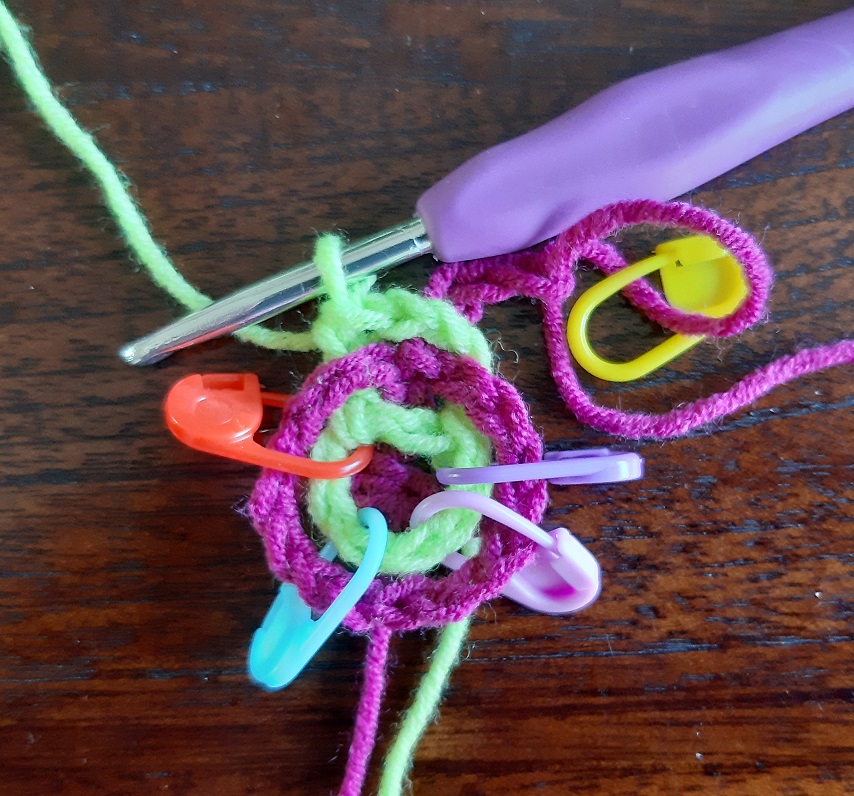
Now do a dc in the back in the corner with the red marker.
Next make the corner chains and do the second dc in the back, again at the red marker. You can now remove this marker.
Make a chain and the first dc in the back in the corner with the blue marker.
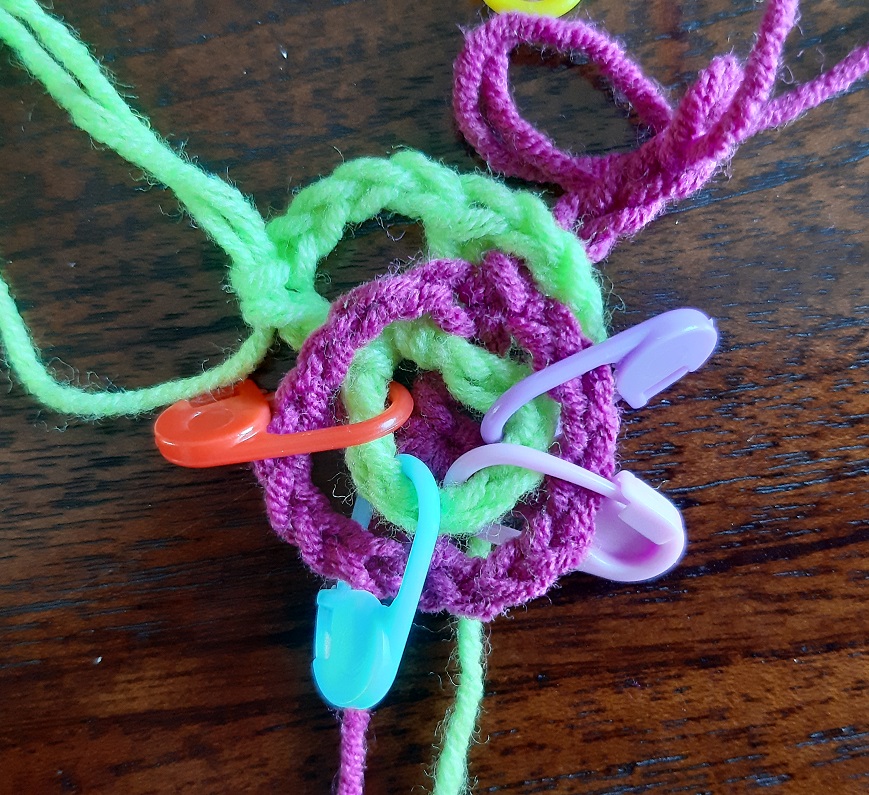
Make the corner chains and the second dc in the back in he corner with the blue marker . In the picture this marker is already removed.
Do the same for the next corner.

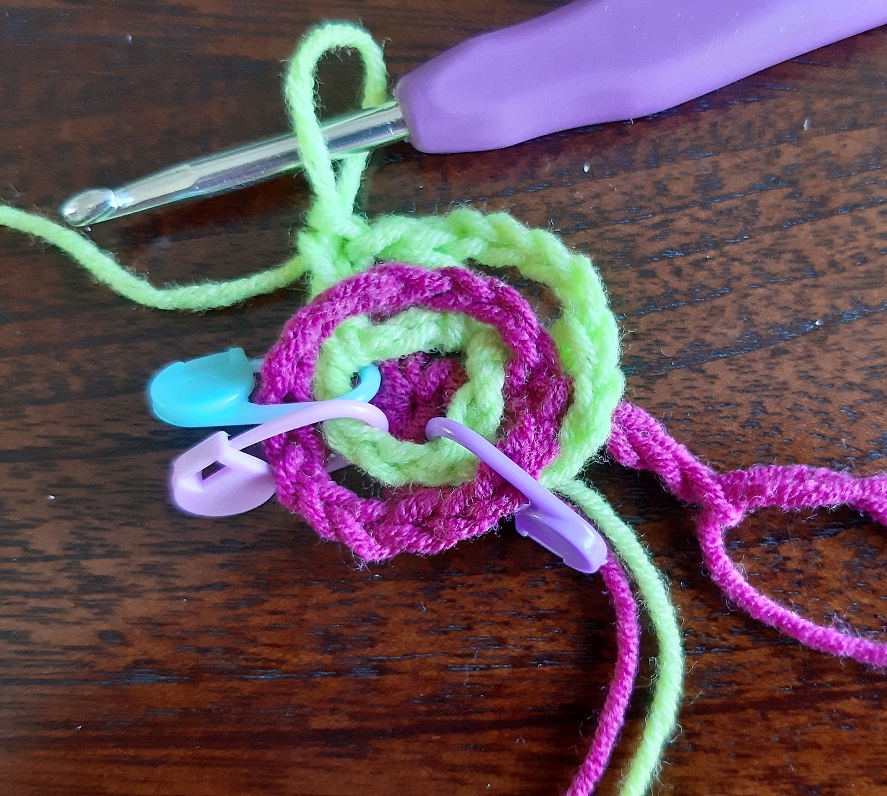
When you have come to the last corner (with the purple marker), you will only have to do the last corner dc and of course the 4 corner chains. The first dc is already made by doing the first 4 chains that you made at the start of the row.
Click here to go to the tutorial on how to attach the blocks to each other.