
Pages of this tutorial
I splitted the tutorial up in several pages.
- Introduction and row 0 and row 1: click here to go to that page
- Row 2: click here to go to that page
- Row 3: that’s this page
- Row 4: click here to go to that page
- Row 5: click here to go to that page
- Row 6 and 7: click here to go to that page
- Pattern description and pictures of the last rows: click here to go to that page
- Tips and tricks: click here to go to that page
- Joining the blocks: click here to go to that page
Row 3 (color 1)
Pattern description extended:
- dc in the back (3 ch) + 1 in between ch
- dc in front
- 4 corner ch
- repeat 3 times:
- dc in front + 1 in between ch
- dc in the back + 1 in between ch
- dc in front
- 4 corner ch
- dc in front + 1 in between ch
- color 2 to back
- close row with slip stitch
Pattern description shortened: b 1x, f 1x, c, *(f 1x, b 1x, f 1x, c)* 3x, f 1x, color 2 to back
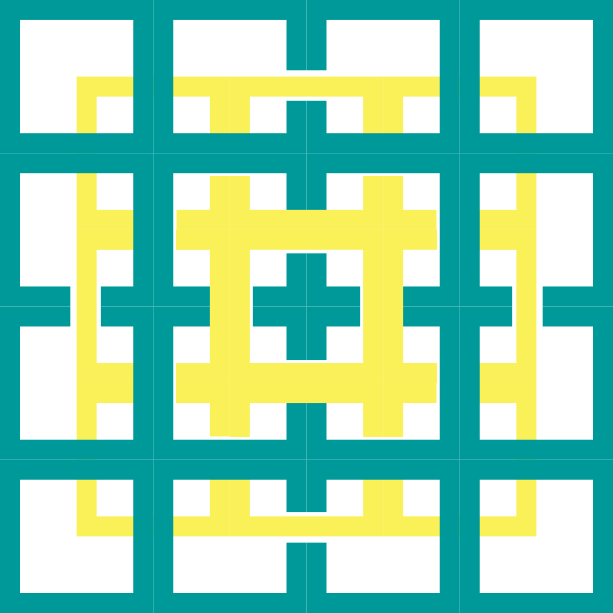
This is a graphical representation of how rows 0, 1, 2 and 3 will look together. Click on the picture to see it full size. You can see that the green dc’s fall behind the yellow in the centre and in front of the yellow border in the corners.
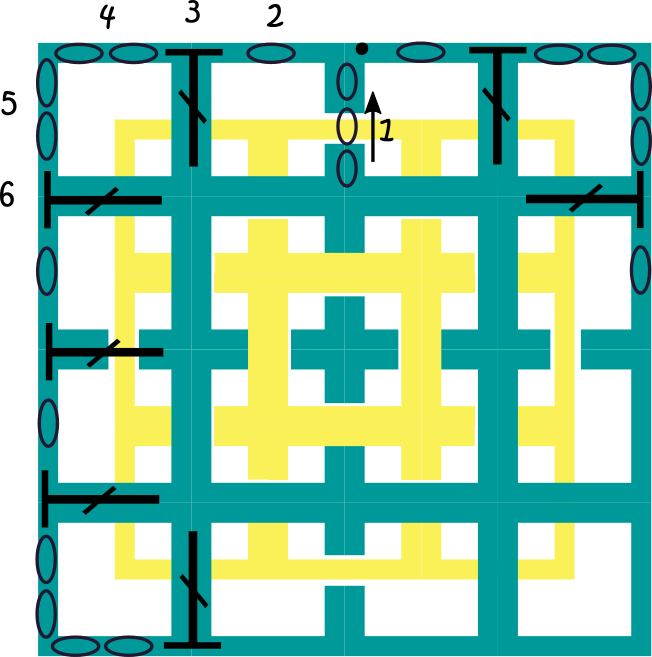
Here you see row 3 with the use of crochet symbols.
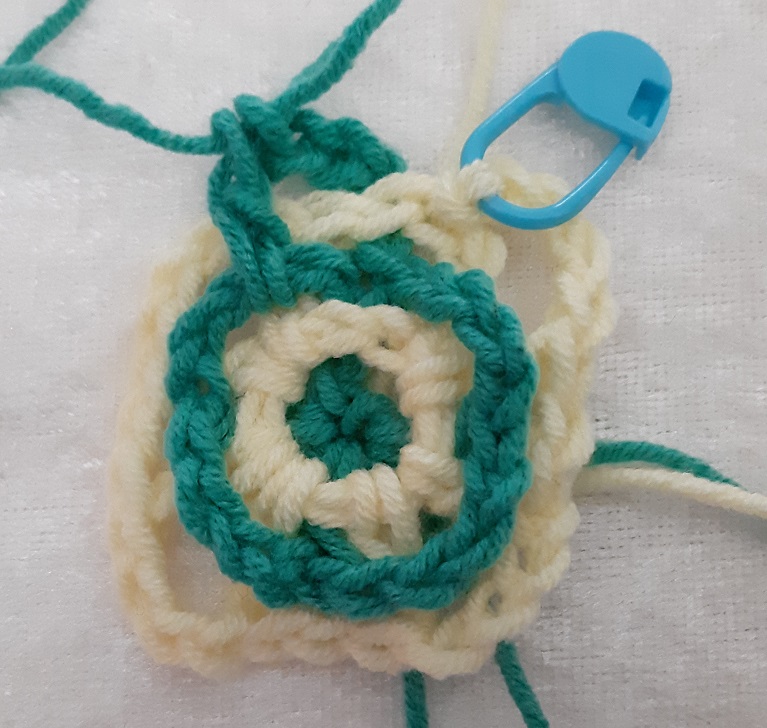
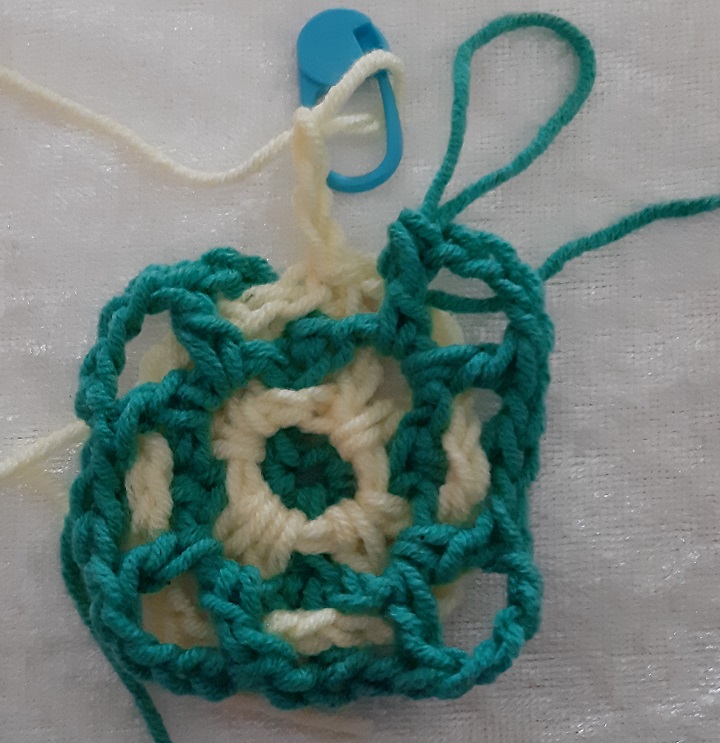
You will start at 1 en 2. These 4 chains (step 1 and 2) are the first 3 chains that make the first dc, plus the chain to make it a square. Besides that, the dc is already in the back, because we took care that when closing row 2, the green thread was on the back of the piece.
Something to remember: you will always start with color 1 at a dc in the centre of a side.
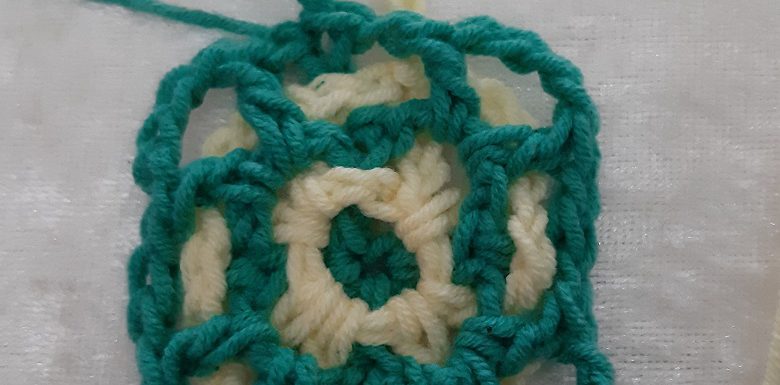
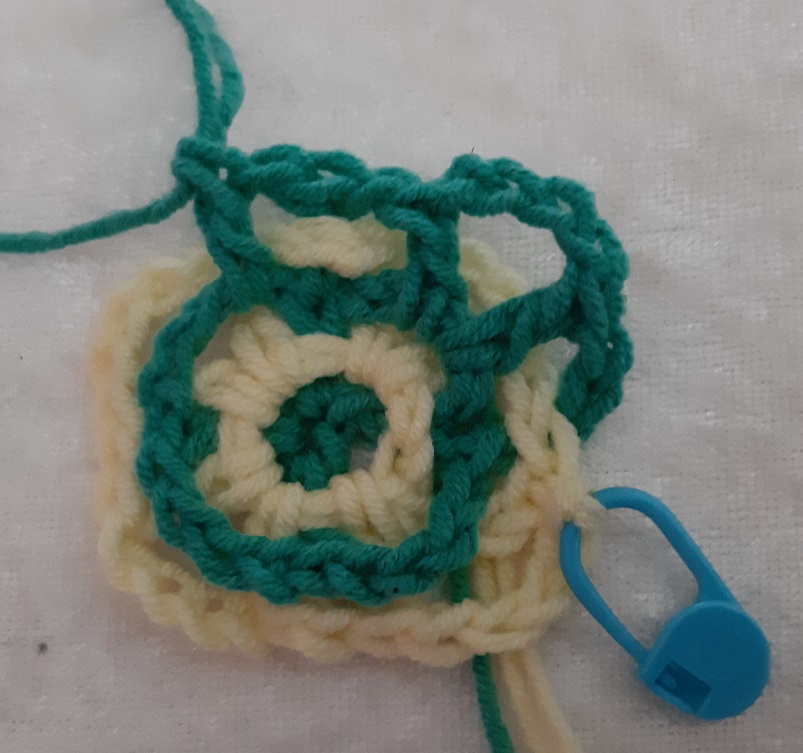
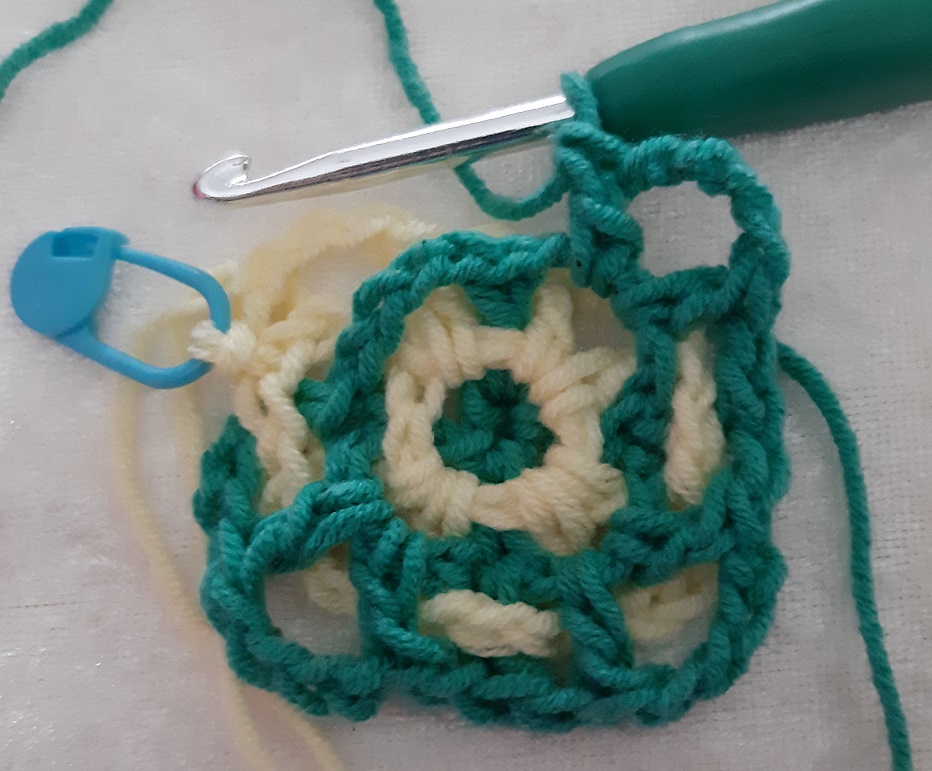
This is how the start of row 3 looks.
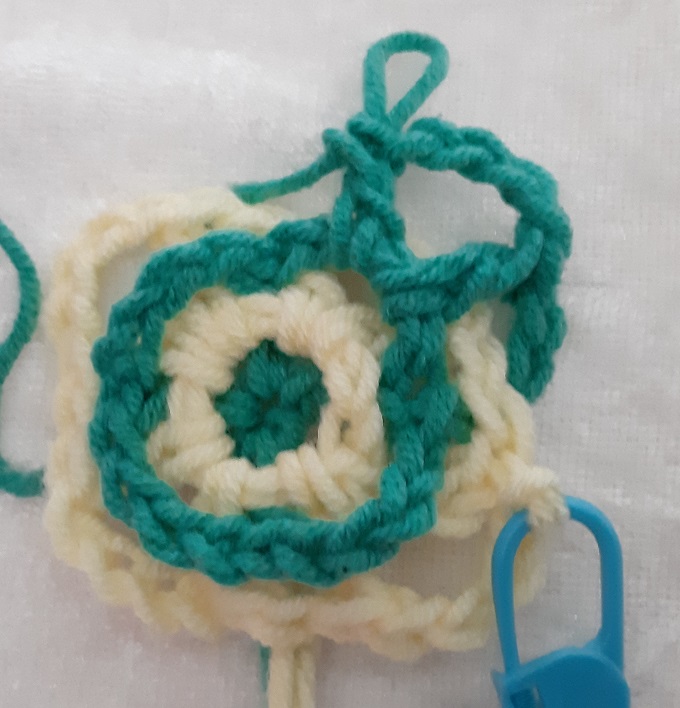
Now make a dc (step 3). This time you will make the dc into the chain space of the previous green row, and you will do that at the front of the piece.
This second dc is a corner dc of the top left corner, as you can see in the chart and the picture.
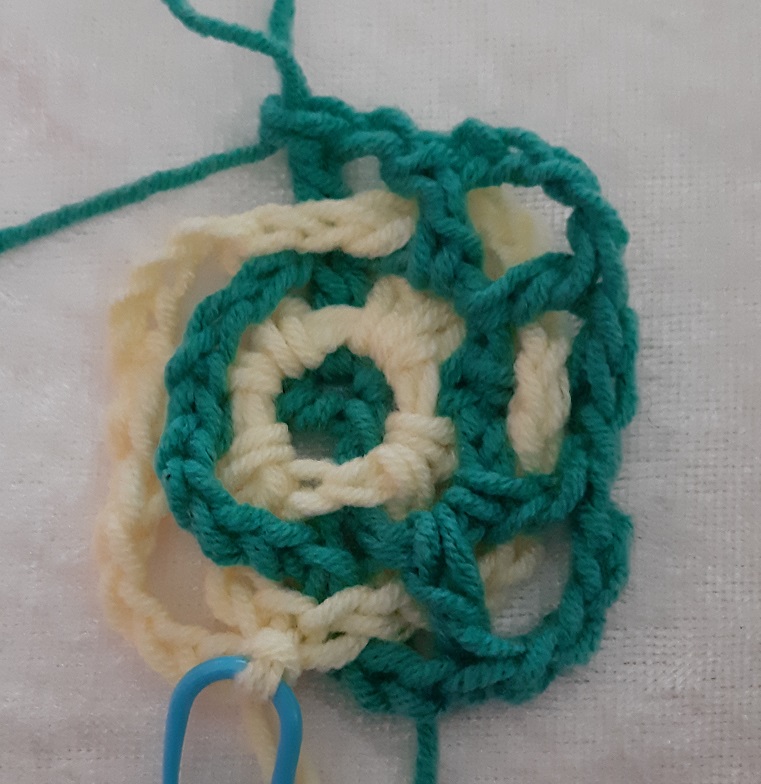
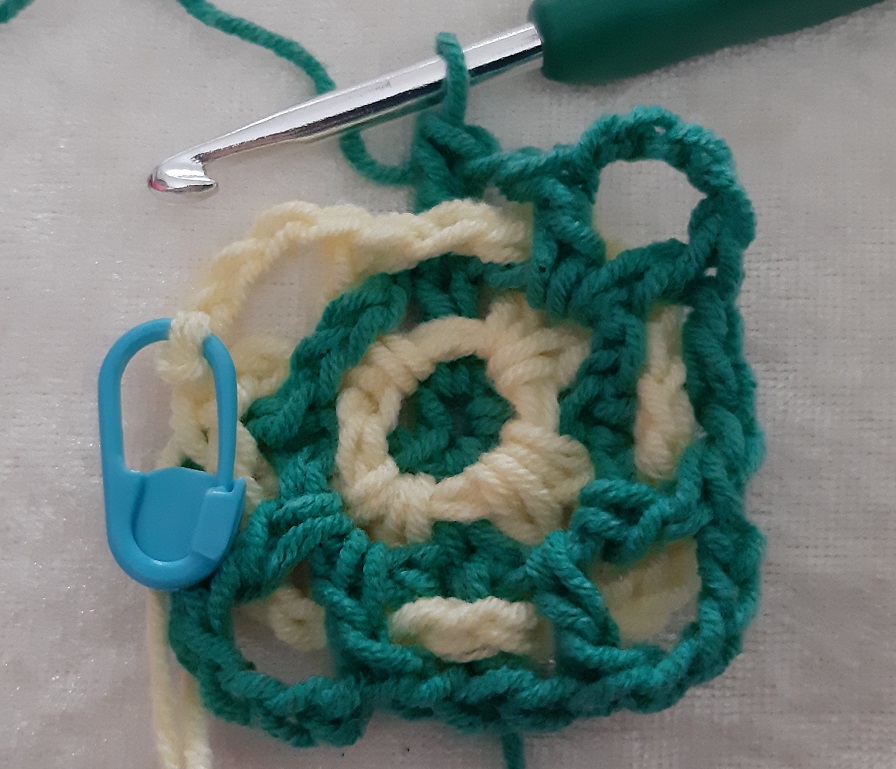
Make again 4 corner chains (step 4 and 5), turn the work to the right, and make a dc (step 6), again in the same corner and at the front.
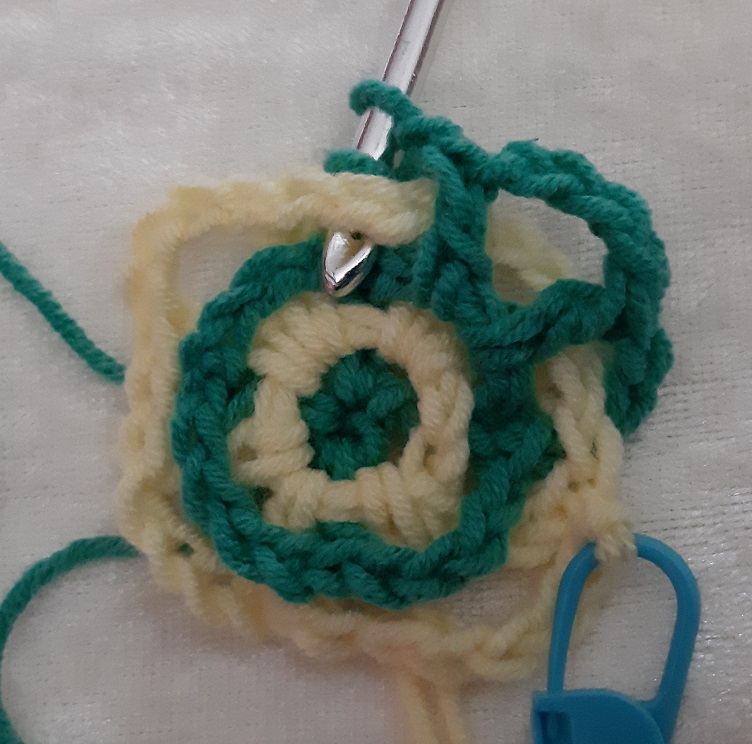
This time we will make 2 in between squares. Start with making 1 chain and make a dc that has to be at the back this time.

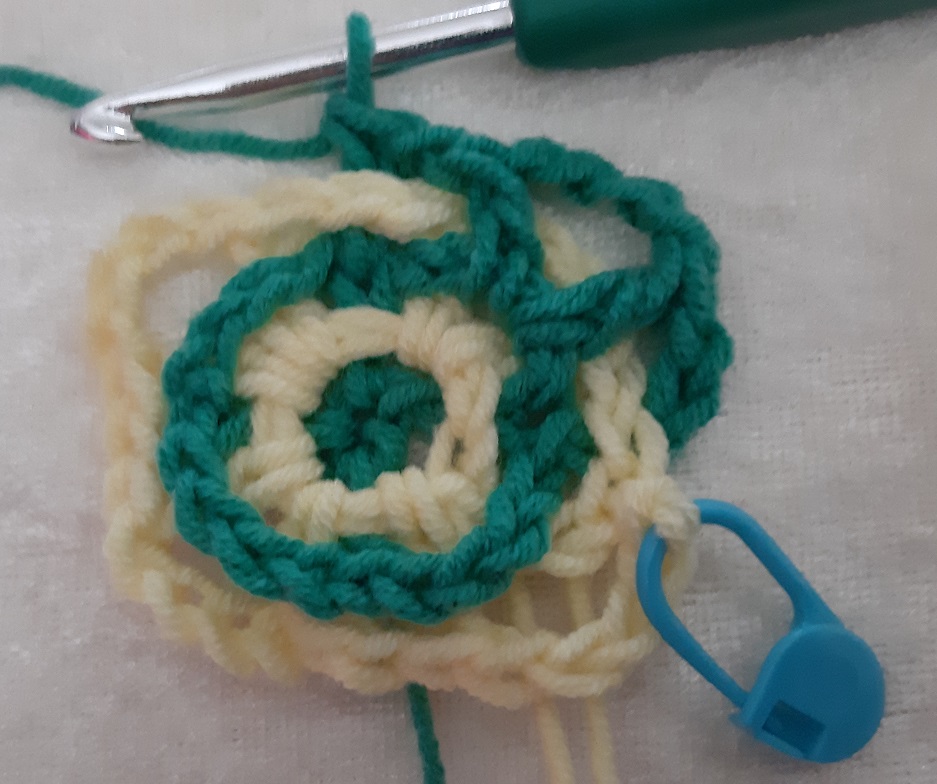
This is how it looks now at the back.
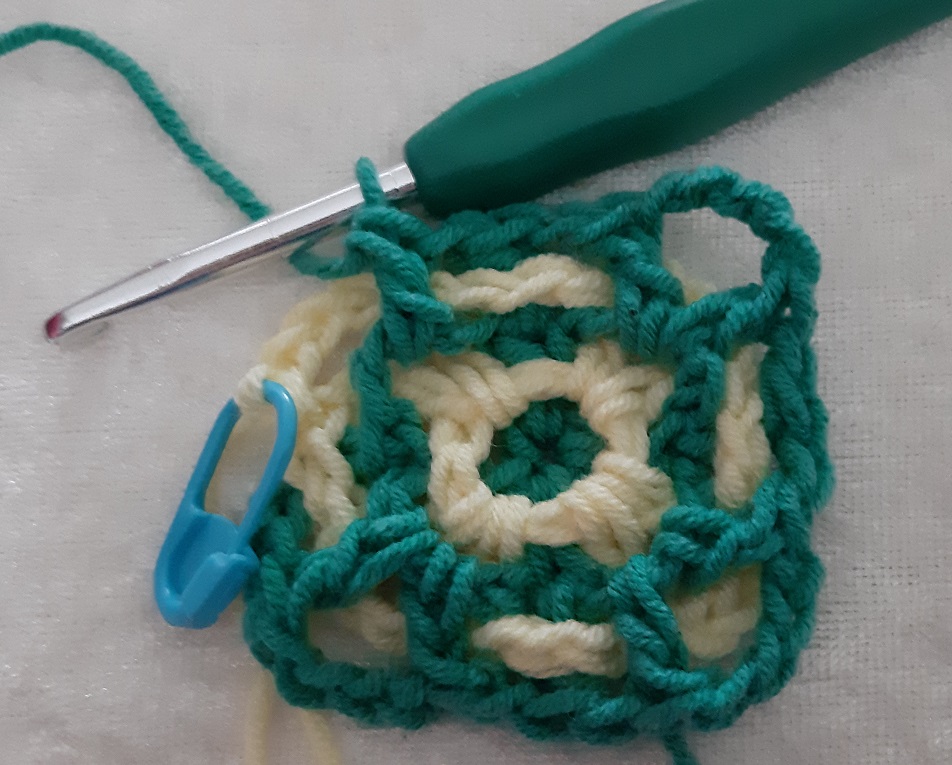
Again another chain and a dc in the next corner, at the front of the piece.

Again do 4 corner chains, turn the work to the right, and make a dc, again into the same corner as the previous dc and again at the front.
Now we will make again 2 in between squares. Start with making 1 chain and make a dc again at the back of the piece.
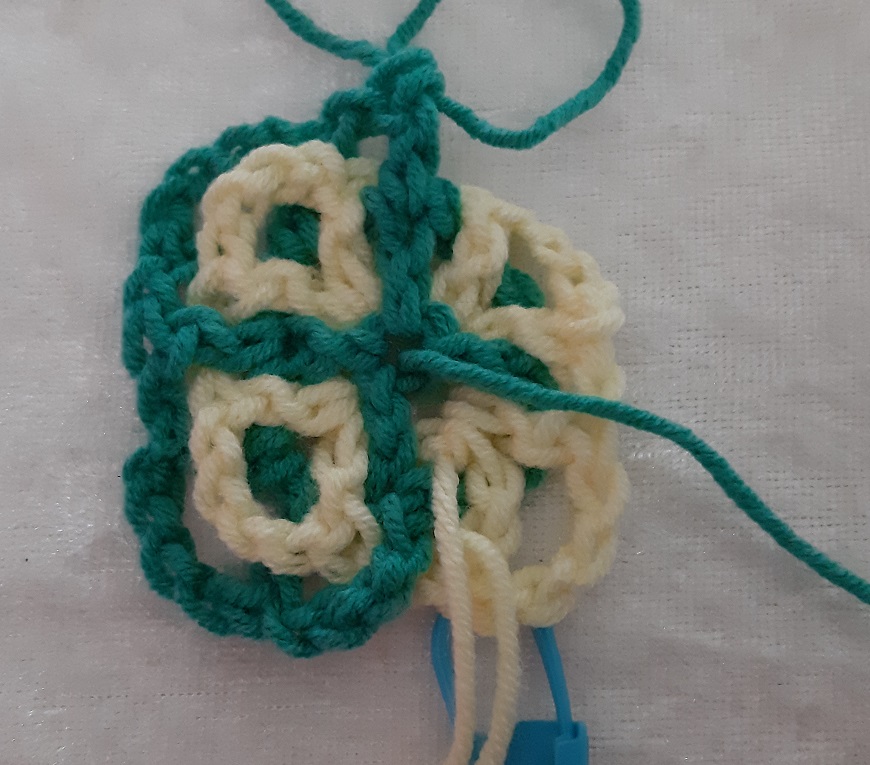
This is how the back looks now.
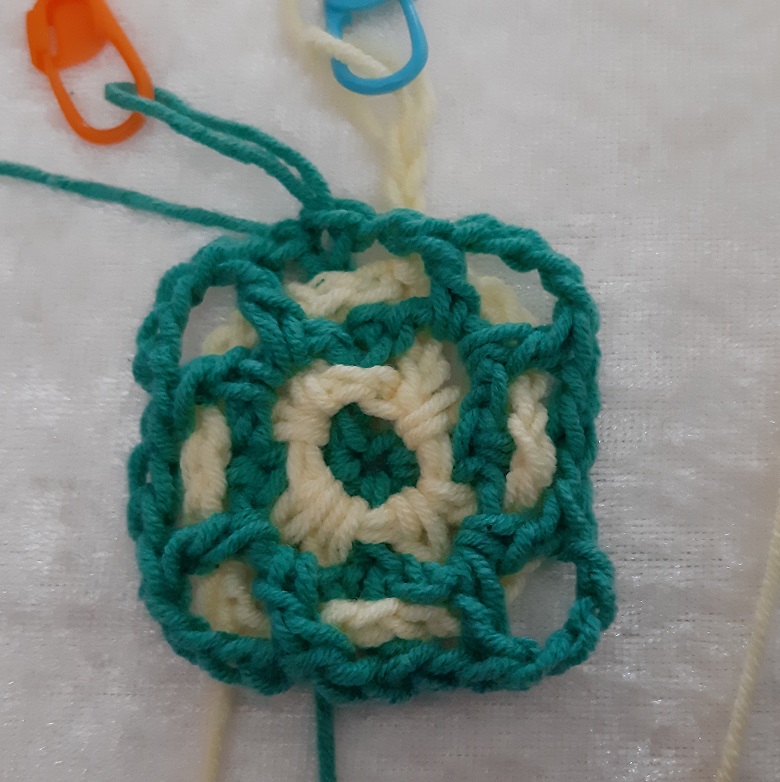
Do the next steps until you have done the last corner.
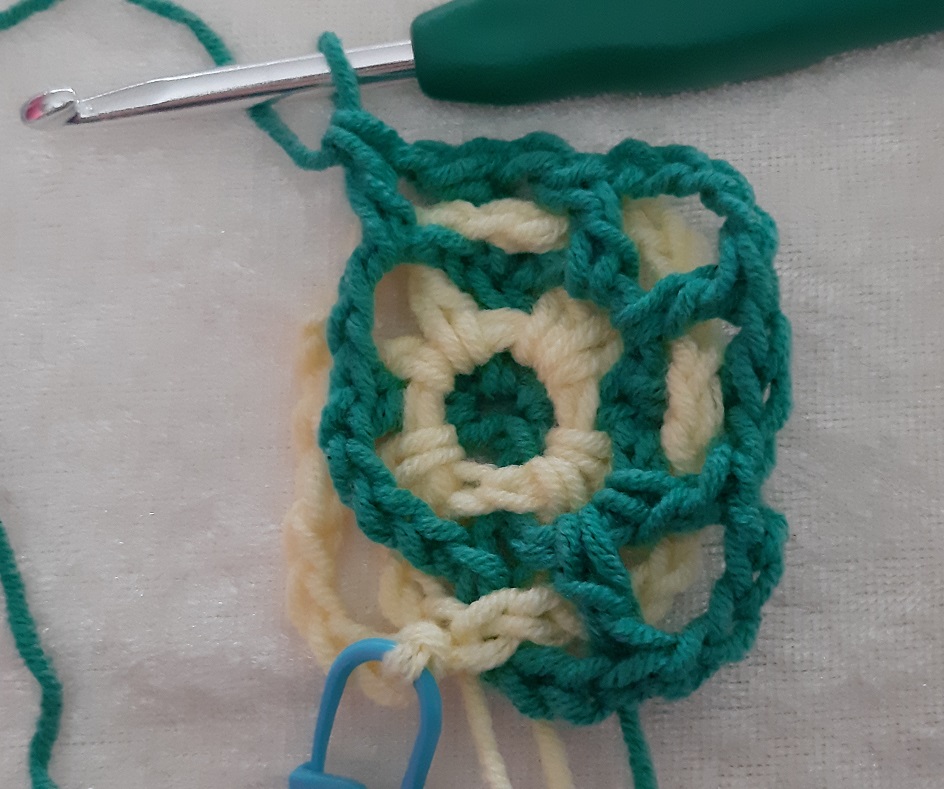
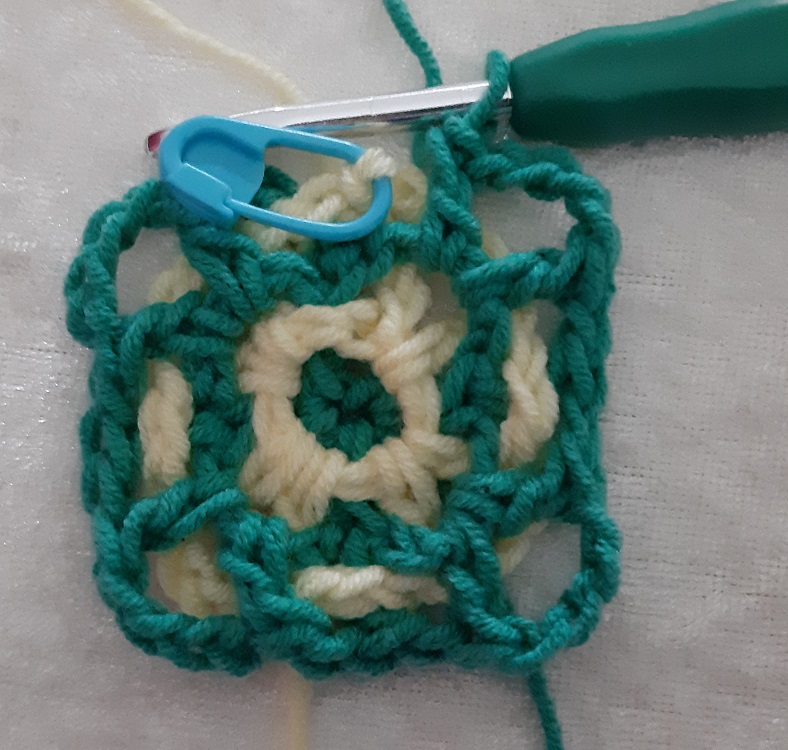
We have come again at a point where we will cross the starting position of color 2 (yellow). We have to see the next row in color 2, if the first dc has to be made at the front or at the back. It is again handy to already make the first 4 chains in yellow and play with the green yarn, to see where the first yellow dc has to be. Or follow the written instructions 🙂 .
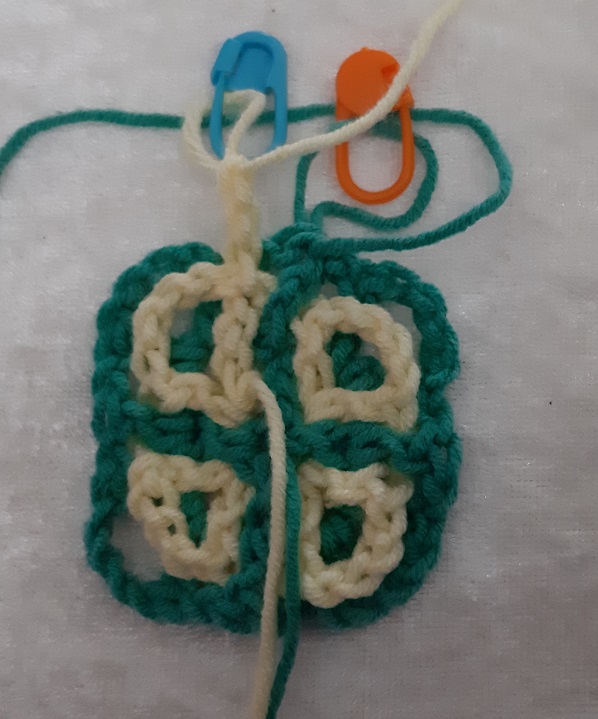
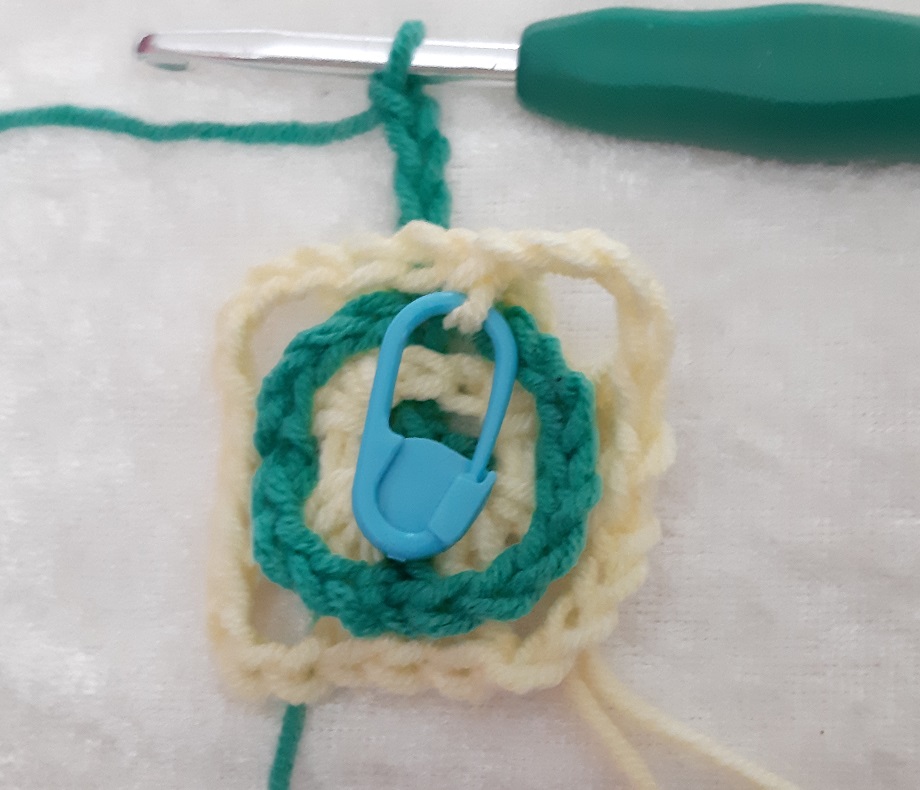
The first yellow dc has to be made in the back, so it is put to the back and the green row is closed with a slip stitch at the front. You see here also how it looks at the back of the work. Pay attention, we will keep working at the front of the piece.