
Pages of this tutorial
I splitted the tutorial up in several pages.
- Introduction and row 0 and row 1: click here to go to that page
- Row 2: click here to go to that page
- Row 3: click here to go to that page
- Row 4: that’s this page
- Row 5: click here to go to that page
- Row 6 and 7: click here to go to that page
- Pattern description and pictures of the last rows: click here to go to that page
- Tips and tricks: click here to go to that page
- Joining the blocks: click here to go to that page
Row 4 (color 2)
Pattern description extended:
- dc in the back (3 ch) + 1 in between ch
- color 1 to front
- dc in the back + 1 in between ch
- dc in front
- 4 corner ch
- repeat 3 times:
- dc in front + 1 in between ch
- dc in the back + 1 in between ch (2x)
- dc in front
- 4 corner ch
- dc in front + 1 in between ch
- close row with slip stitch
Pattern description shortened: color 1 to front, b 2x, f 1x, c, *(f 1x, b 2x, f 1x, c)* 3x, f 1x
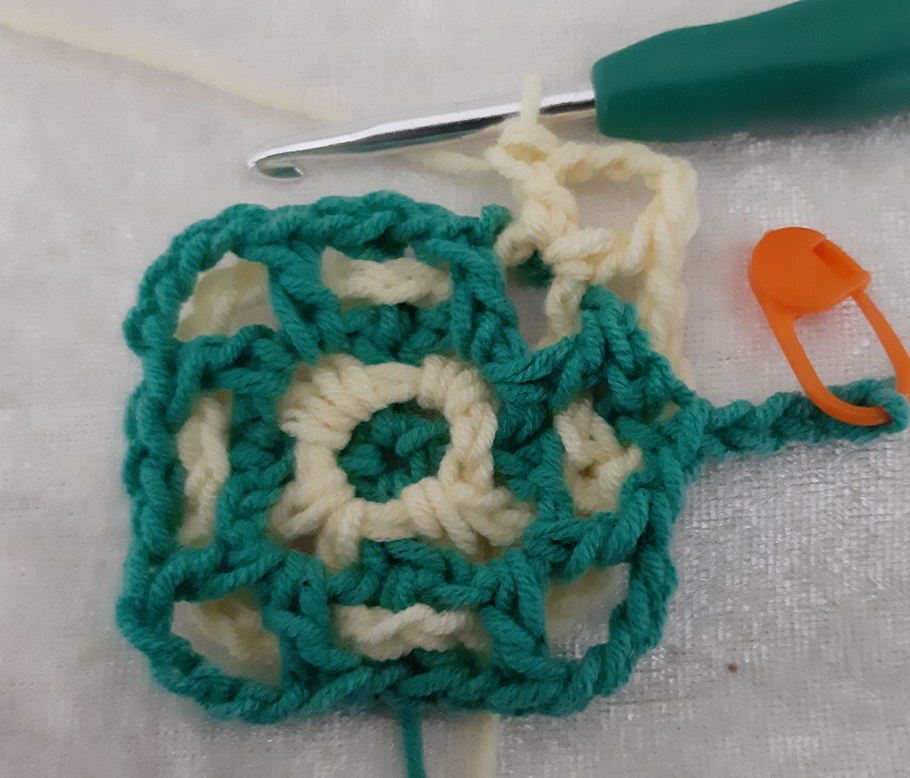
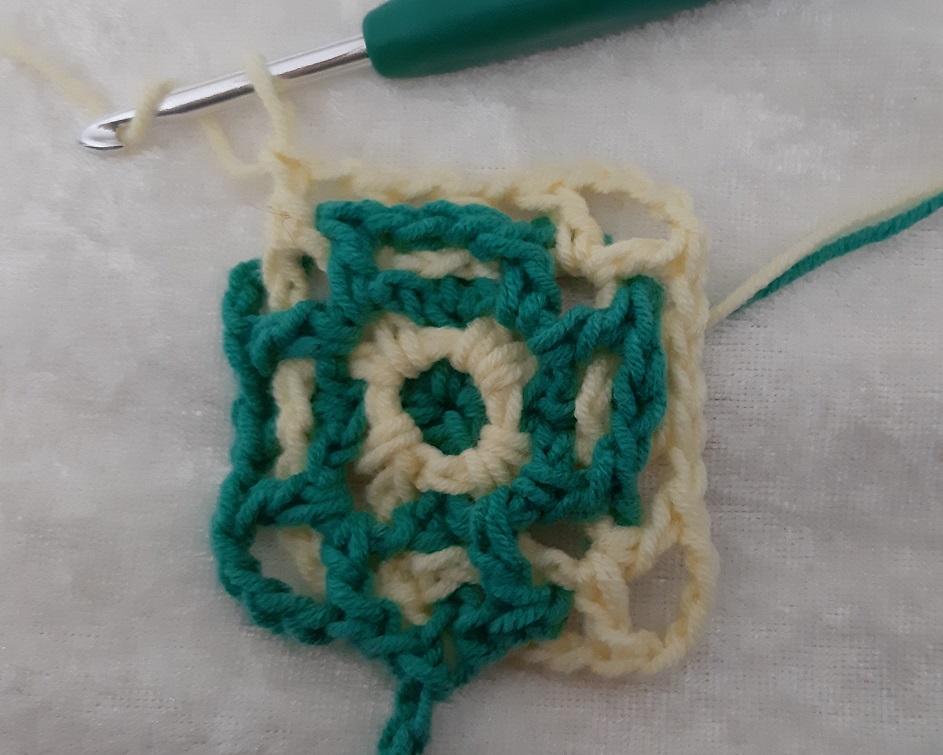
We already did the 4 chains, and they are already at the back. The first 4 chains of color 1 (dc 1 plus the in between chain), the green, are also already made and put to the front. The next dc is made at the back.
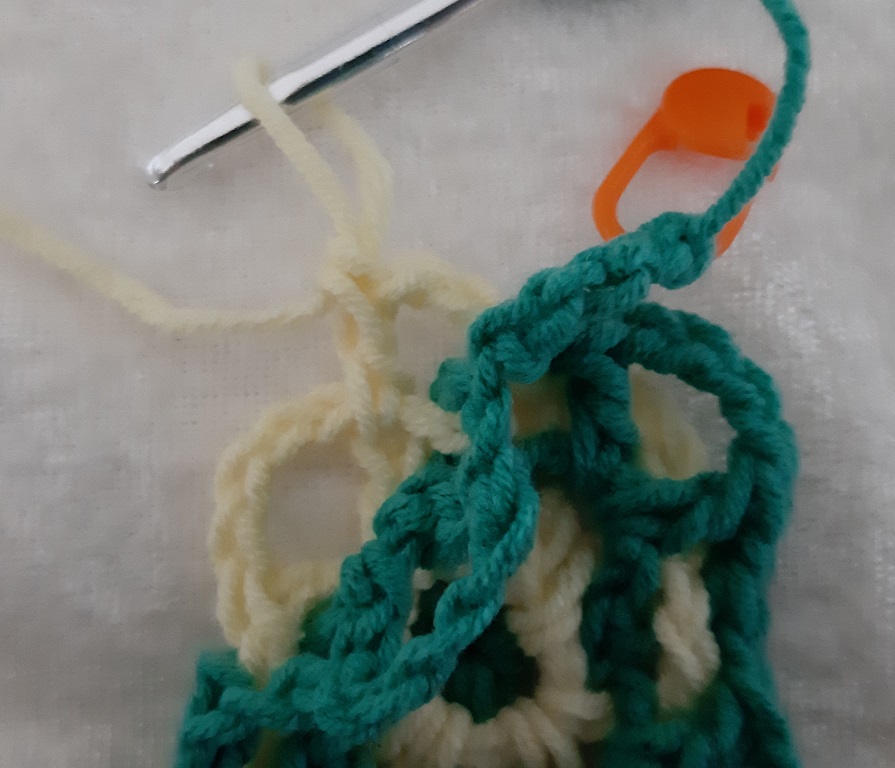
Here you see a detailed shot of the dc that is made at the back. I folded the green corner a bit over so that you can see it clearly. You can see it is made into the top of the dc of the previous yellow row.
Here is again 1 chain made and a dc in the corner, at the front.
Next step is again a corner: 4 chains and a dc at the front.
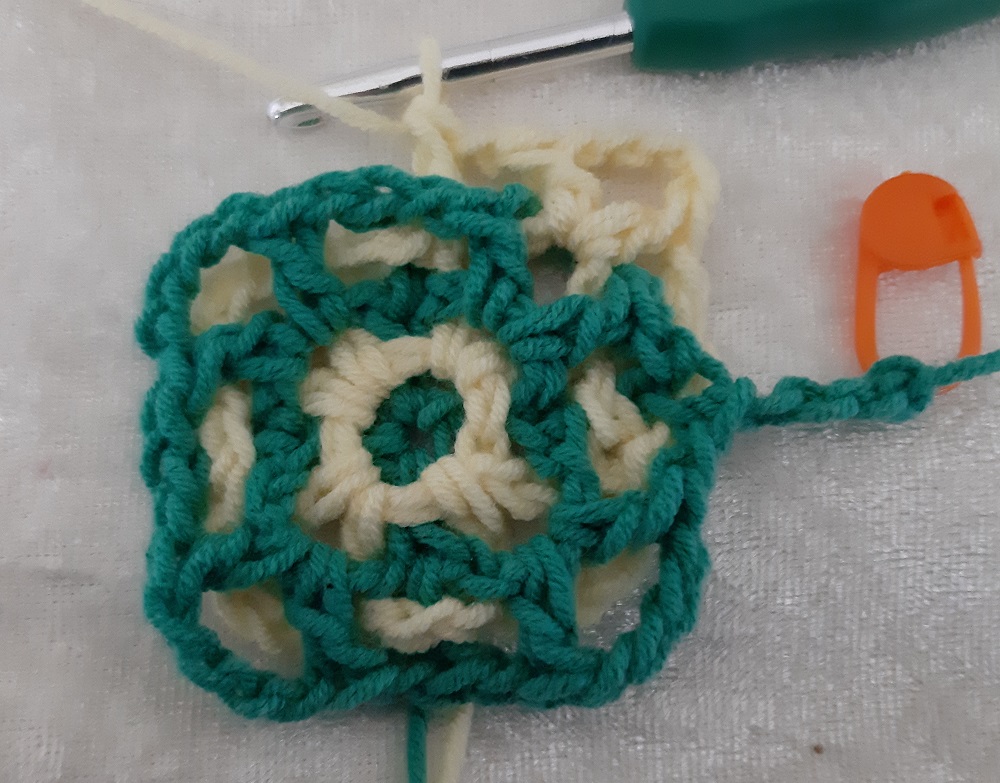
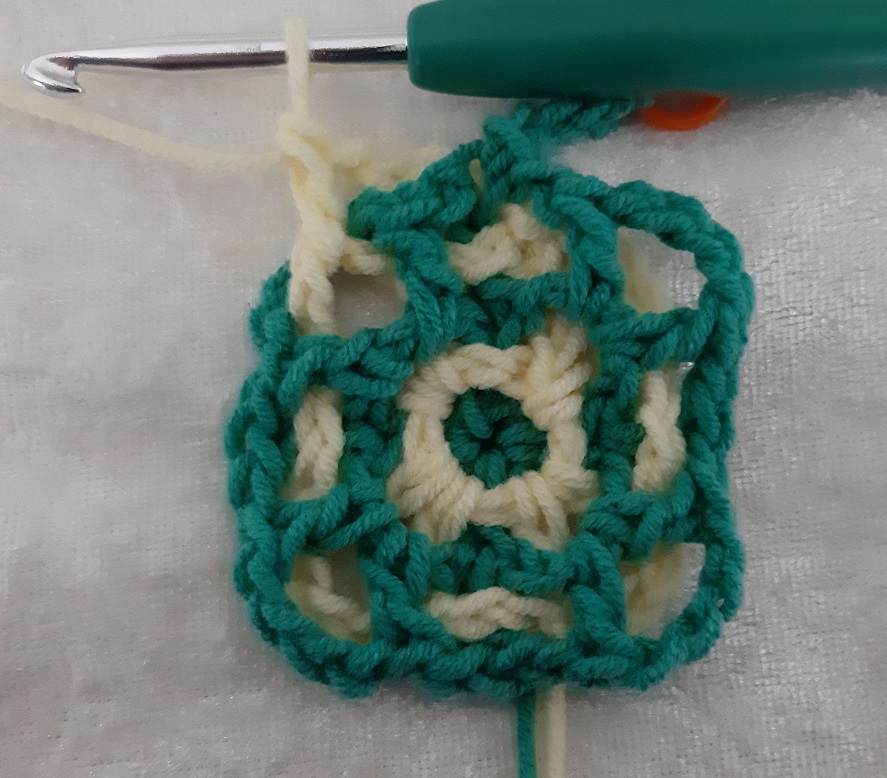
We continue with making the in between squares: 1 chain and a dc in the back.
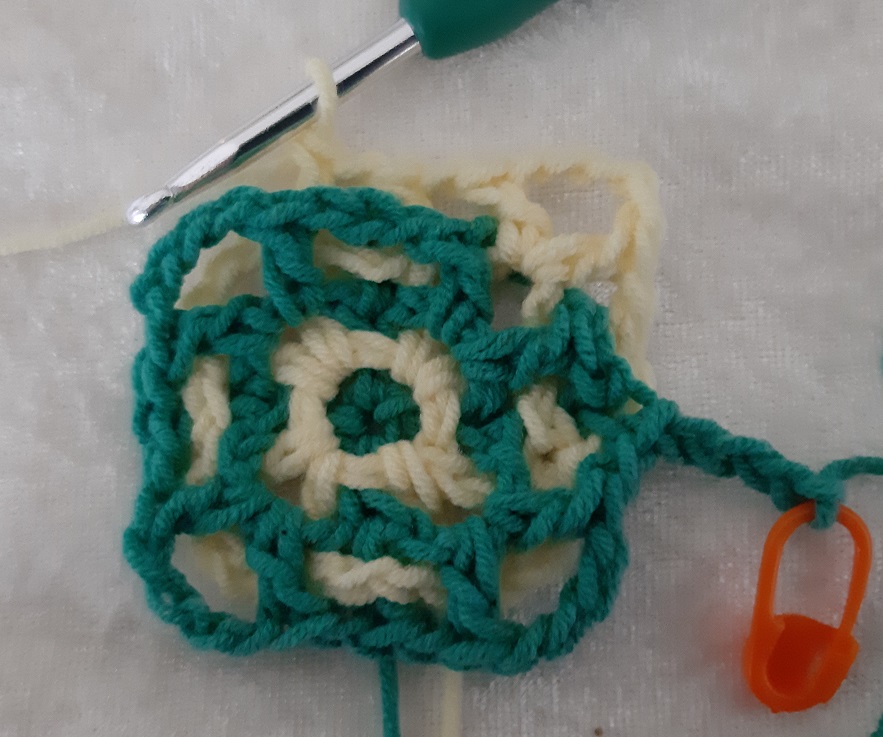
Another chain and a dc in the back.
Here is again the back.
Again a chain and a dc in front, the next corner.
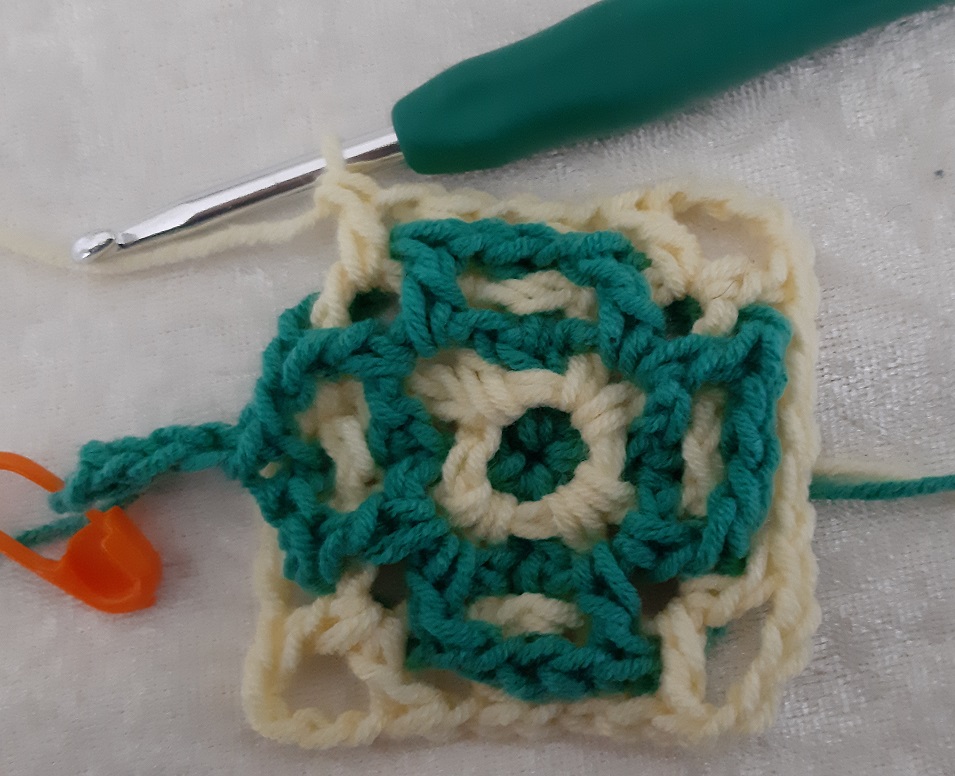
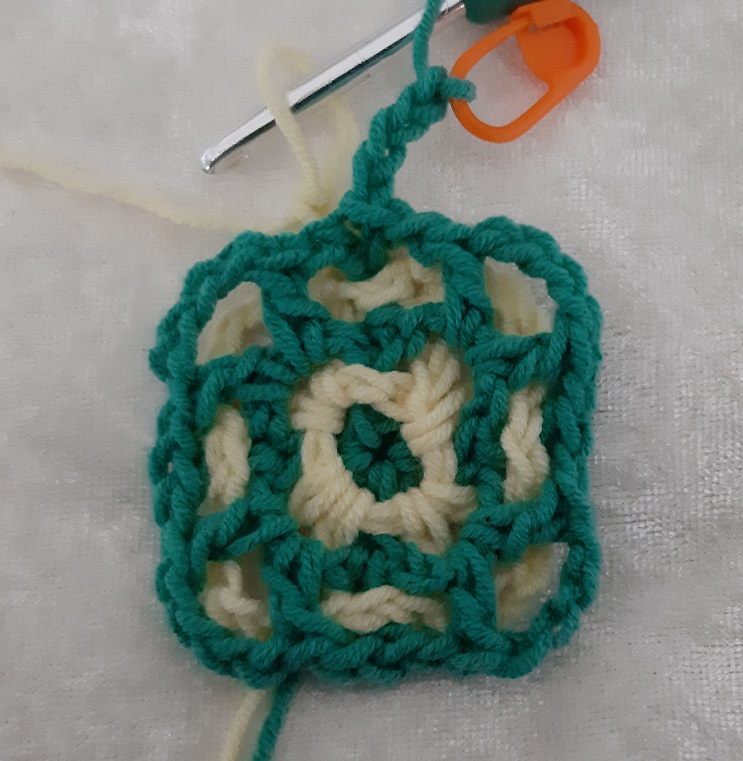
Repeat this all around. Here the first corner dc is done in the last corner.

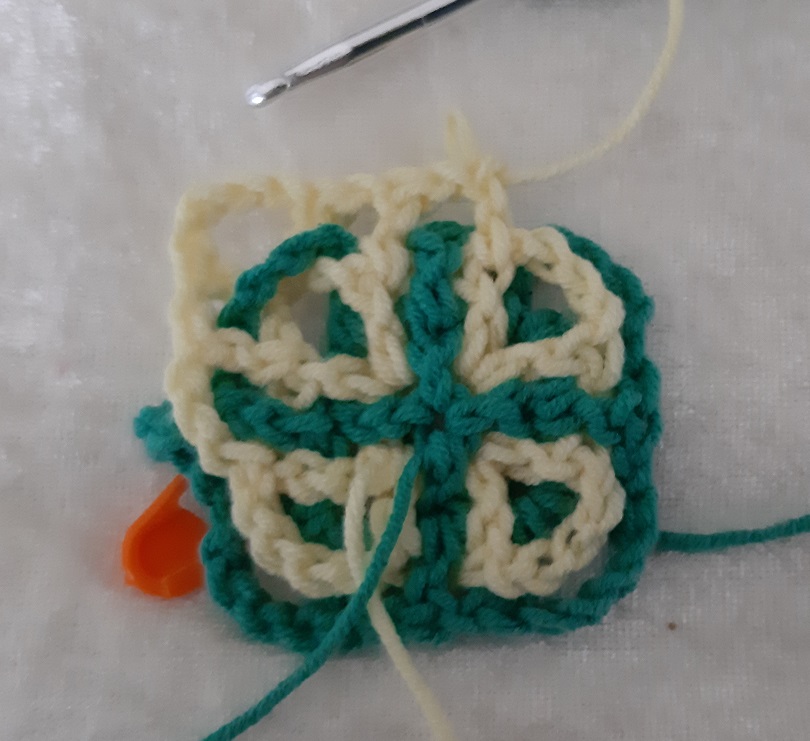
Make 4 chains and a corner dc in front in the same corner. After that make 1 more chain and close the row with a slip stitch. We don’t cross the green, so we don’t have to pay attention to that.
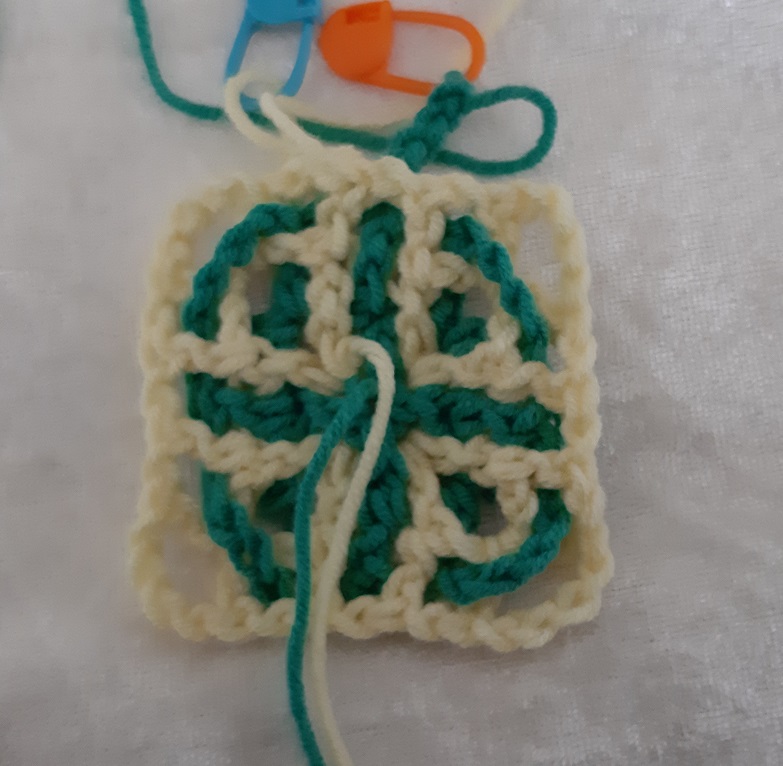
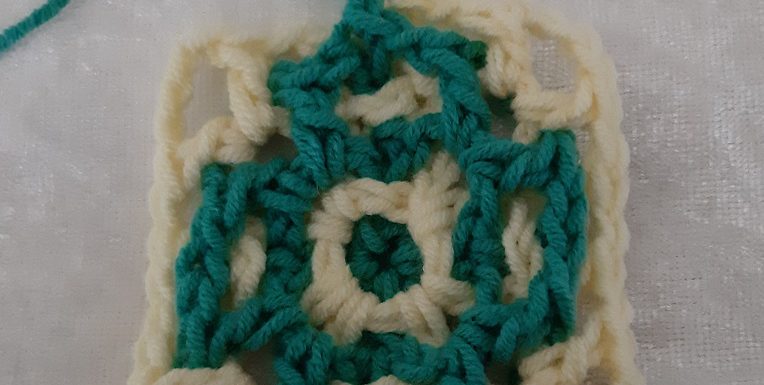
Another view at the back when row 4 is finished.