
Overview of the tutorials
This tutorial of the first 5 blocks is split into a couple of pages, so that you can go quickly to the page you need. Here you find the overview with the links.
- Choosing colors and crochet symbols: click here to go the page
- The practice piece: click here to go the page
- Block 1, the middle part: click here to go the page
- The low border around block 1: click here to go the page
- Block 2, the first 2 rows: click here to go the page
- Block 2, the interwoven rows and the end border: click here to go the page
- Block 3: click here to go the page
- Block 4, with stitches on the front in row 1a: that’s this page
- Block 5: click here to go the page
- The border: click here to go the page
The video
You can watch the video for this part here: https://youtu.be/QYXGBU8TXh8.
Block 4: first row in color 2
 The chart for color 2.
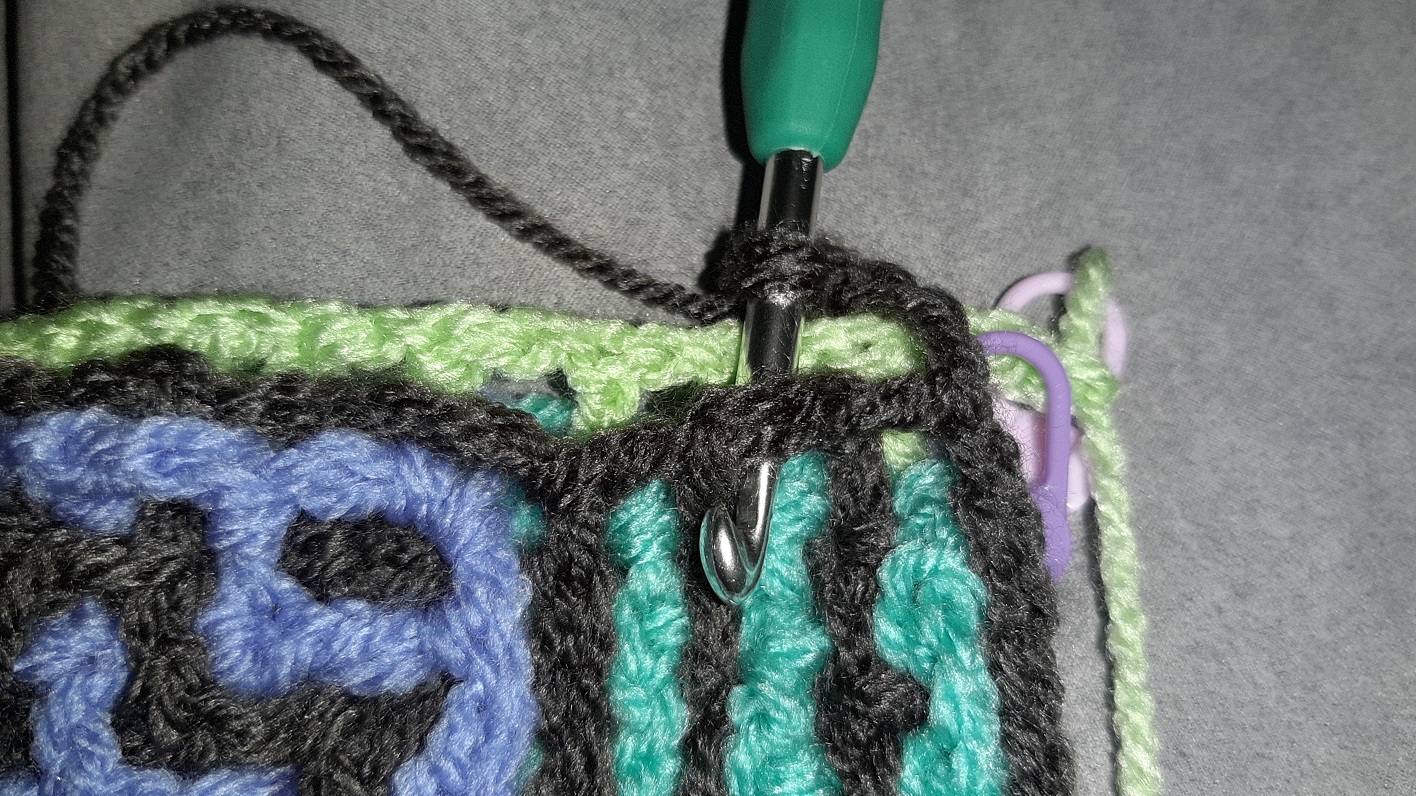
 We will work one more time along just 2 previous blocks. The instructions say to do 8 BPdc’s in total, 5 along block 1, 3 along block 3. Here the first 5 are made, and we have come just before the crossover to the next block. The marker signals again to pay attention!
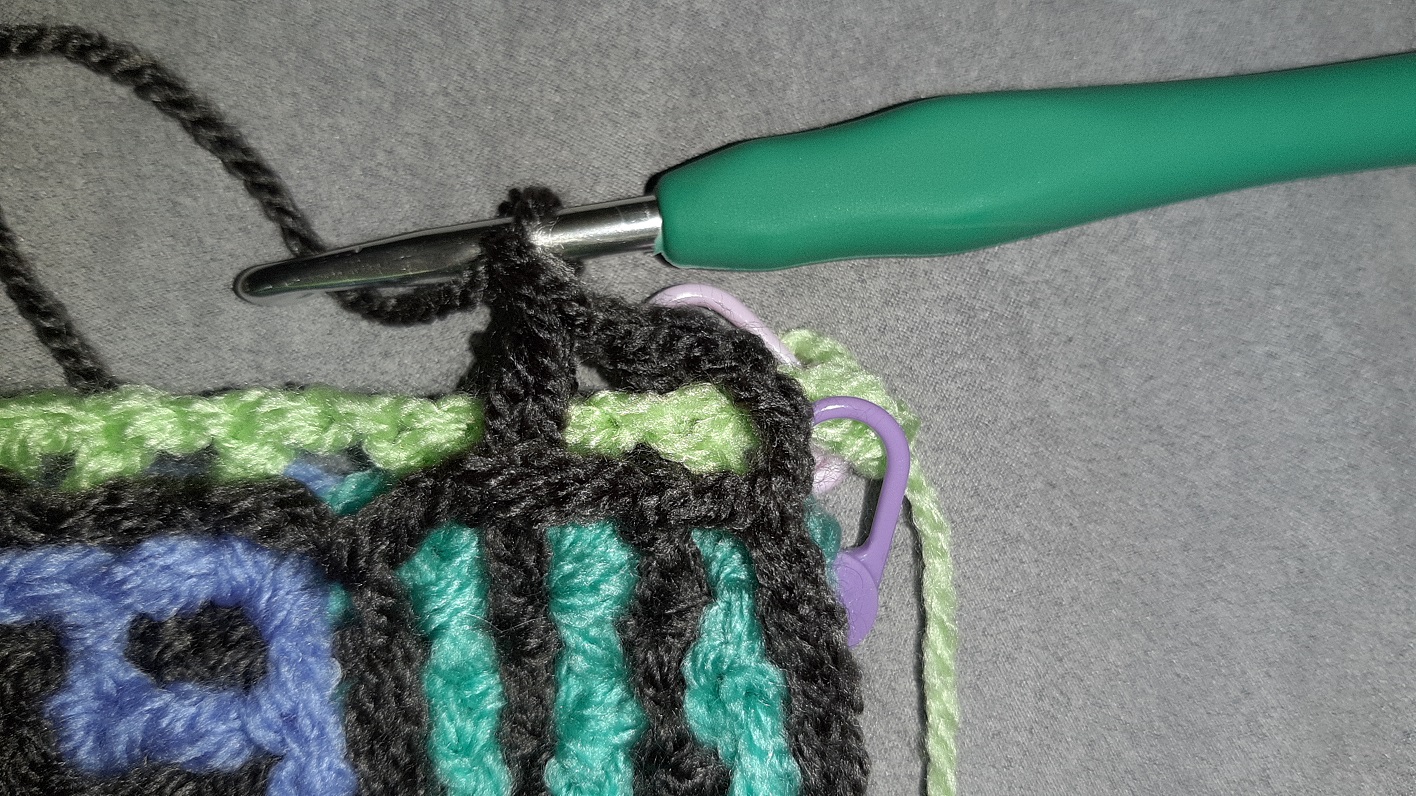
 The next BPdc is done along block 3.
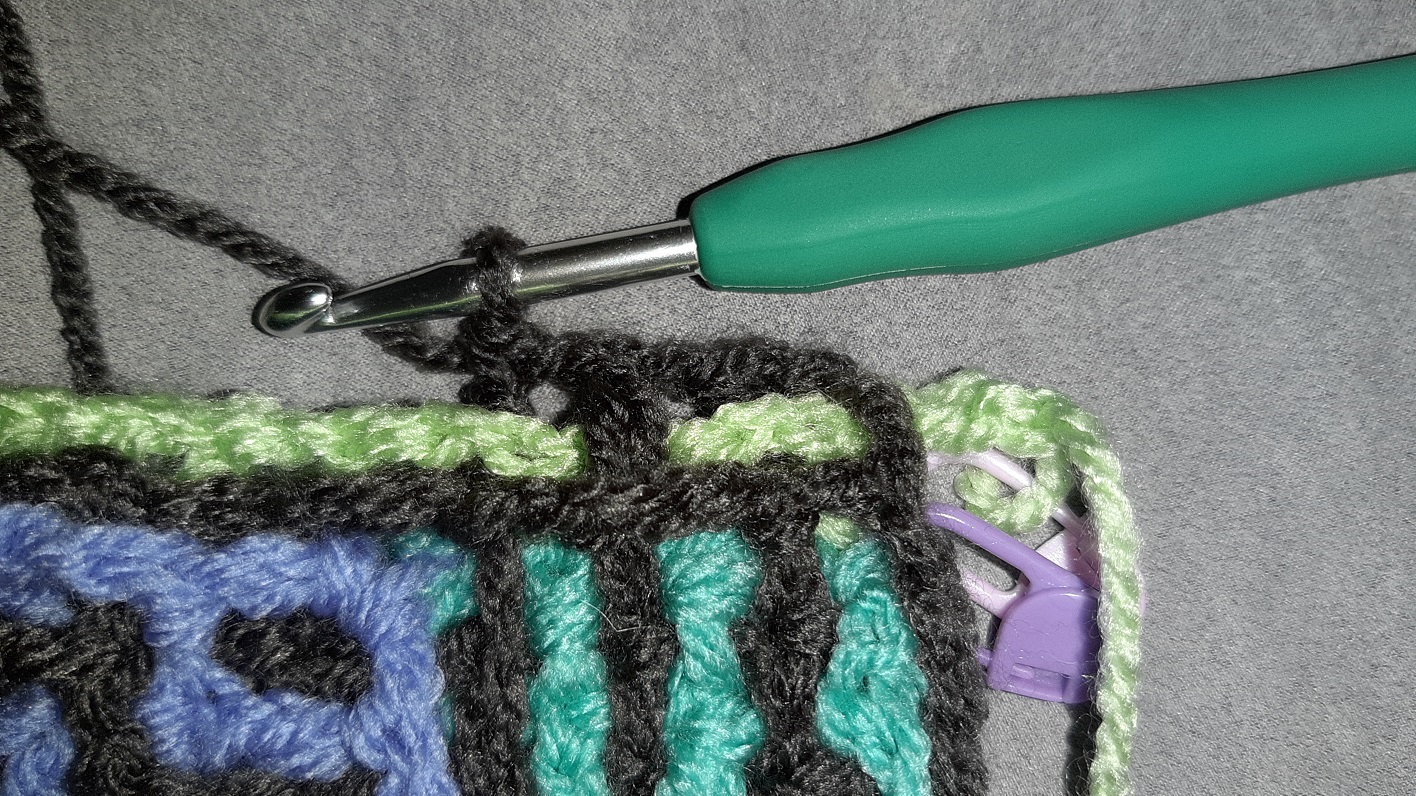
 And the 3 BPdc’s are now done also.
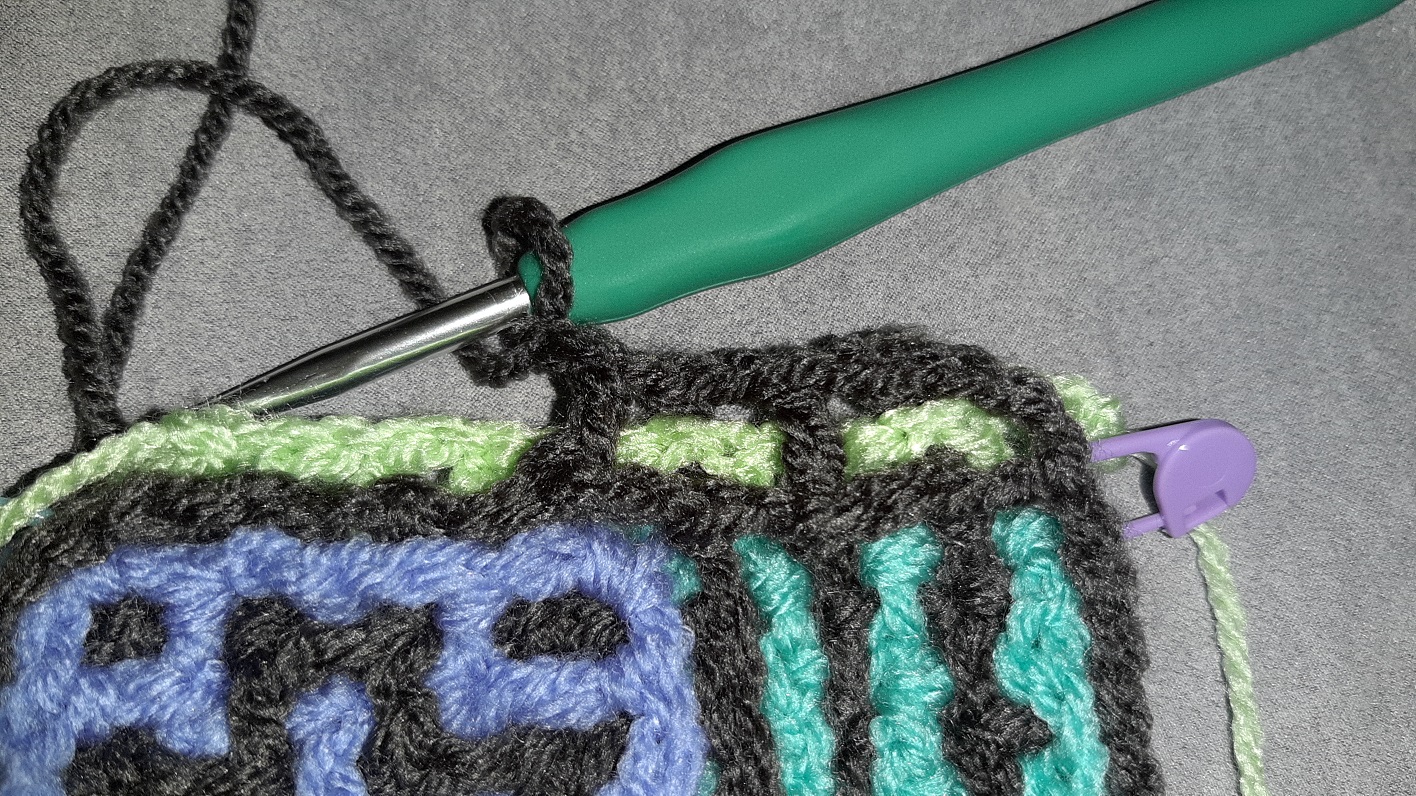
 This is how it looks at the front.
Block 4: first row in color 1 with stitches front and back
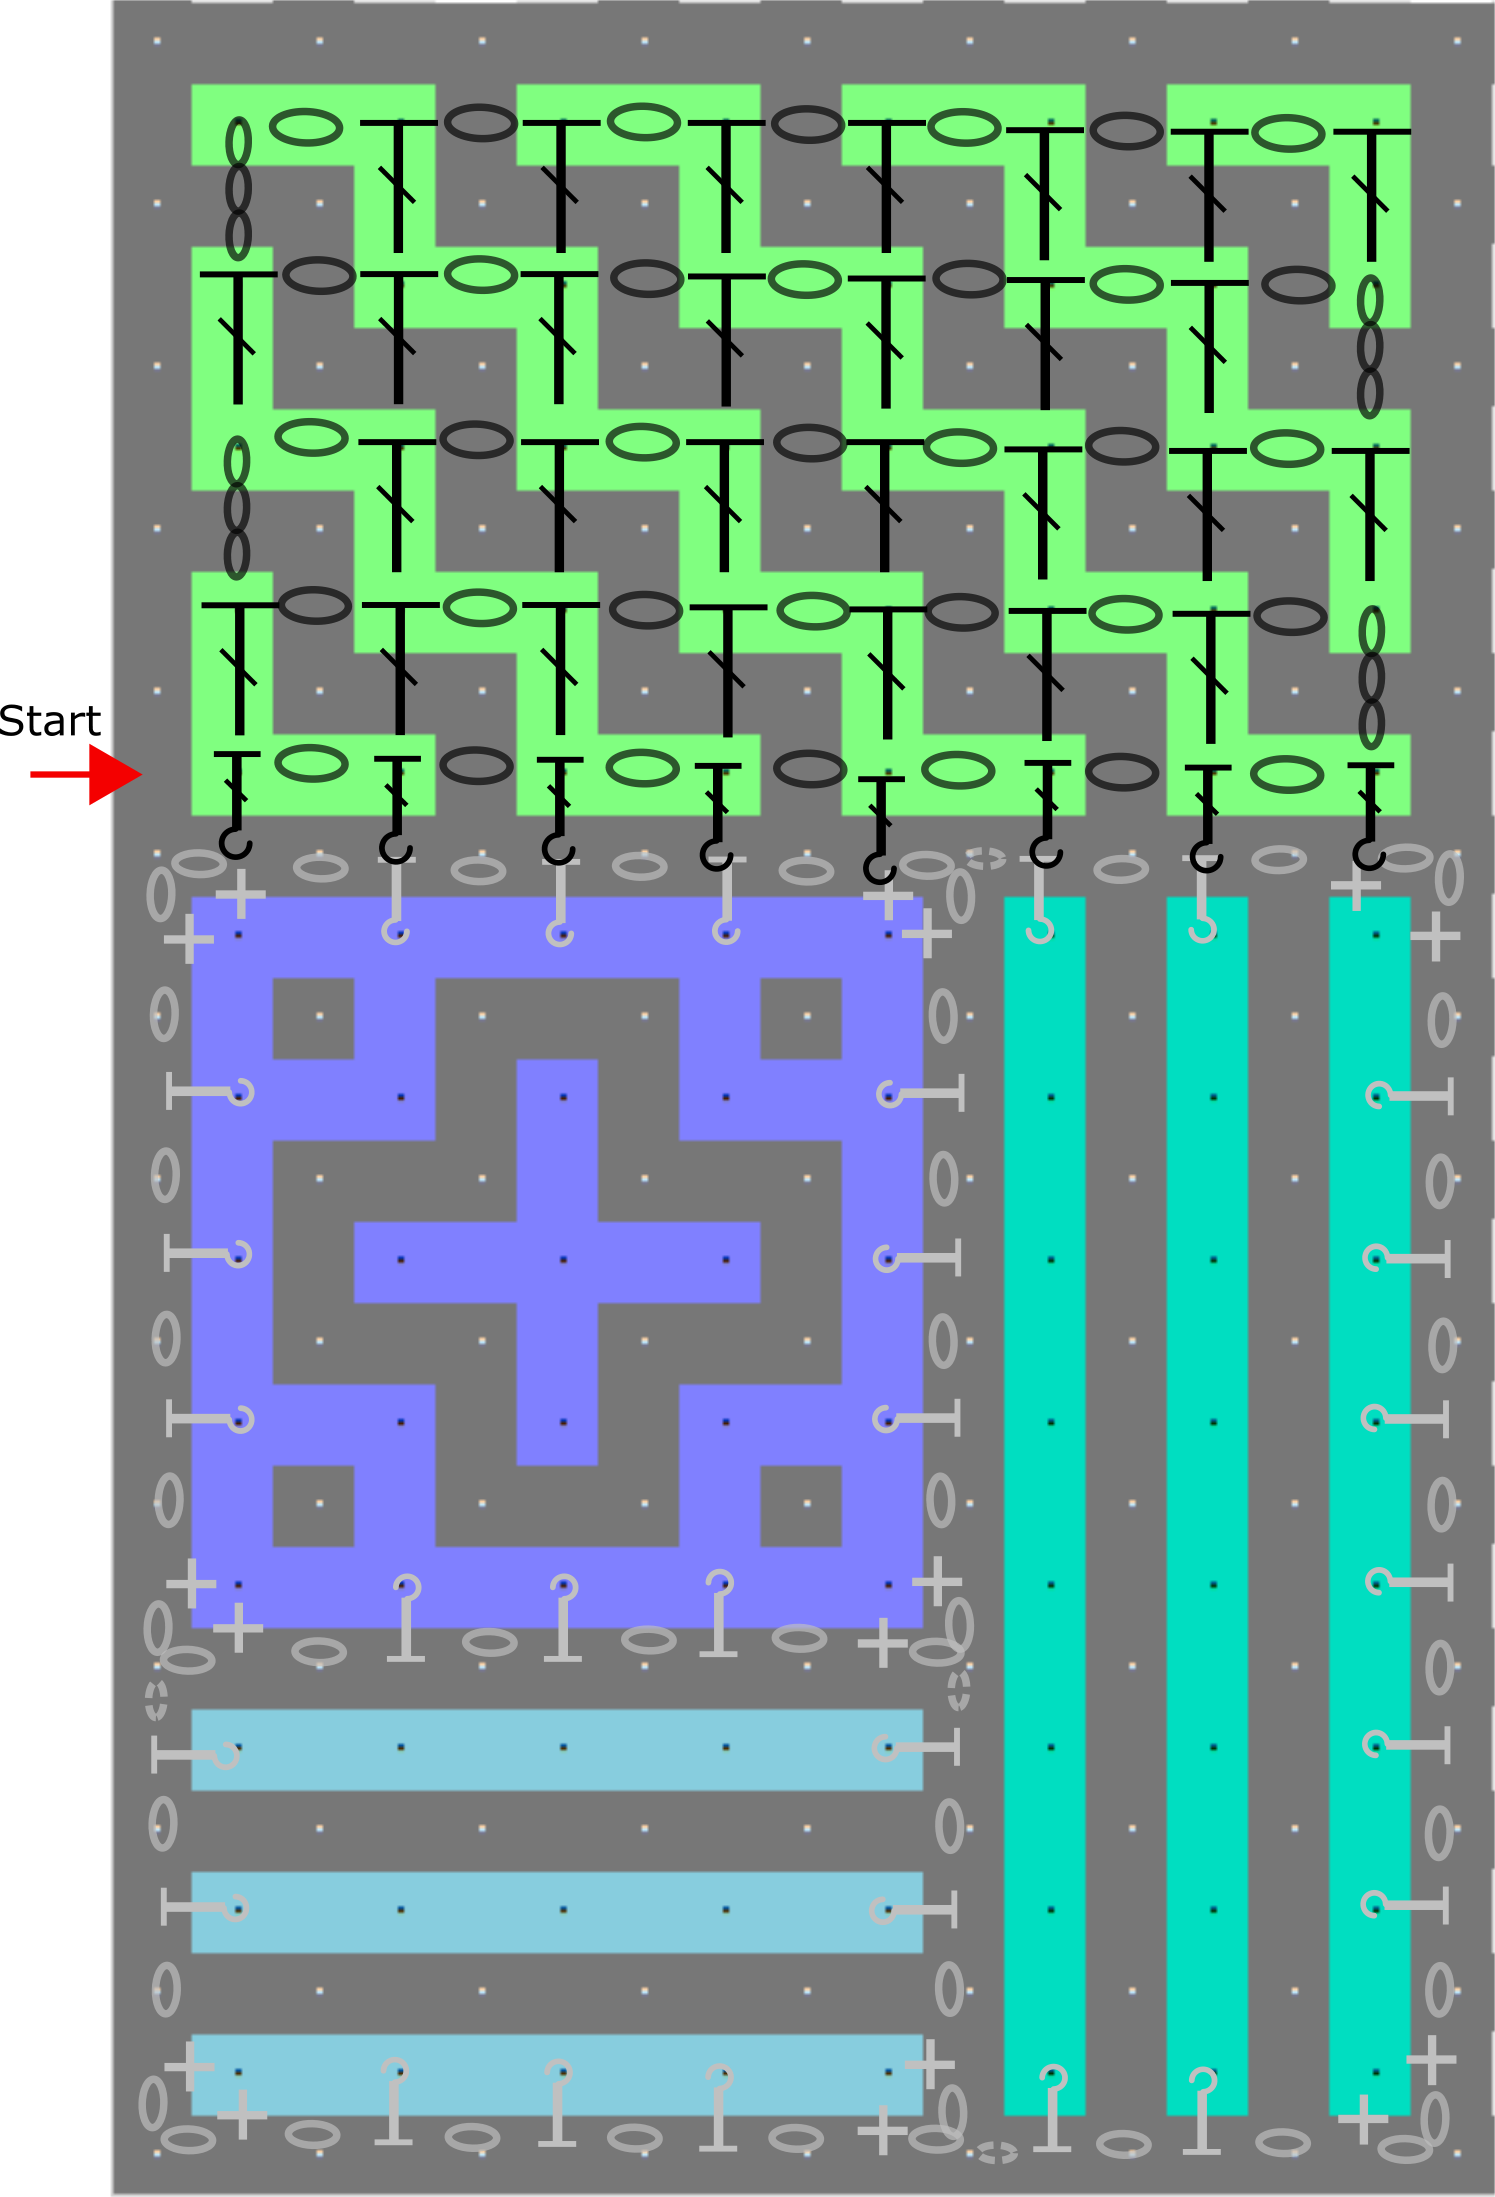
 The chart for color 1. Click on the picture to see it fully. This chart doesn’t show if to work at the front or back, wo we need to get the pattern description with it.
 The description says: color 2 to the back, side st, *(b 1x, f 1x)* 3x, b 1x, side st. New with this is that you also have to crochet stitches ‘front’ in row 1a. Actually it is just regular interwoven, but with the use of backpost stitches. And it might feel a bit different, so I will walk you through it.
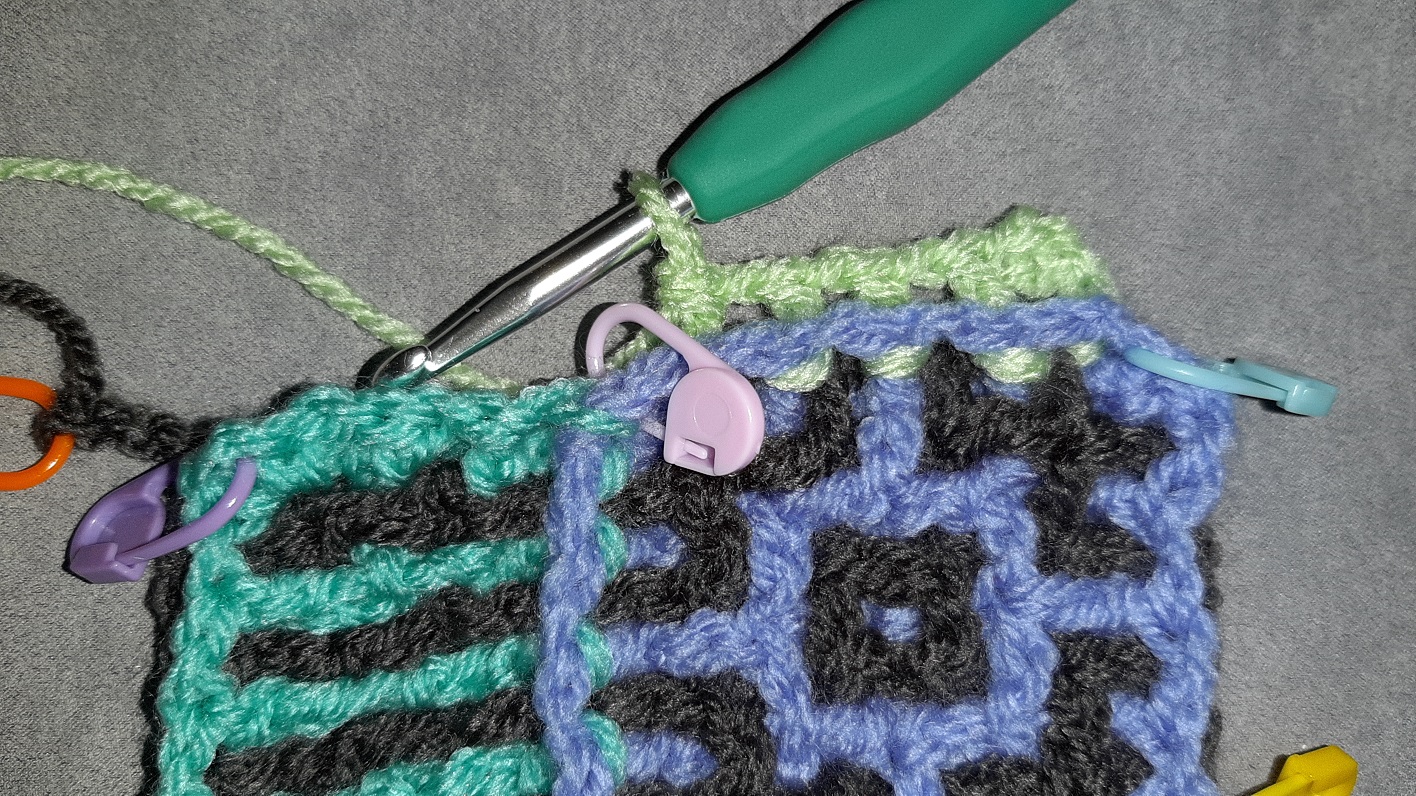
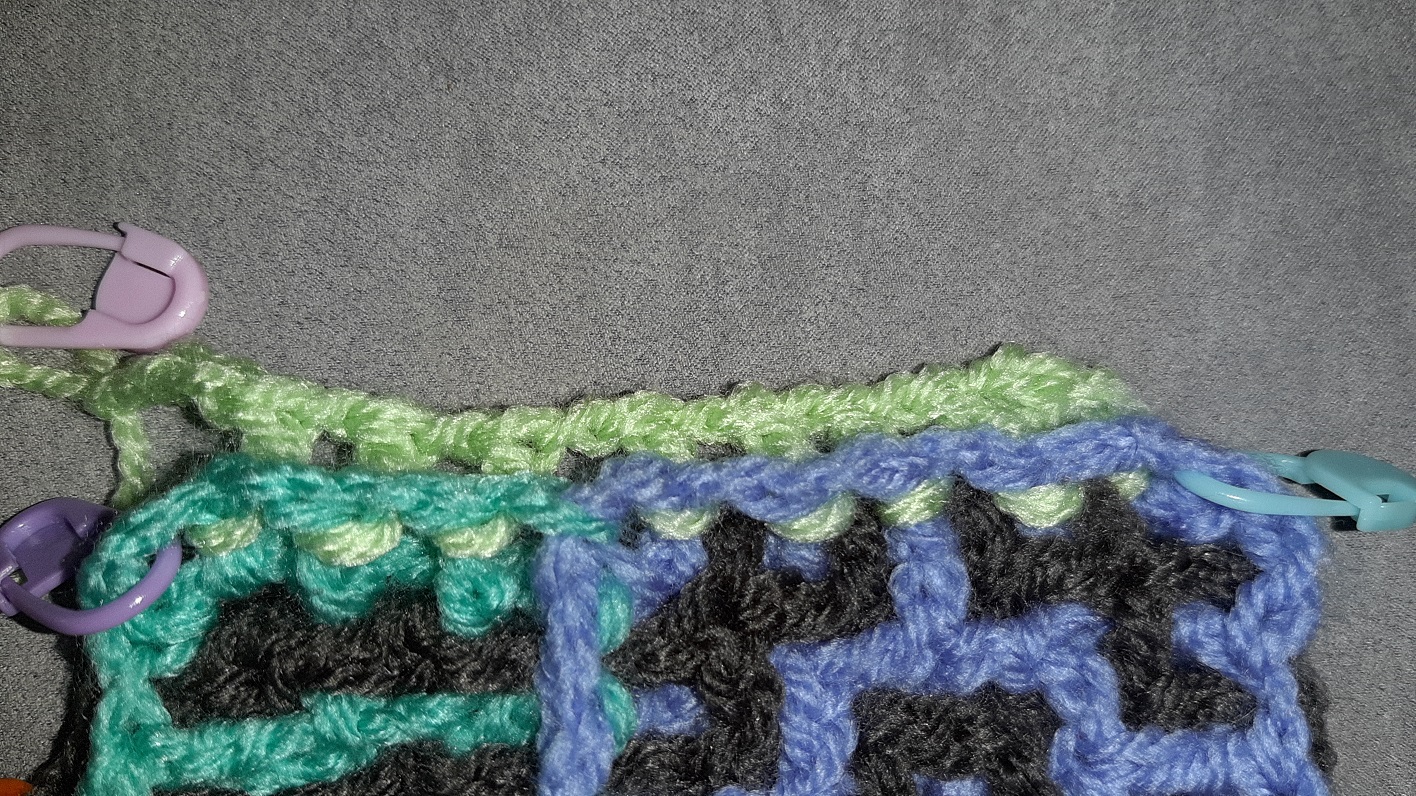
In the picture here you see clearly that color 2 is put to the back (light green) and that the first BPedc in color 1 is being made, b 1x. You also see clearly here that I work behind color 2. The side stitch is the first stitch at he far right of course.
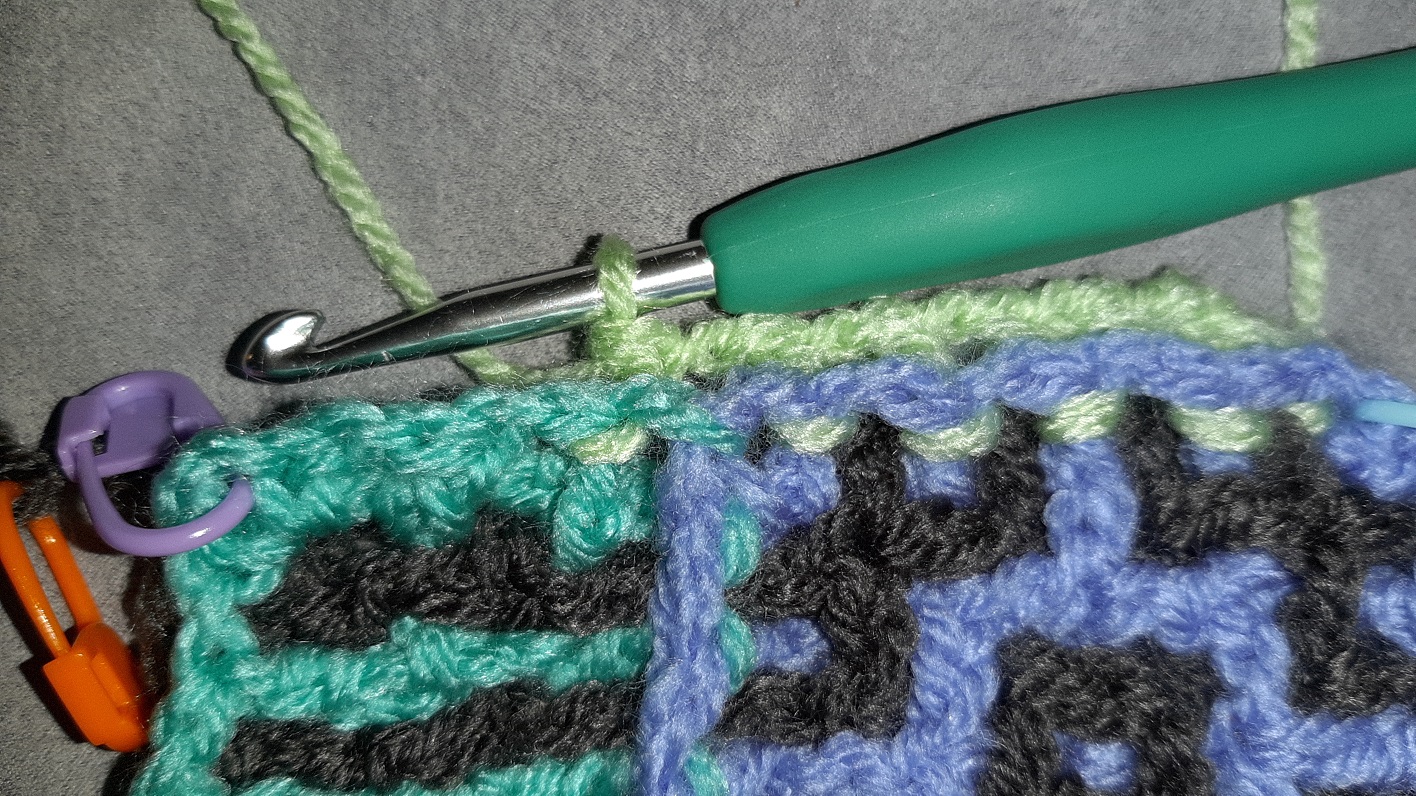
 The stitch is made and the post is lying behind color 2.
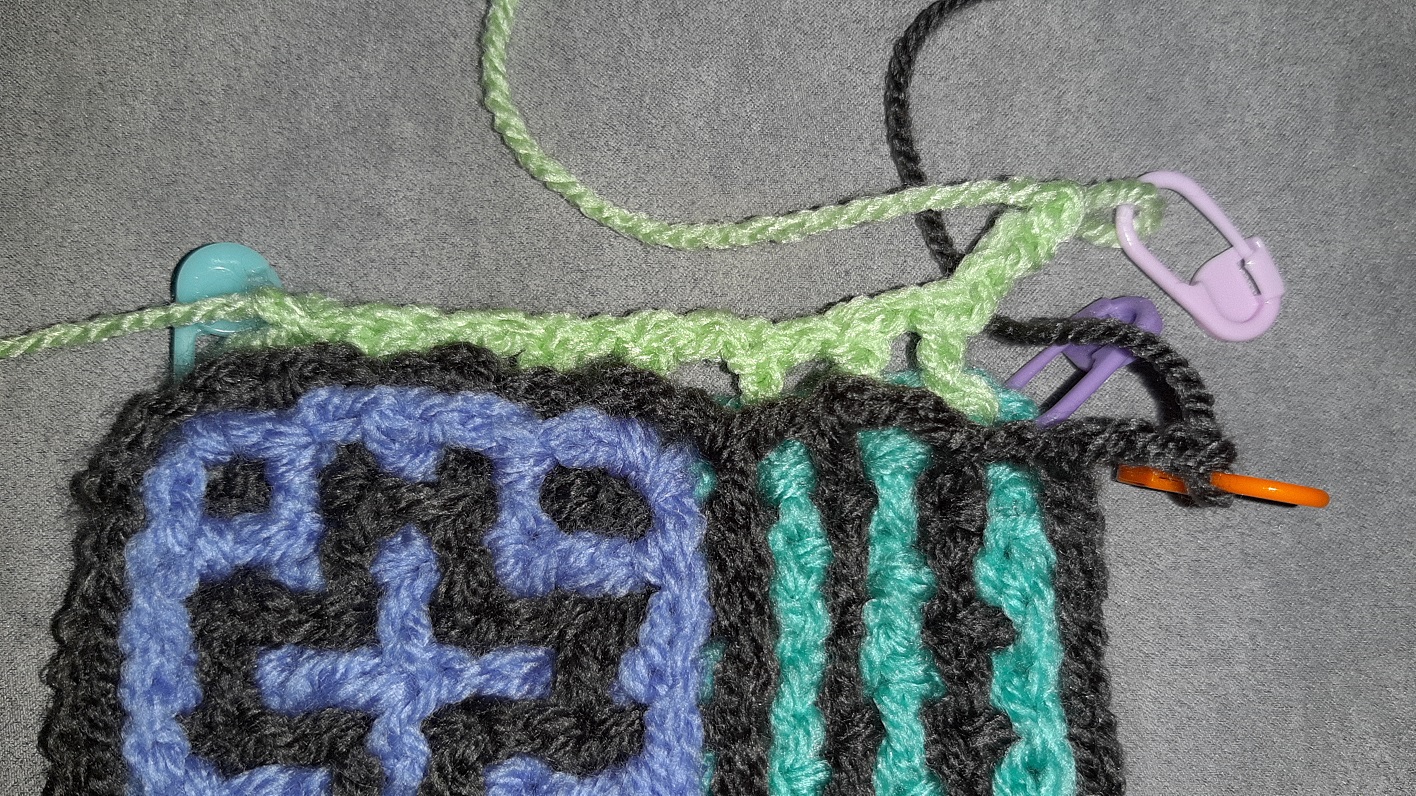
 The next stitch is f 1x. Here you see I work in front of color 2. It is of course a BPedc instead of a regular dc.
 The stitch is finished and you can see it clearly in front of color 2.
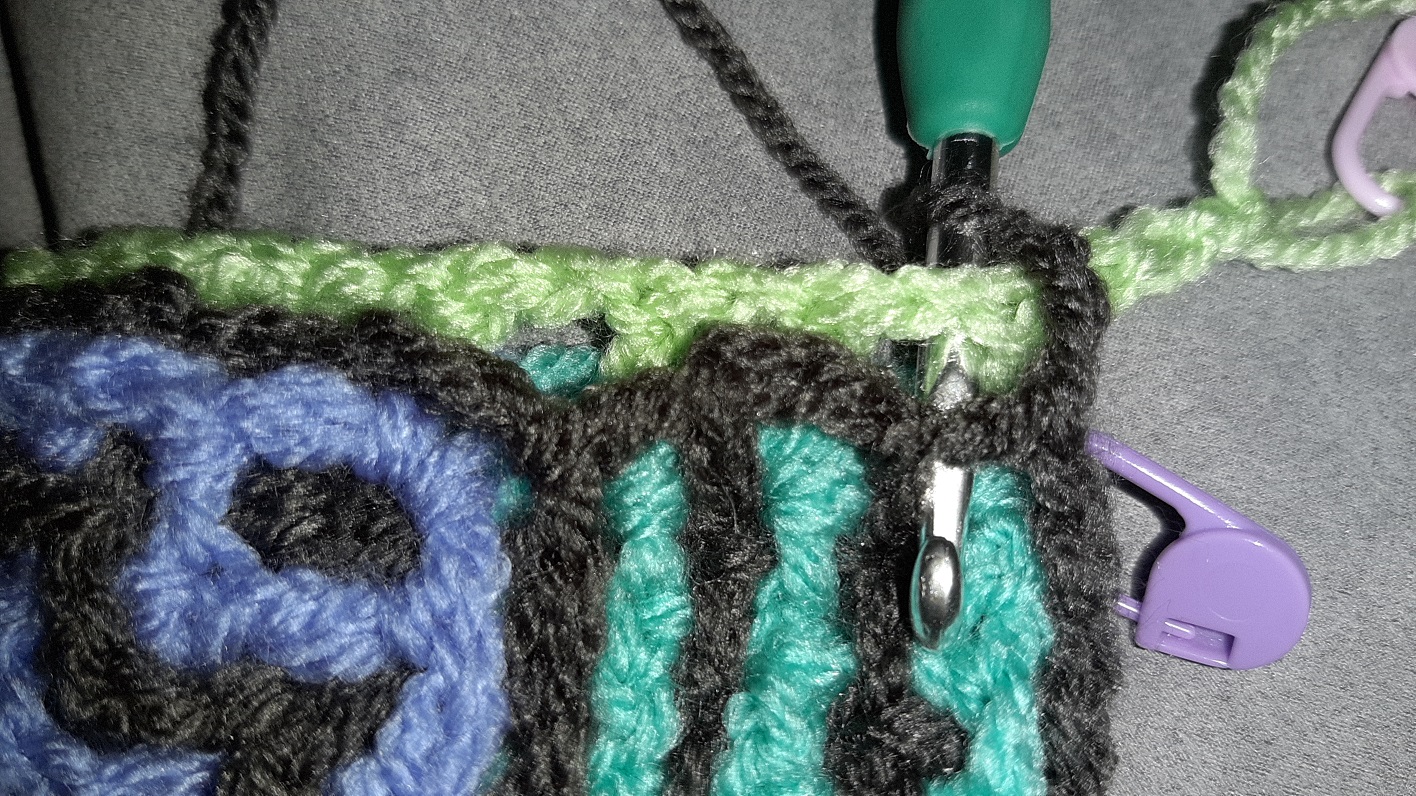
 The next is a b 1x again.
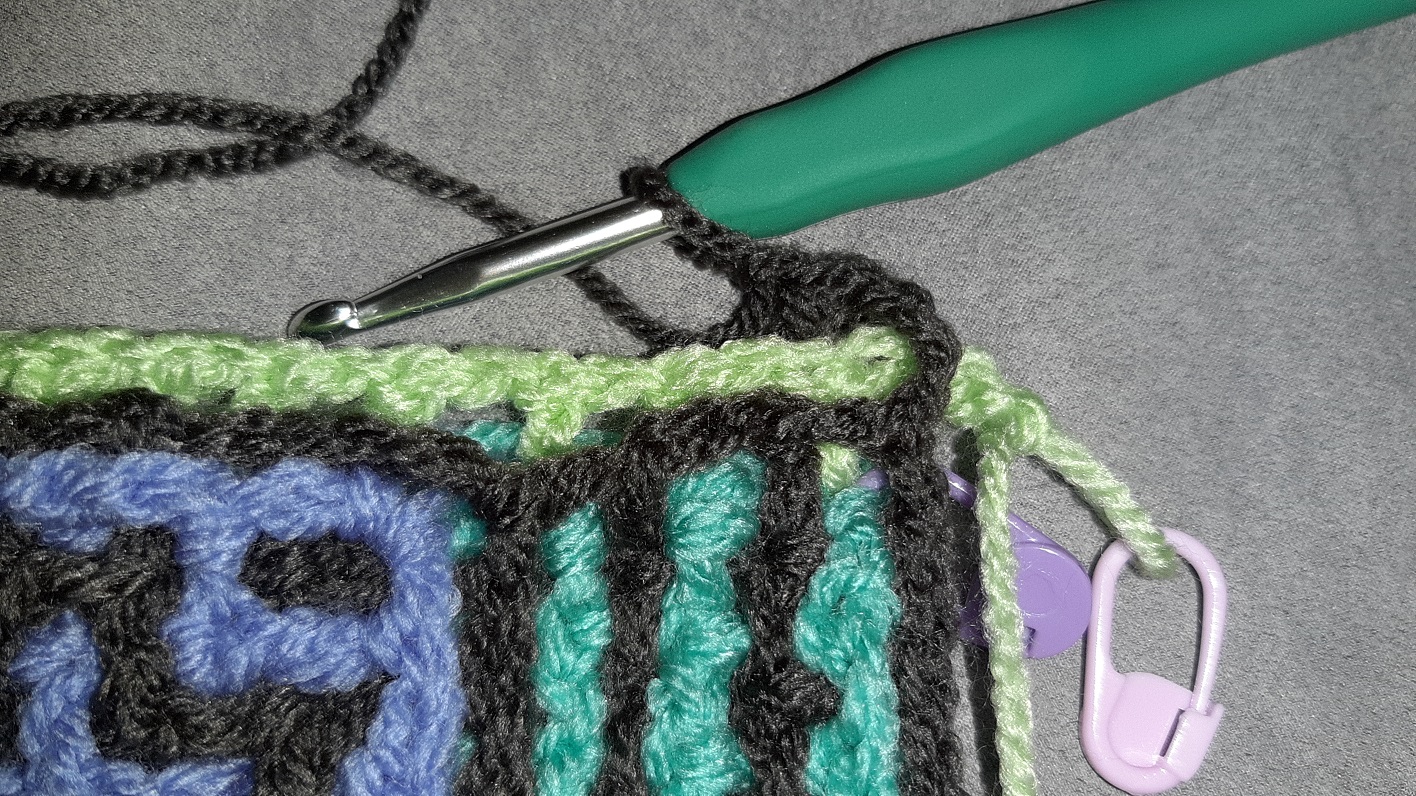
 Then another f 1x.
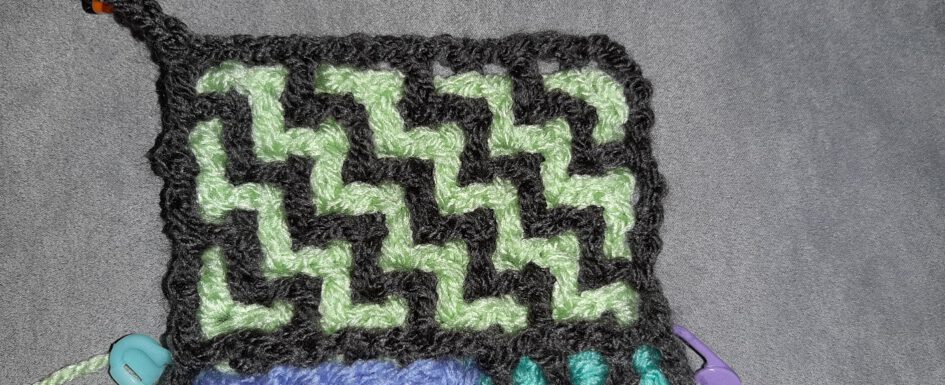
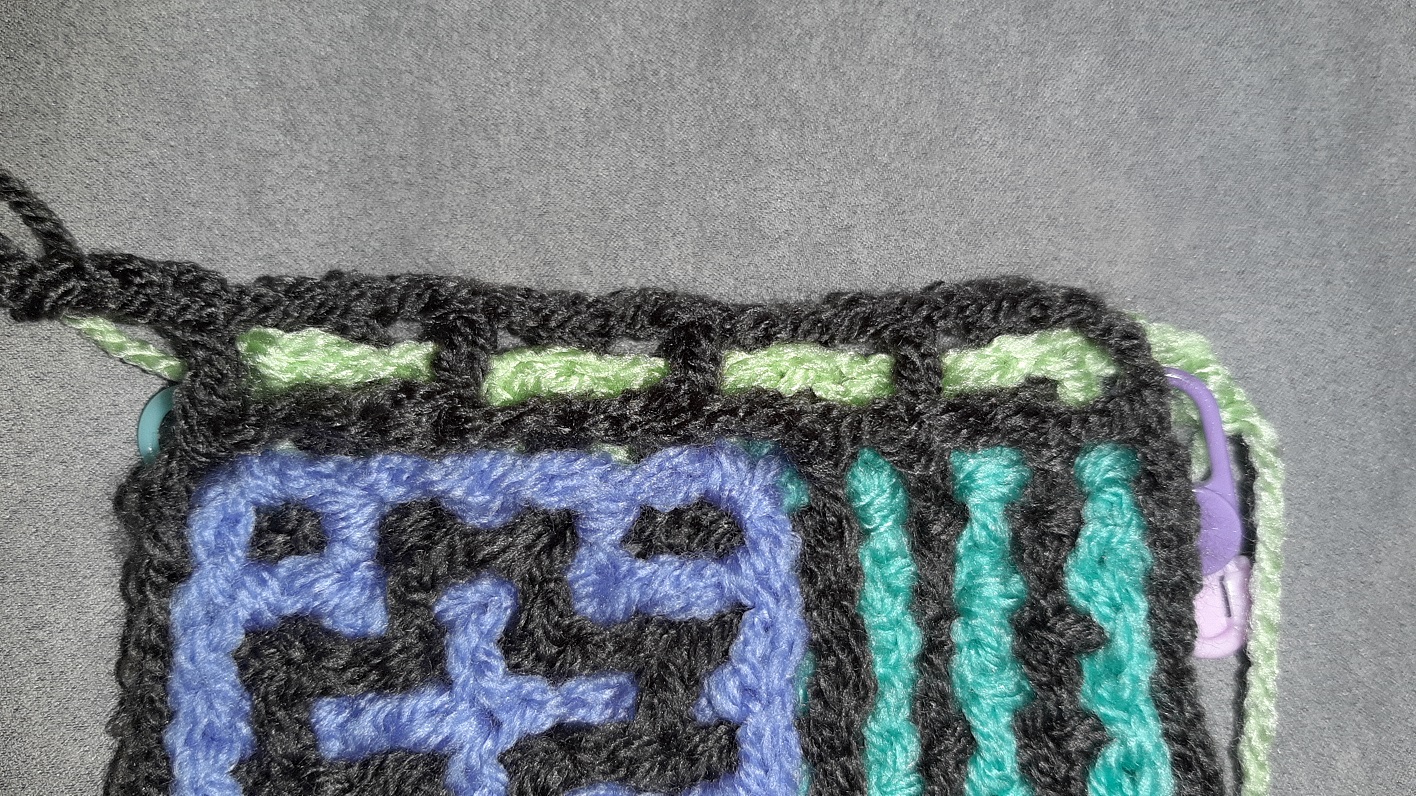 The row is finished, this is how it looks at the front.
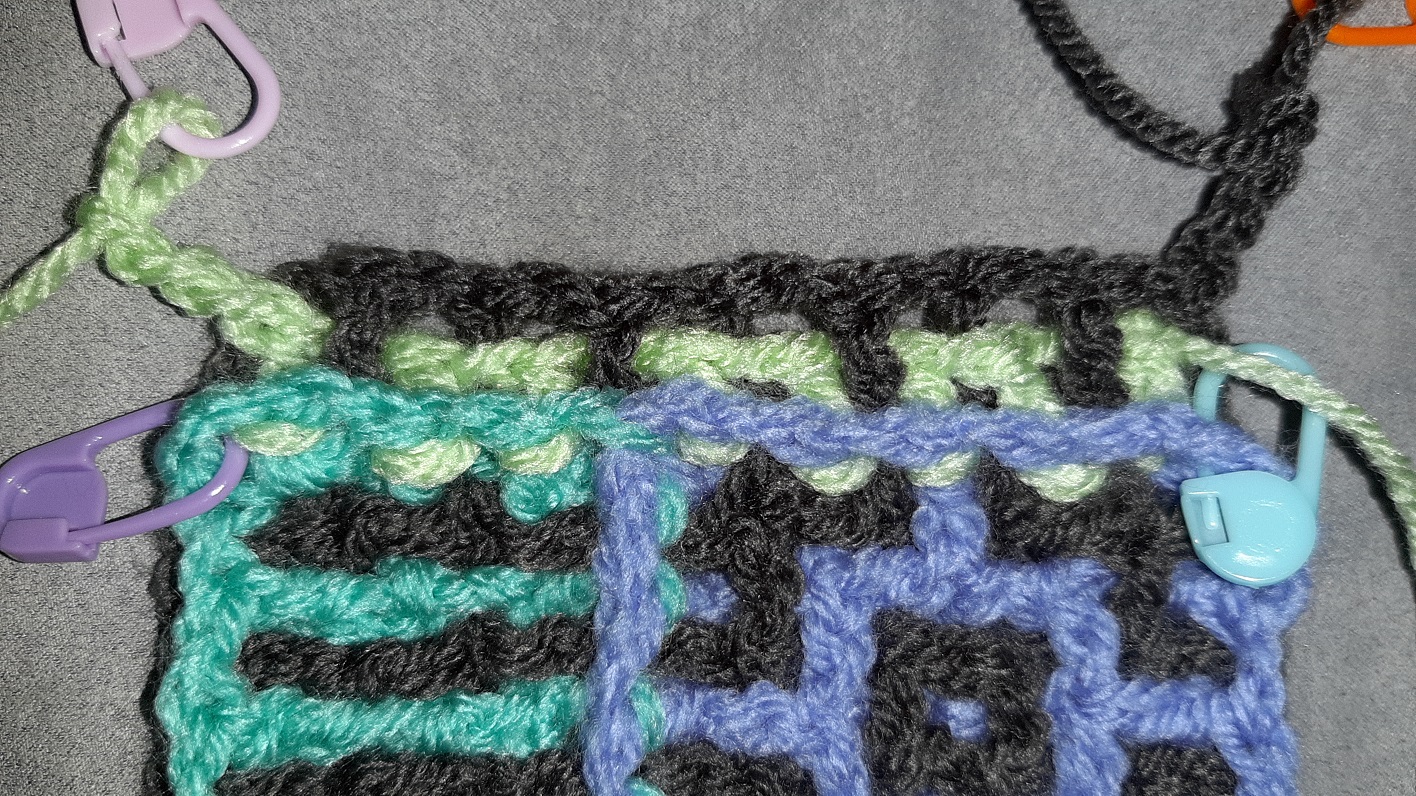 And this is how it looks at the back.
 The rest of the block will be made as normal, without the use of backpost stitches. The front.
 The back.
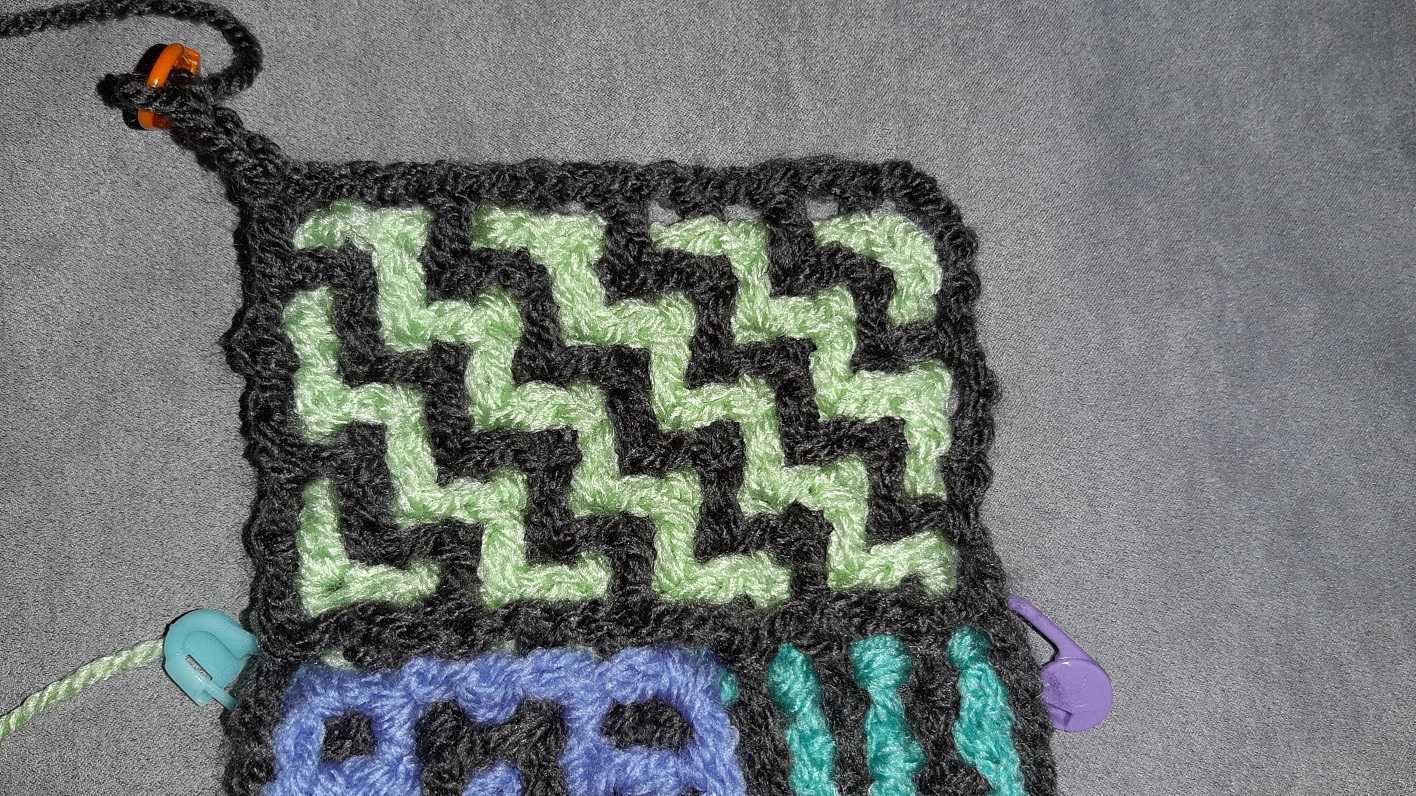
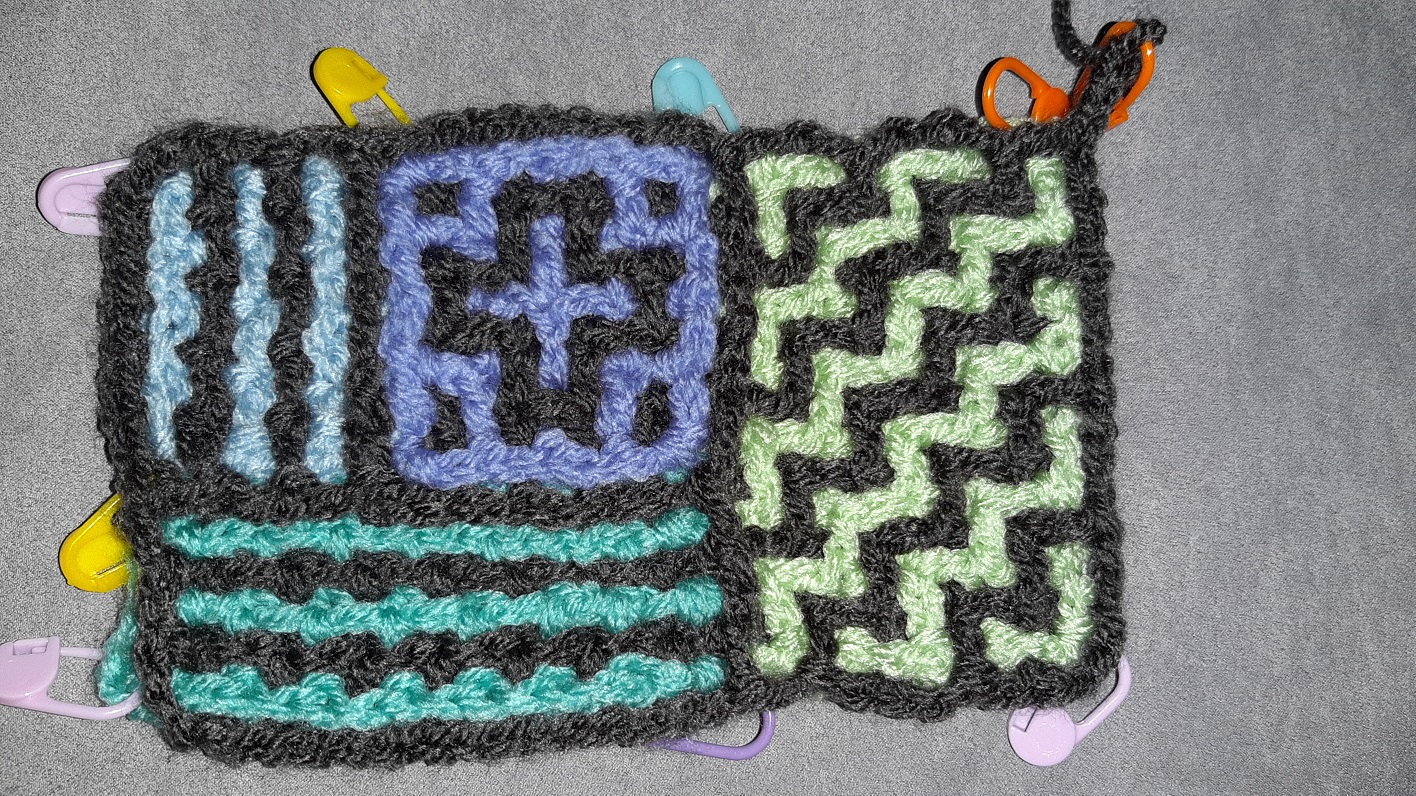 The entire part until now, front.
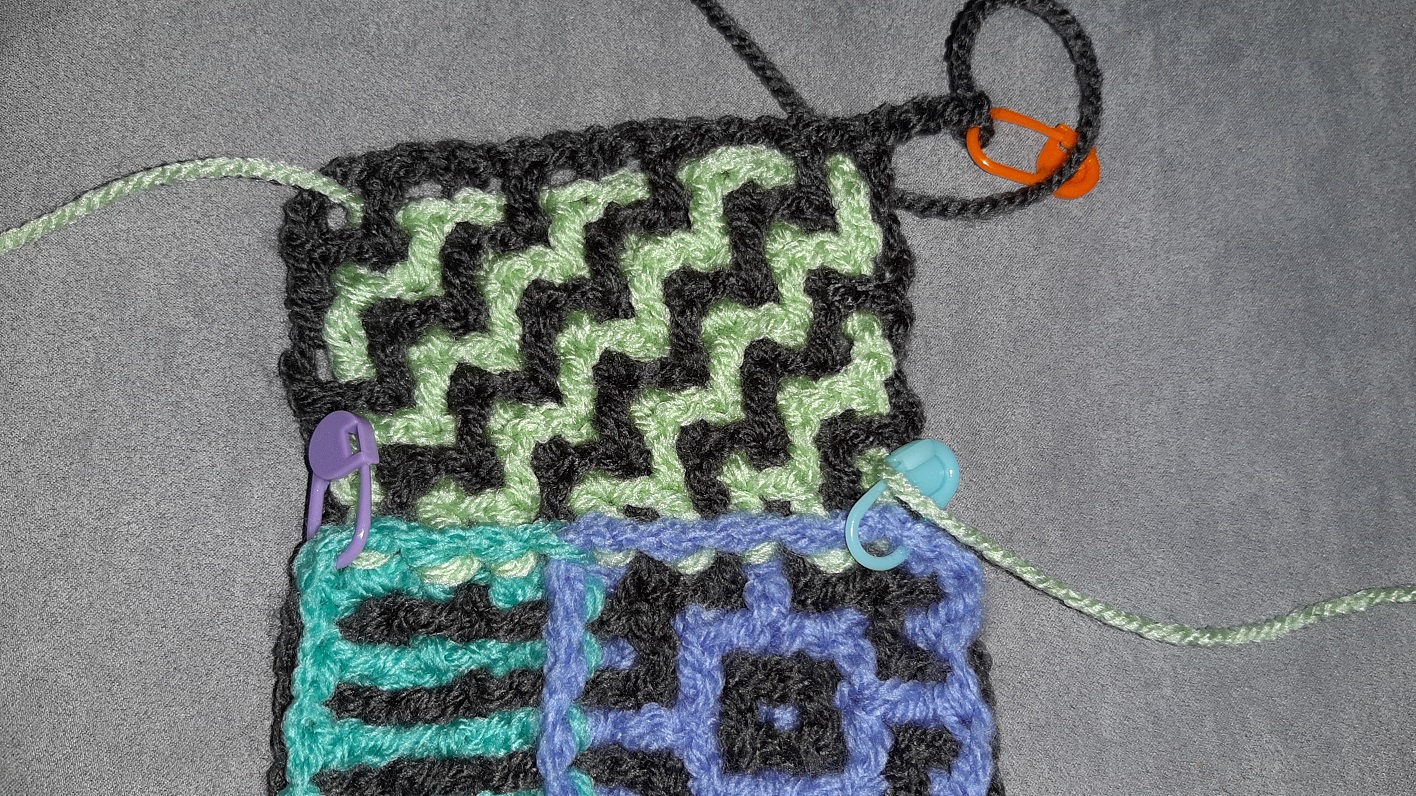
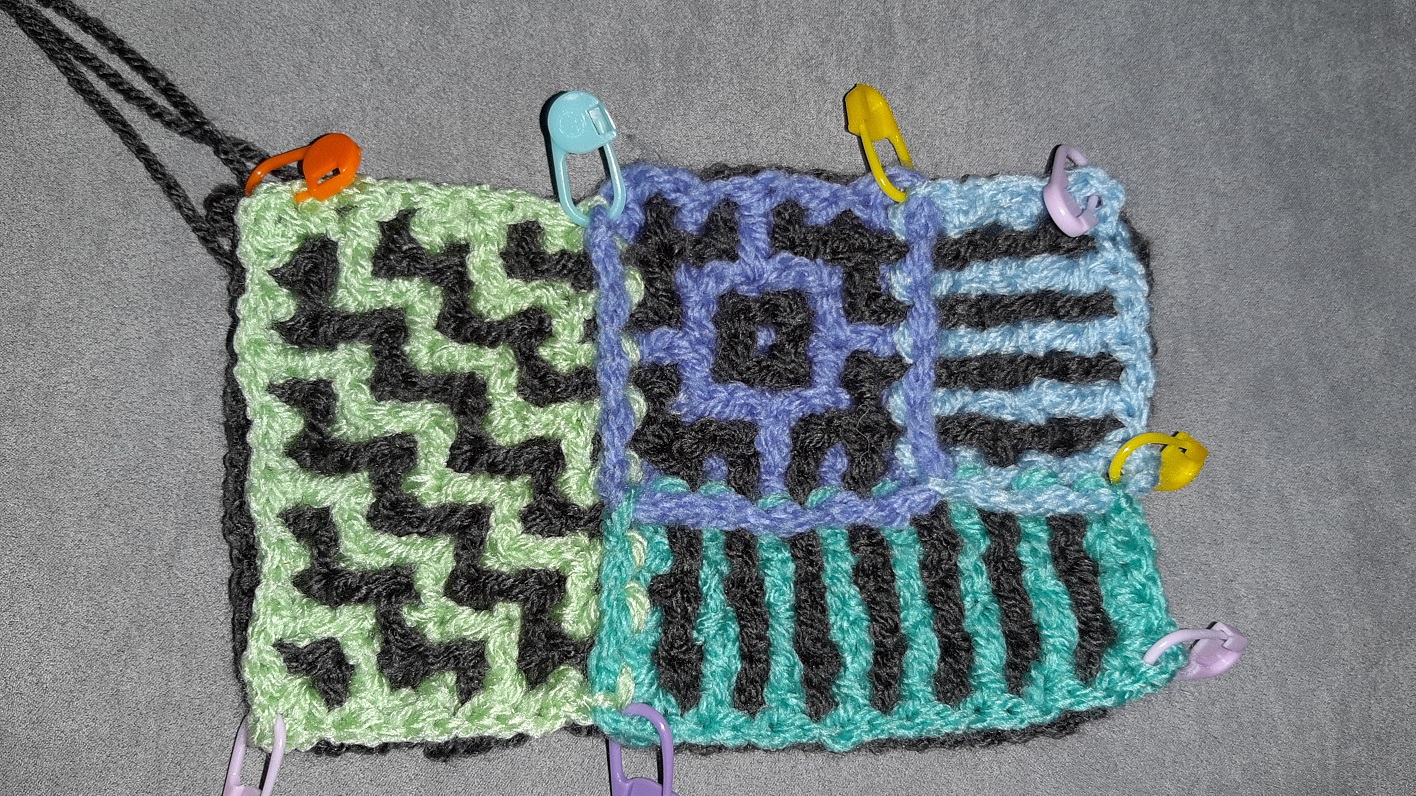 and the back, with the low border as well.
On the next page I will also show block 5. There all stitches of row 1a will be made at the front. Click here to go to that page.