
This tutorial is split up in several parts.
- page 1: introduction and explanation, click here to go to that page
- page 2: photo tutorial rows 1 and 2, click here to go to that page
- page 3: photo tutorial row 3, that’s this page
- page 4: photo tutorial row 4, click here to go to that page
- page 5: photo tutorial rows 5 and 6, click here to go to that page
Row 3, color 1
We will work again with color 1.
The written instructions are: swdc || 7x || 1x || 21x || ewdc.
The pattern chart:

On the first page of the tutorial I already gave an explanation about the symbols in the pattern chart and about the abbreviations, so read that again if you don’t remember. Click here to go to that page..
Because you will start with a dc (swdc), this will be a standing dc. To make this we will make a slipknot and put it on our hook, and next make a wrap.
You now will not work into the first stitch of the previous row in color 2, but into the first stitch of the previous row in color 1! You will work into the front loop. In the previous row you have worked with the yellow into the top loop of the green row, so the front loop is available to work through.
Here you see that the first dc is made. This dc covers the first yellow stitch of the previous row. When you take the pattern chart with it and look at row 2, you see that the first square is filled in with color 1, but you worked with color 2. Now you see that, by working over the row in color 2, this has ‘changed color’.
With the written instructions you now see ‘7x’, in the pattern chart you see the number 7 (read the chart from right to left!). This means you will now do 7 sc’s. In the pattern chart you see an arrow pointing down after the 7 sc’s, which means you will do a dc after the 7 sc’s, with the written instructions you have to remember yourself to do a dc at the end of a series of sc’s.
When you have done a dc, you have to skip the stitch behind it. So the sc after the dc will now be made into the second stitch of row 2!
In de picture you see that the first sc of the series of 7 is made. And again you see here that only the top loop is picked up!
The 7 sc’s are made now.
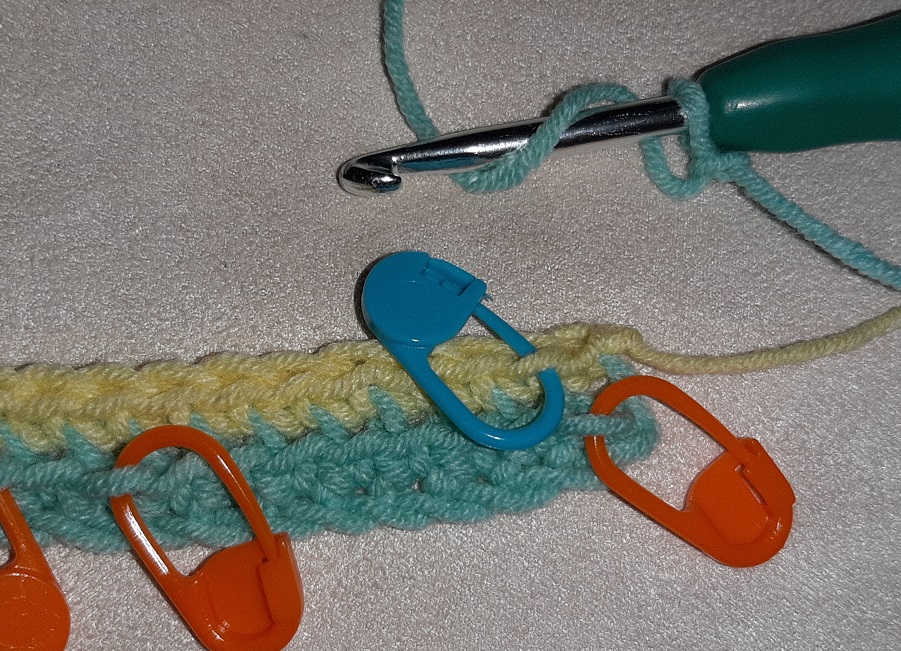
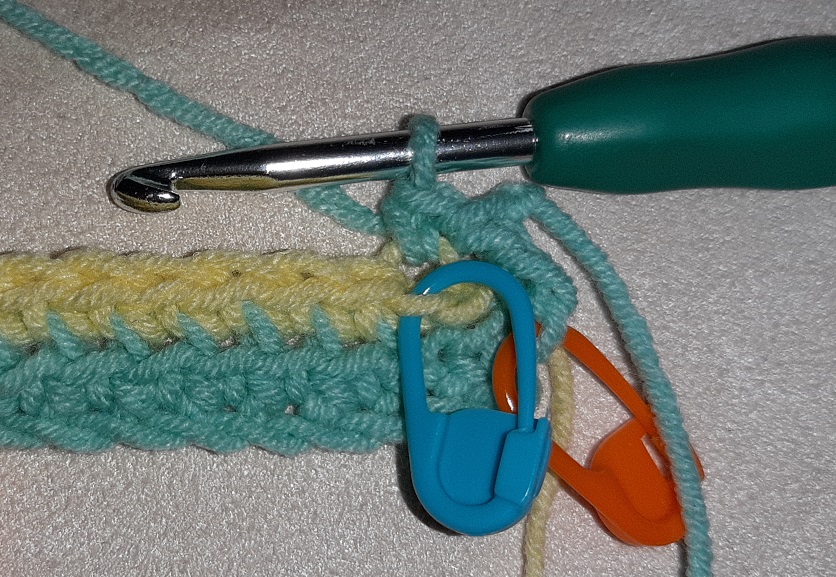
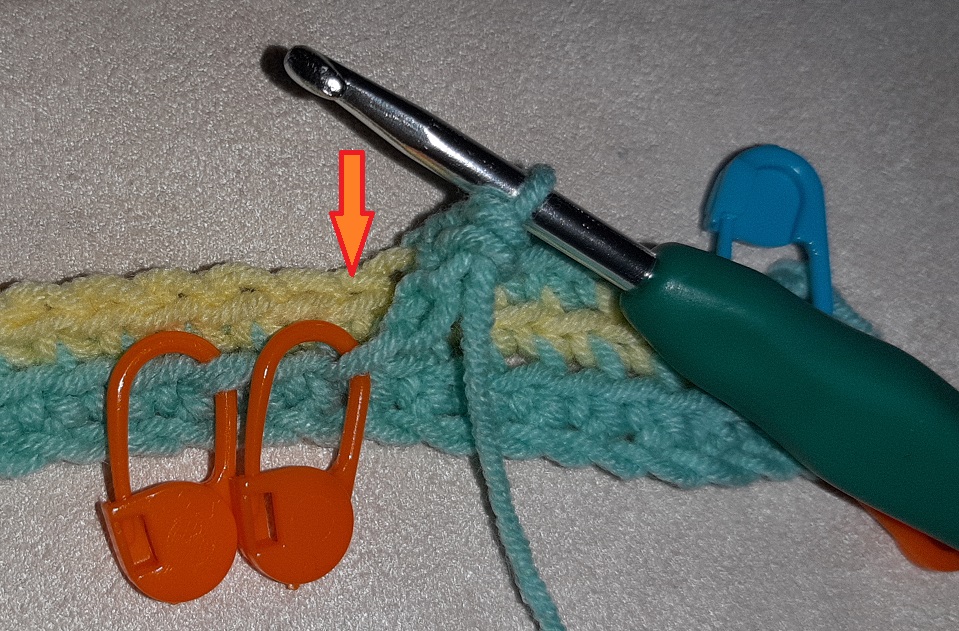
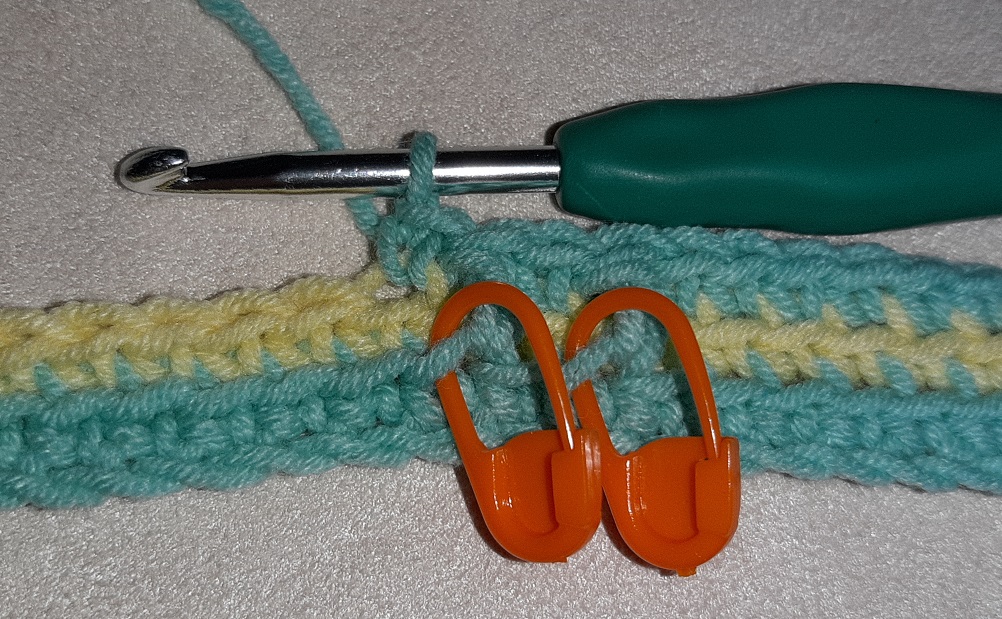
After the series of sc’s there will always be 1 dc. Look closely now at the picture where the 7 sc’s are made (click on the picture to see it full size!). Look at that next stitch in row after the 7 sc’s and then go down to the loop in color 1 below it. When you’re new doing this, it is quite easy to make a mistake which loop to work through. The loop that you have to pick is stretched a little bit to the left. In the video I show this clearly, so watch that.
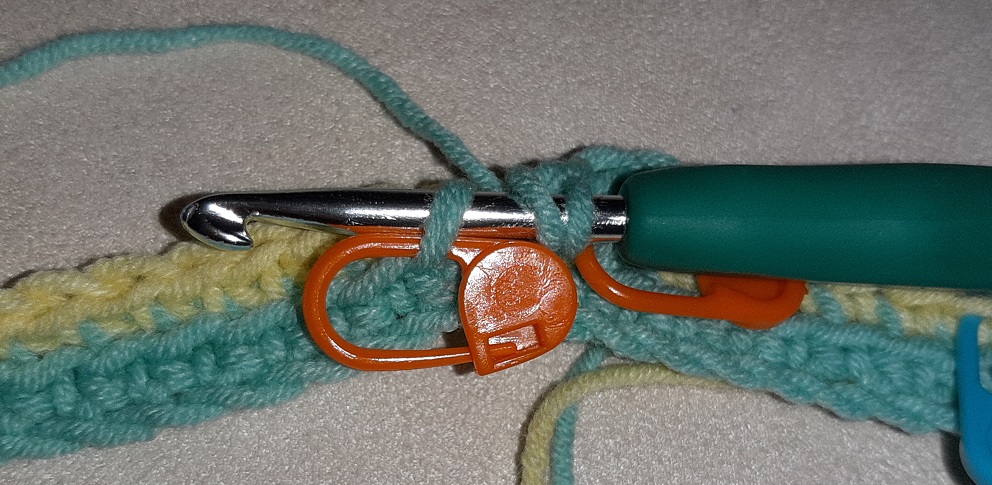
In this case it is easy, because we took our measures after row 1 by adding markers at the right spots. So you can now simply work through the loop at the marker. In the picture you can see where to insert the hook.
Here you see the dc is made.
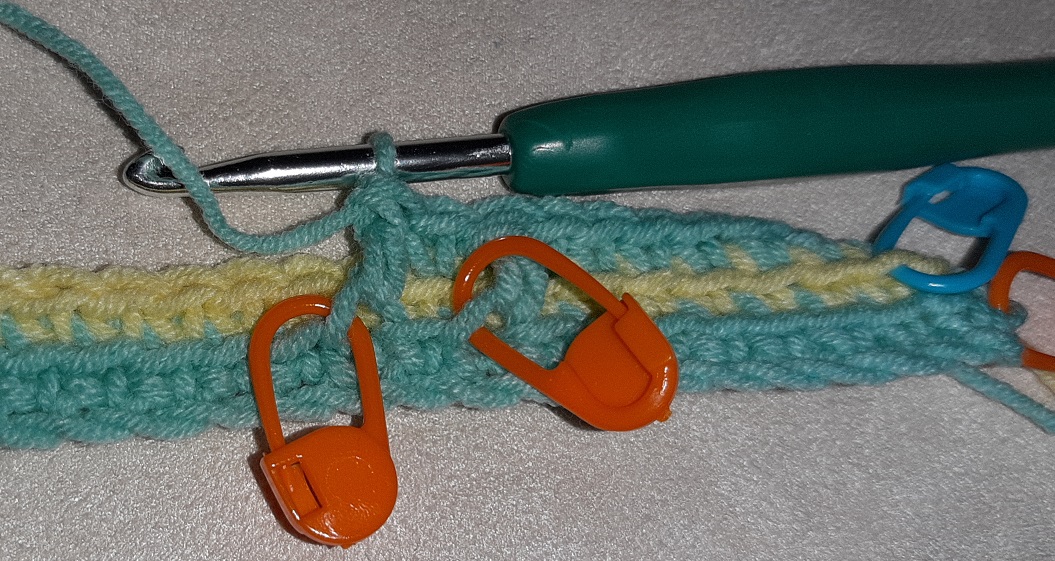
The stitch behind the dc must be skipped again. I marked that here with the arrow.
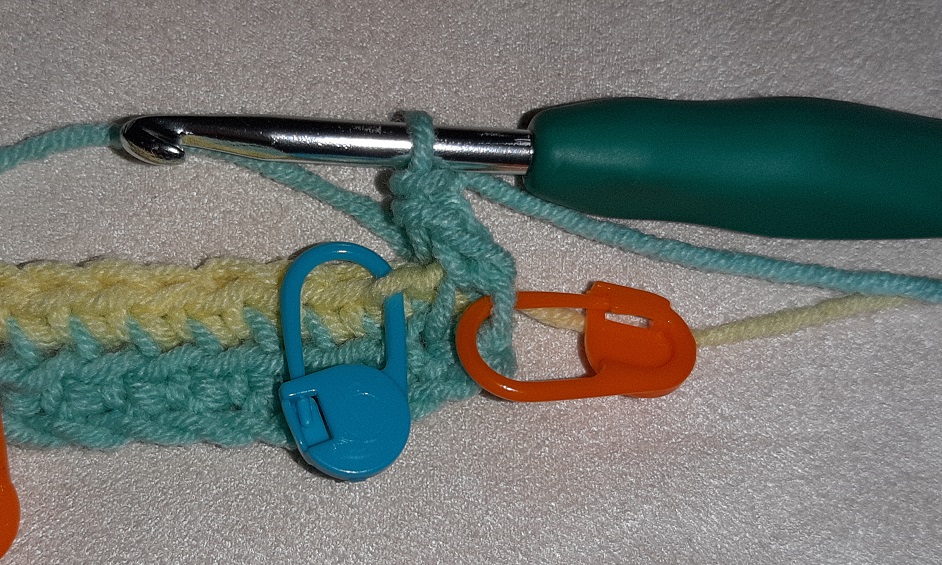
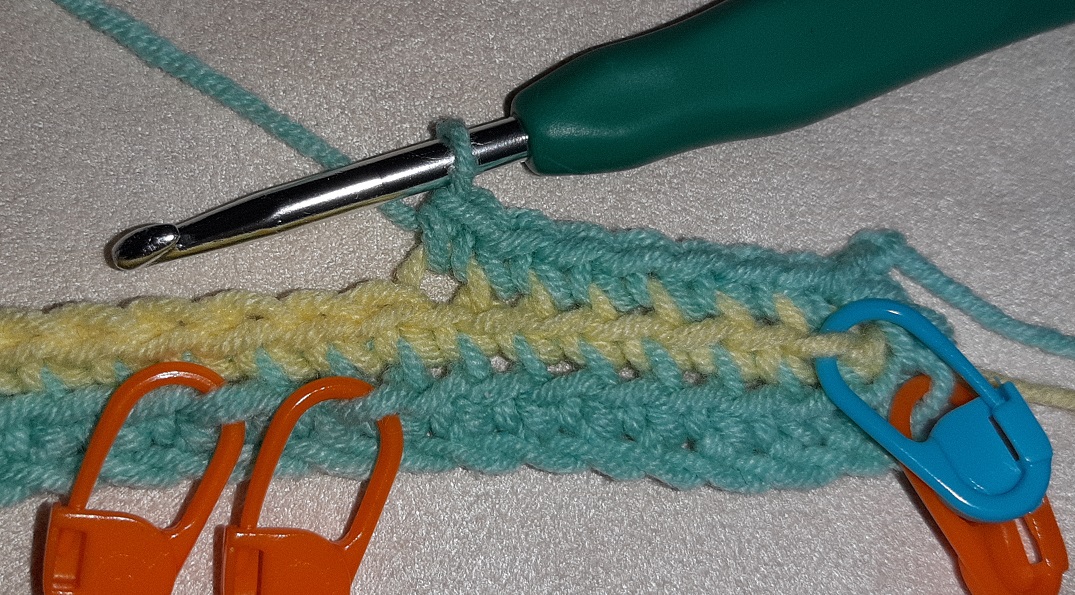
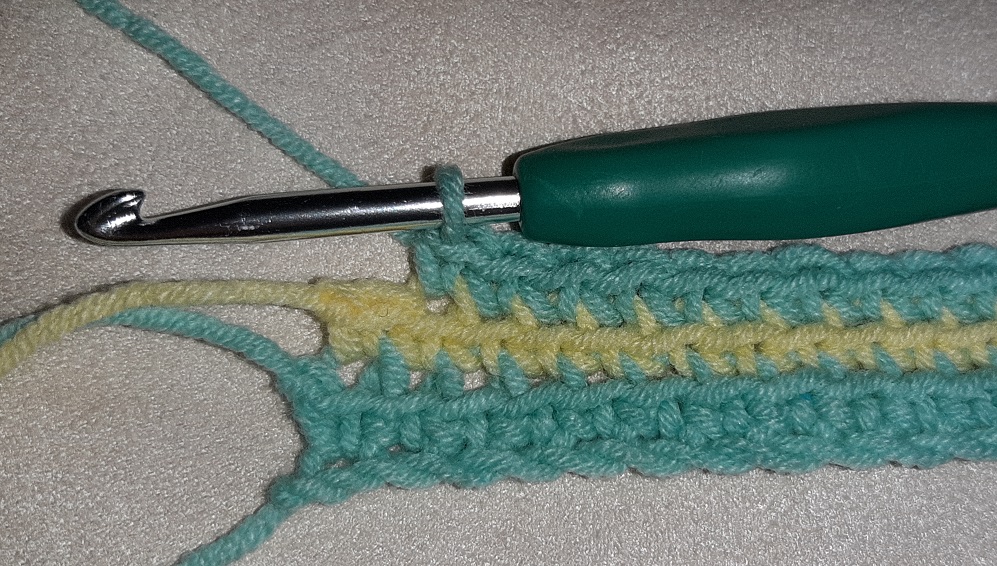
With the written instructions you now see 1x, in the pattern chart you see a ‘1’ after the dc. This means you will make 1 sc, again followed by a dc. In the picture you see the sc is made.
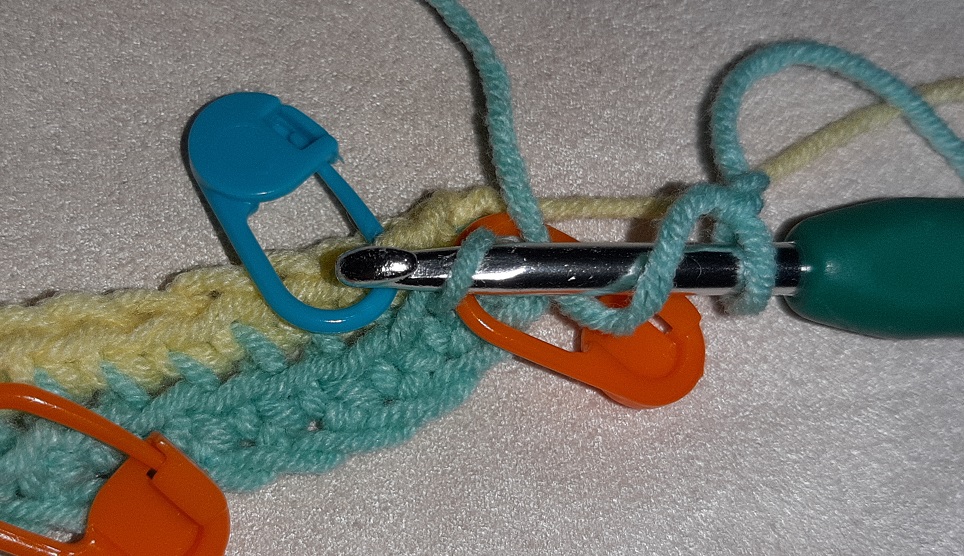
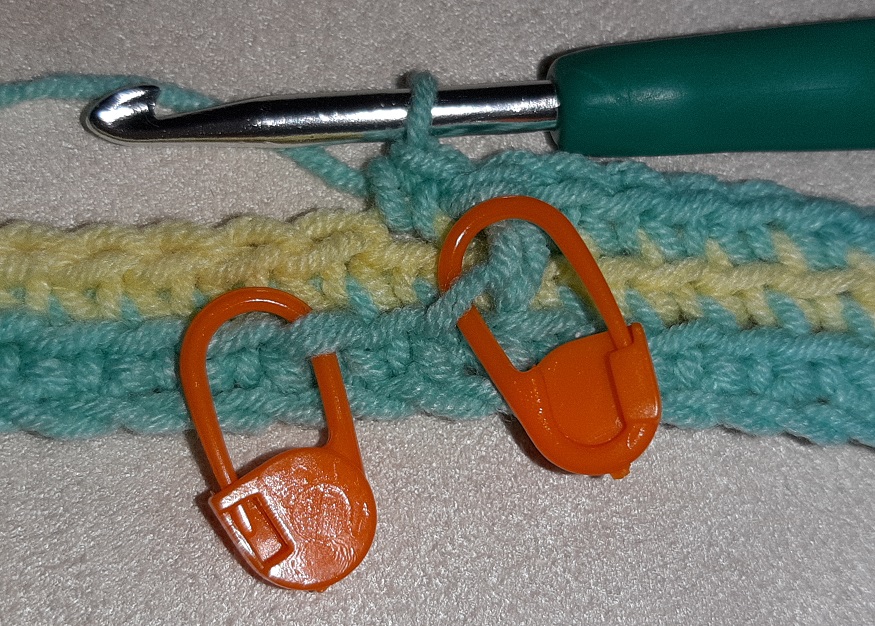
If you look closely again in this picture at the next stitch, and then go down to the row below it, you see the stitch where the next dc has to be made.
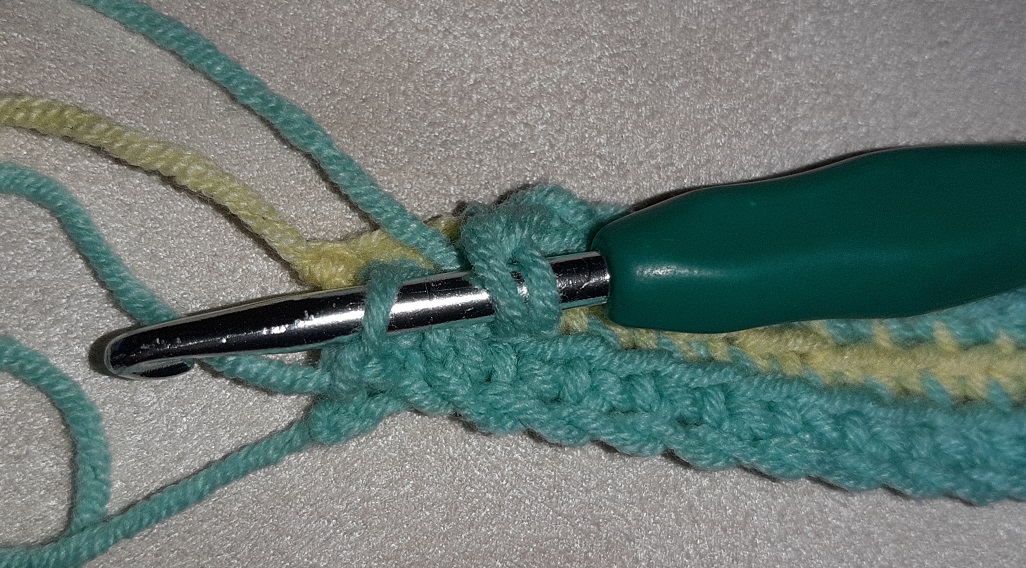
We made it simple again by putting the marker here, so that’s the place where the dc will be made.
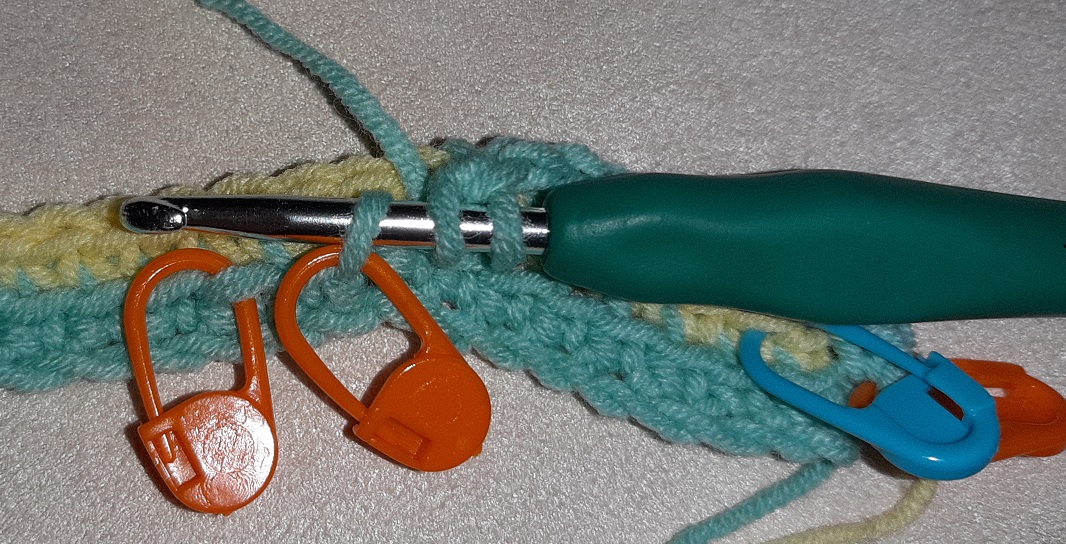
And here you see the dc is made.
 With the written instructions you now see ’21x’, in the pattern chart you see the number 21 after the last dc. This means you will make 21 sc’s. Now remember the rule that says that every row starts and ends with a sc, unless the instructions say to make a dc. In this case you see after the ’21x’ the instruction ‘ewdc’, which means that in this row, after the 21 sc’s, you will end with a dc.
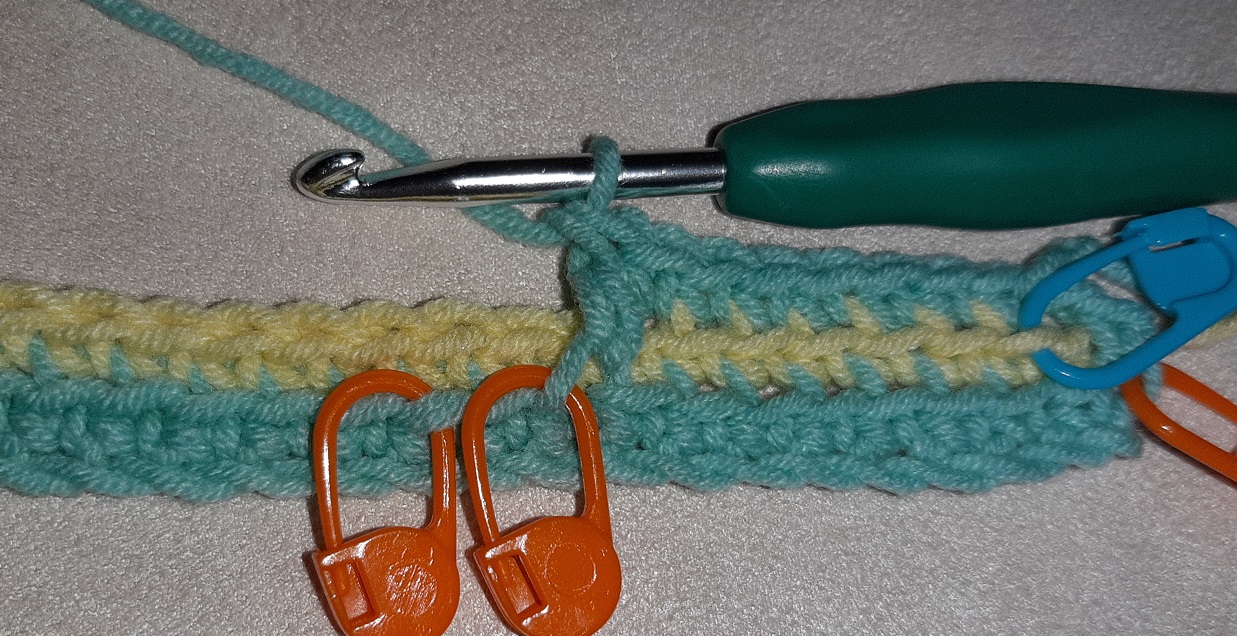
In the picture you see that the first sc is made.
Here the 21 sc’s are made. You see there is still 1 stitch left over of the previous row, which is correct, because you will be making a dc.
Here you see that you pick up that last loop of row 1 to make the last dc into.
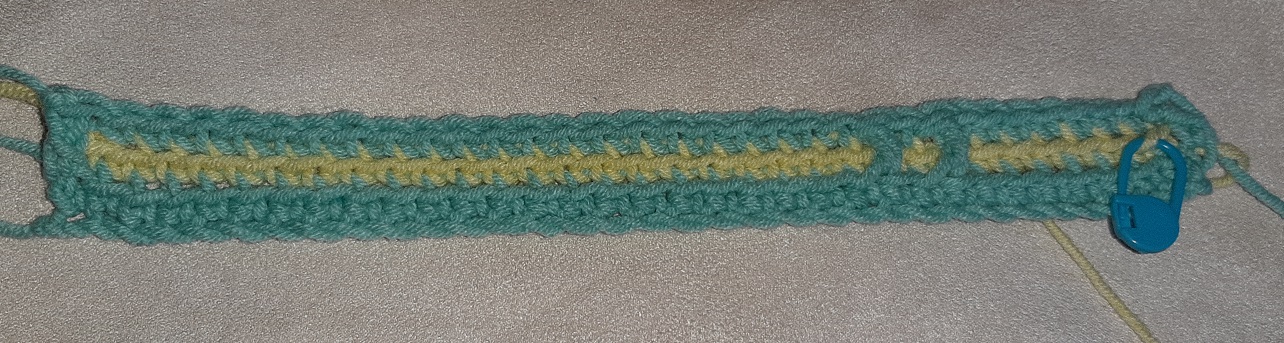
Click on the picture to see the entire row. After the last dc you cut the yarn again and make the knot. Row 3 is now finished!