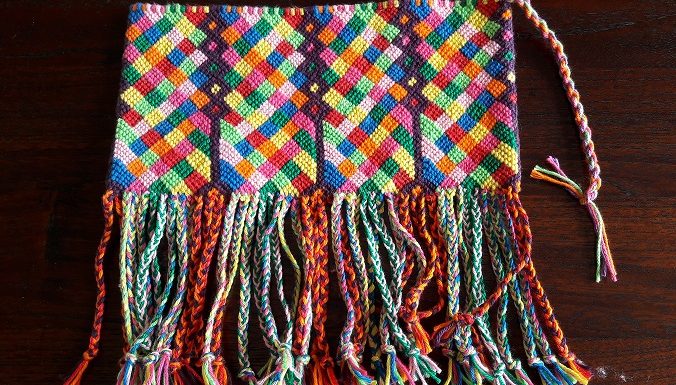
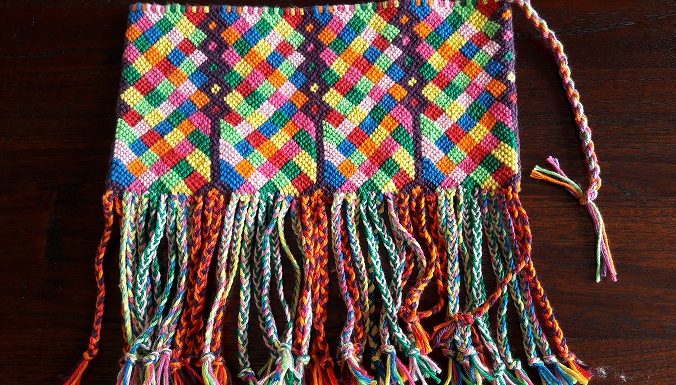
Here you find a description on how to design bracelets yourself. But what’s more interesting: what other possibilities do you have with this technique? Check the menu to go to the pages with the instructions and the examples.Read More →

You start making a bracelet by tying together all the threads in a knot. Like I said with the usage of materials, I do this at a distance of about 12 cm (5 inches). You secure the knot with a safety pin on a cushion or on a cloth that you can tie around your leg. If you wear trousers that’s made of a firm cloth, like jeans, you can also attach it directly to your trousers when you don’t have a cushion of cloth. Don’t pierce your skin with the safety pin! You can then start to knot. When you reach the desired length, you finishRead More →

With the patterns I provide information what the usage is for making the bracelets. Materials use up quite quickly, so use extra instead of less. I usually take about 12 cm (5 inches) for the braiding at the start, and that’s the same length you should at least leave in the end to be able to make two equally long braids. The usage is based on the use of embroidery yarn.Read More →

I use embroidery floss for making friendship bracelets from Venus and DMC, but other brands are possible to use too. Delightful shiny yarn for crochet also gives beautiful results. For younger children, that can make the simple patterns quite quickly, it’s nicer to use the thicker crochet yarn. For making the more narrow bands the thicker yarn seams to give better results (or does this have something to do with me?).Read More →

Read the general instructions first before you start making the bracelets or other fun stuff with this technique. Check the menu to go to the pages with the instructions.Read More →