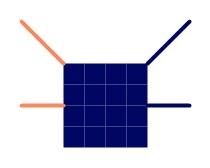
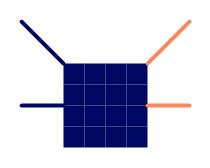
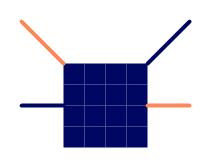
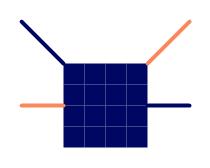
Here you find a description on how to design bracelets yourself. But what’s more interesting: what other possibilities do you have with this technique? Check the menu to go to the pages with the instructions and the examples.Read More →

You start making a bracelet by tying together all the threads in a knot. Like I said with the usage of materials, I do this at a distance of about 12 cm (5 inches). You secure the knot with a safety pin on a cushion or on a cloth that you can tie around your leg. If you wear trousers that’s made of a firm cloth, like jeans, you can also attach it directly to your trousers when you don’t have a cushion of cloth. Don’t pierce your skin with the safety pin! You can then start to knot. When you reach the desired length, you finishRead More →

With the patterns I provide information what the usage is for making the bracelets. Materials use up quite quickly, so use extra instead of less. I usually take about 12 cm (5 inches) for the braiding at the start, and that’s the same length you should at least leave in the end to be able to make two equally long braids. The usage is based on the use of embroidery yarn.Read More →

I use embroidery floss for making friendship bracelets from Venus and DMC, but other brands are possible to use too. Delightful shiny yarn for crochet also gives beautiful results. For younger children, that can make the simple patterns quite quickly, it’s nicer to use the thicker crochet yarn. For making the more narrow bands the thicker yarn seams to give better results (or does this have something to do with me?).Read More →

Read the general instructions first before you start making the bracelets or other fun stuff with this technique. Check the menu to go to the pages with the instructions.Read More →

Combination: the left/right knot

Sometimes it is necessary that the threads end on the same side as they were at the start of the knot. It is than necessary to make a combination of the right and left knot, depending on the situation. Here I show the left/right knot. First make a single left knot: the knotting thread goes from right to the left, see steps 1 to 3 of the double left knot (see here). Then make a single right knot: the knotting thread goes from left to the right, see steps 1 to 3 of the double right knot (see here). Take care that you make the knots aroundRead More →

Combination: de right/left knot

Sometimes it is necessary that the threads end on the same side as they were at the start of the knot. It is than necessary to make a combination of the right and left knot, depending on the situation. Here I show the right/left knot. First make a single right knot: the knotting thread goes from left to the right, see steps 1 to 3 of the double right knot (see here). Then make a single left knot: the knotting thread goes from right to the left, see steps 1 to 3 of the double left knot (see here). Take care that you make the knots aroundRead More →

(Double) left knot - pattern

The left knot is made by knotting two threads together as follows. Step 1 Keep the left thread (orange) taut with your left hand and knot the right thread (the working thread, blue) around it with your right hand by putting it from right to left over the left (orange) thread. Step 2 Bring the blue thread to the right again underneath the orange thread and bring it to the left again on top of the orange thread. Step 3 Pull the knot tight. The first part of the double left knot is now finished. Step 4 Repeat this again to make a double leftRead More →

(Double) right knot - pattern

Friendship bracelets are made with just two knots: the right and the left knot. By combining these two and using all kinds of colors and nice patterns, you will get great results. The right knot is made by knotting two threads together as follows. Step 1 Keep the right thread (orange) taut with your left hand and knot the left thread (the working thread, blue) around it with your right hand by putting it from left to right over the right (orange) thread. Short explanation with this picture: it looks like the blue thread is right of the orange thread (see at the top rightRead More →

Here you find the instructions how to make the knots. Read this to see the schematic look of the different kind of knots, so you can read the patters and can learn to make your own design afterwards. Check the menu to go to the pages with the photo tutorials or use the links below. The double right knot             The double left knot             Combination: de right/left knot             Combination: the left/right knotRead More →