
This tutorial is split up in several parts because of the many pictures.
- page 1: introduction and first row: click here to go to the page
- page 2: the next ‘increase’-rows: click here to go to the page
- page 3: the ‘decrease’-rows and finishing: that’s this page
The first ‘decrease’-row
We will now do decreases at the corners, which makes the border fold over to the back automatically.
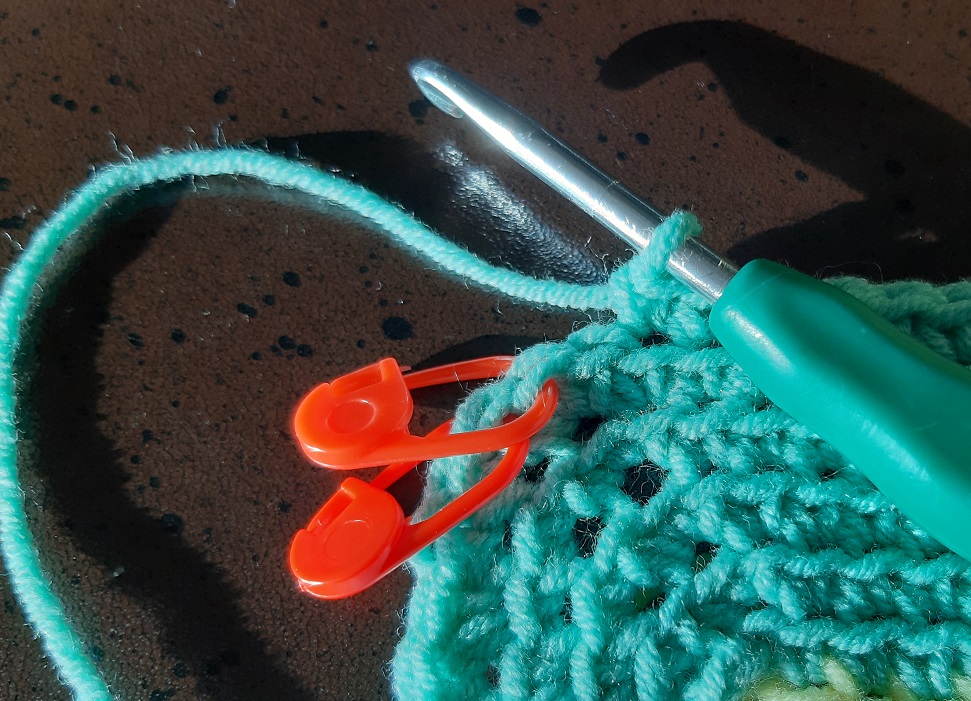
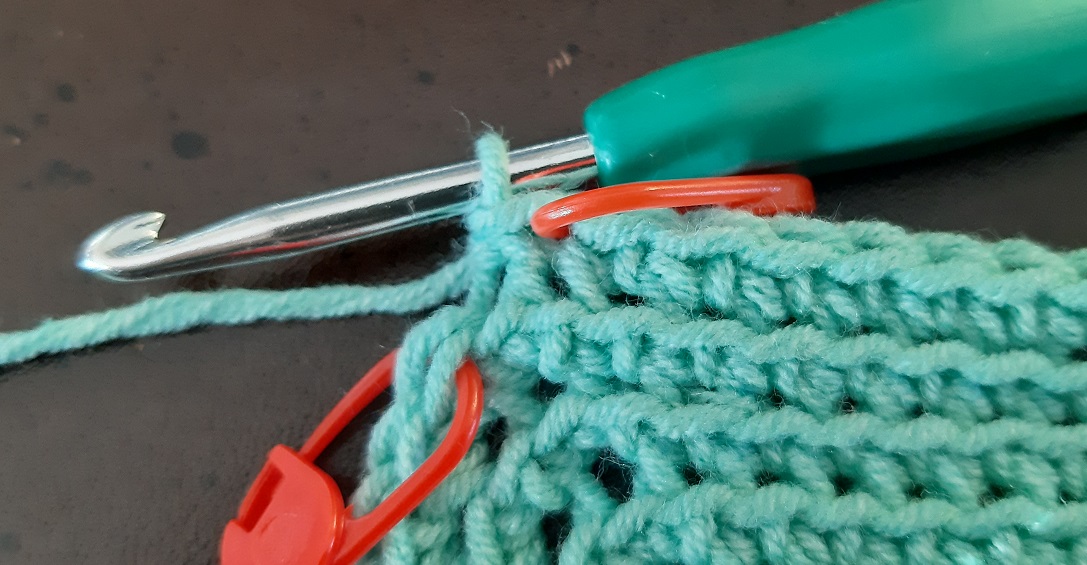
Start a new row again. Now crochet until you have 2 stitches left! You can see this clearly in the picture. In these last 2 stitches we will do the decrease.
You will start with pulling up a loop like when starting a sc. But don’t finish the sc yet! I already removed the first marker by the way, the marker you see is of the next side!
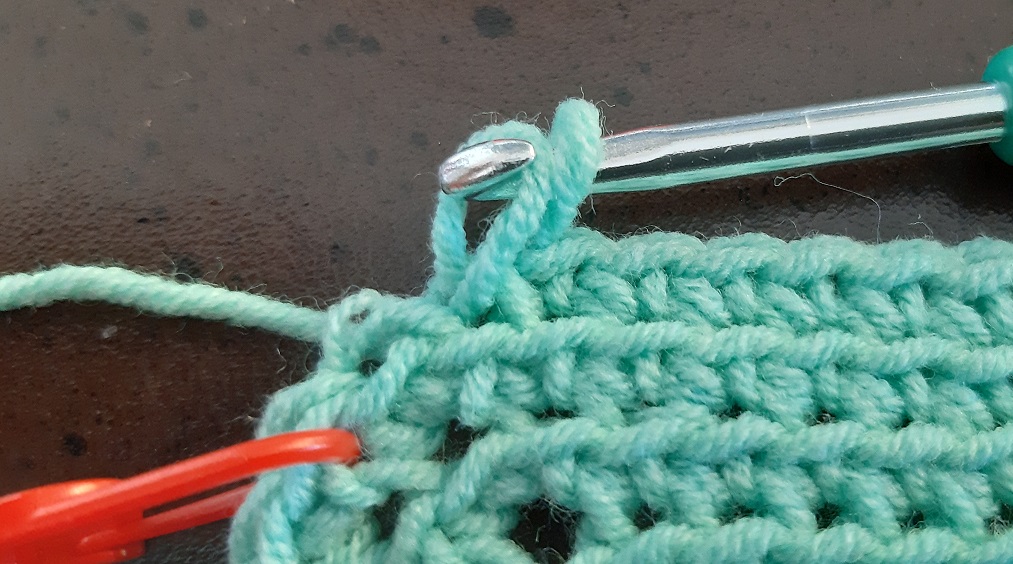
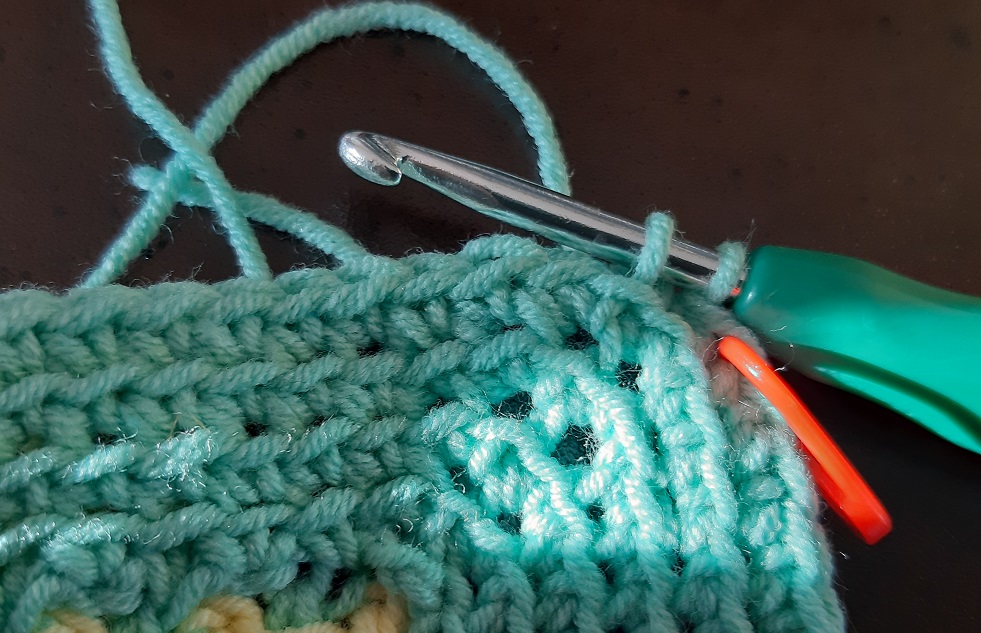
Now pull up a second loop like with starting a new sc, but this time work into the next stitch. You will now have 3 loops on your hook.
Now make a wrap around your hook, just like making the second part of a regular sc, and pull this through all 3 loops. You just made e decrease. Place the marker into this stitch.
You could also decrease by skipping the sticth before the last stitch of a row, and then next do a sc into the last stitch of the side, but this will create a little opening, which you don’t want, because it might happen that a thread will peek through.
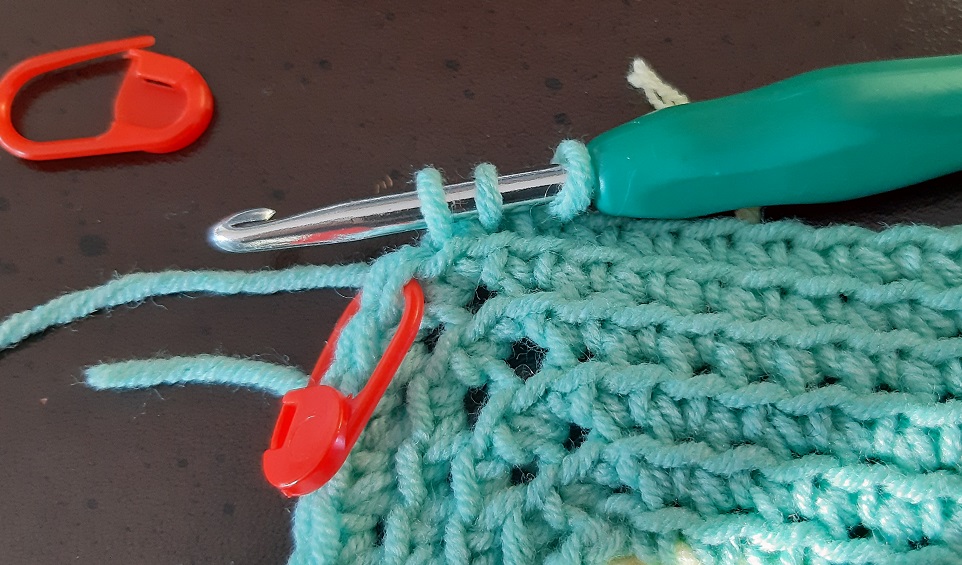
Now we will make a decrease at the next side. I already removed the marker form the previous row. Now pull up a loop through the first stitch, but don’t finish the sc.
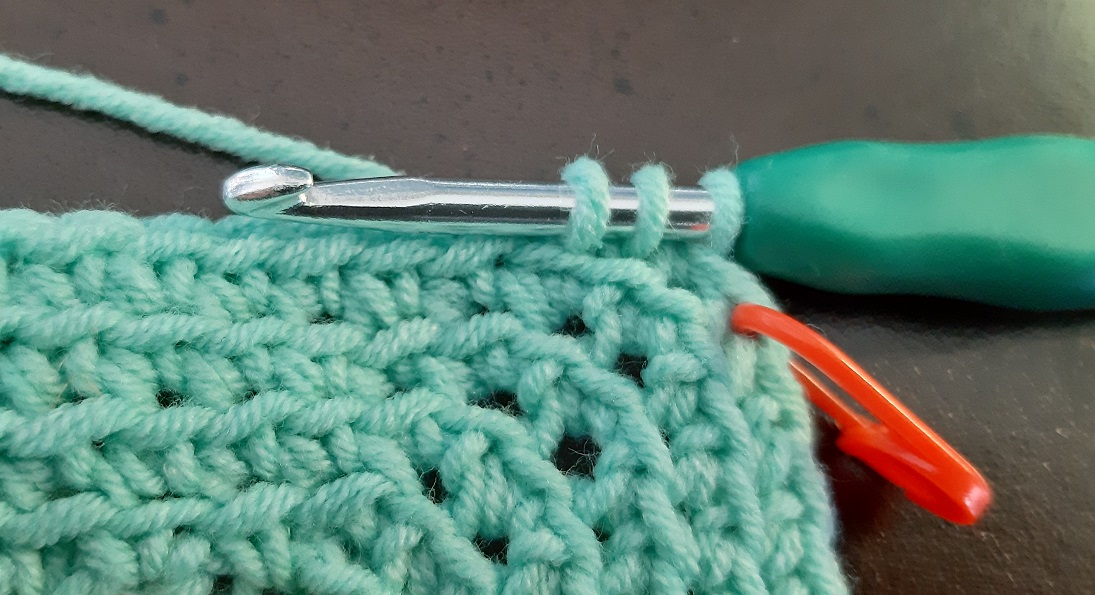
Now pull up a loop through the 2nd stitch op the side. Again you will have 3 loops on your hook.
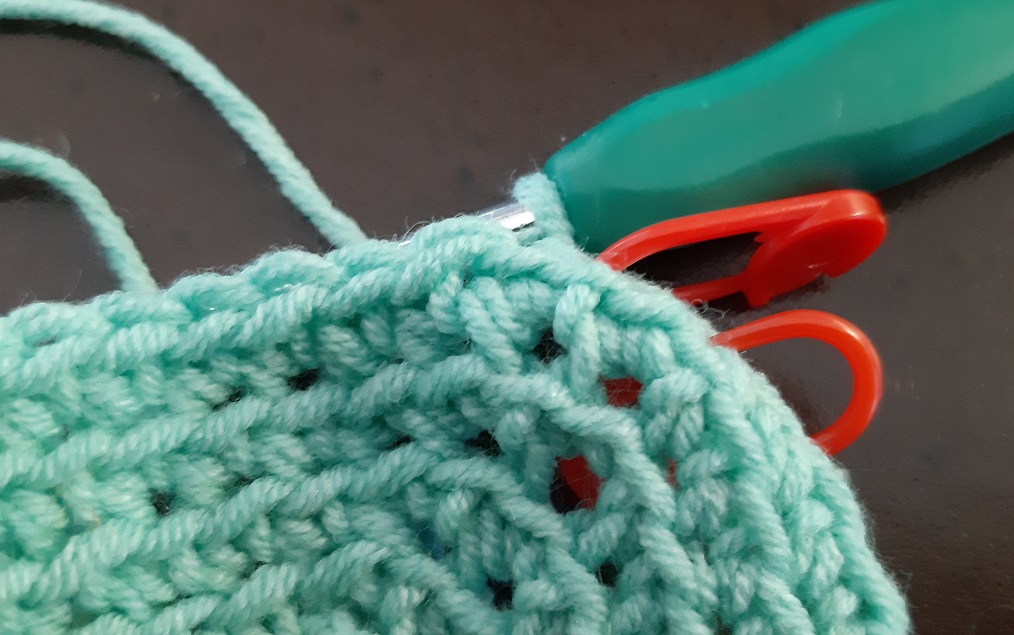
Wrap the yarn around your hook and pull through the 3 loops. You made the second decrease at this corner. Place the marker into this stitch.
Do this at evry corner.
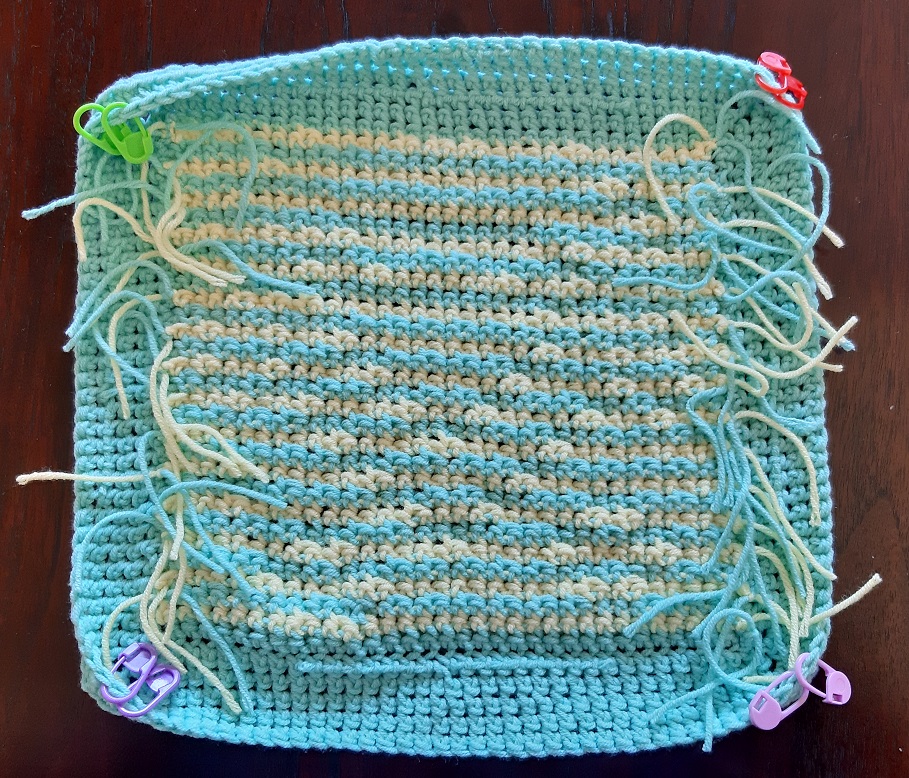
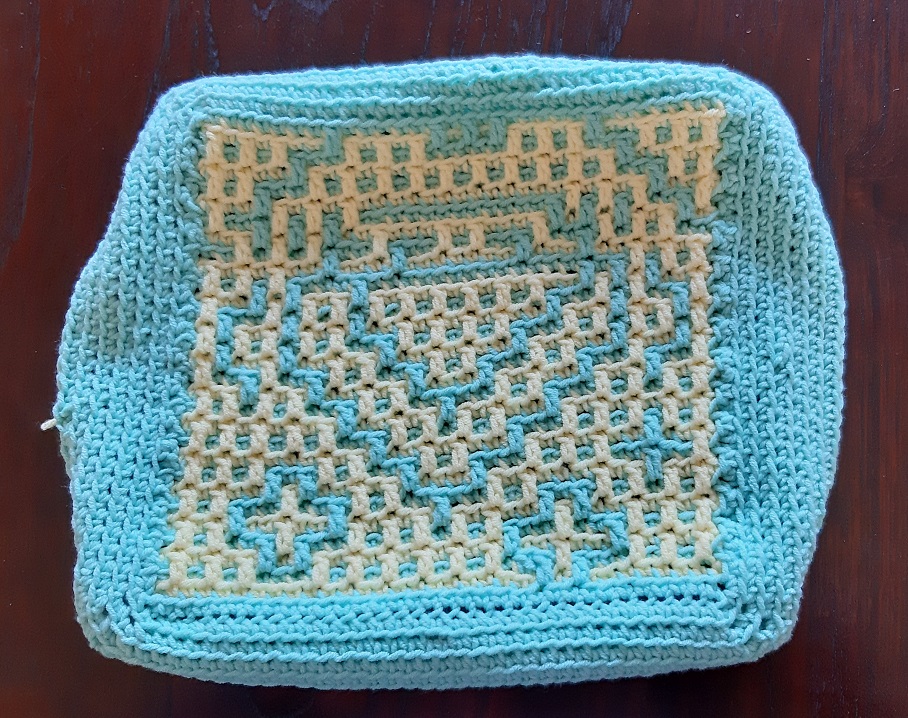
This is how it looks when the first decrease row is made. You will already see the border curl a bit to the back.
The next ‘decrease’-rows
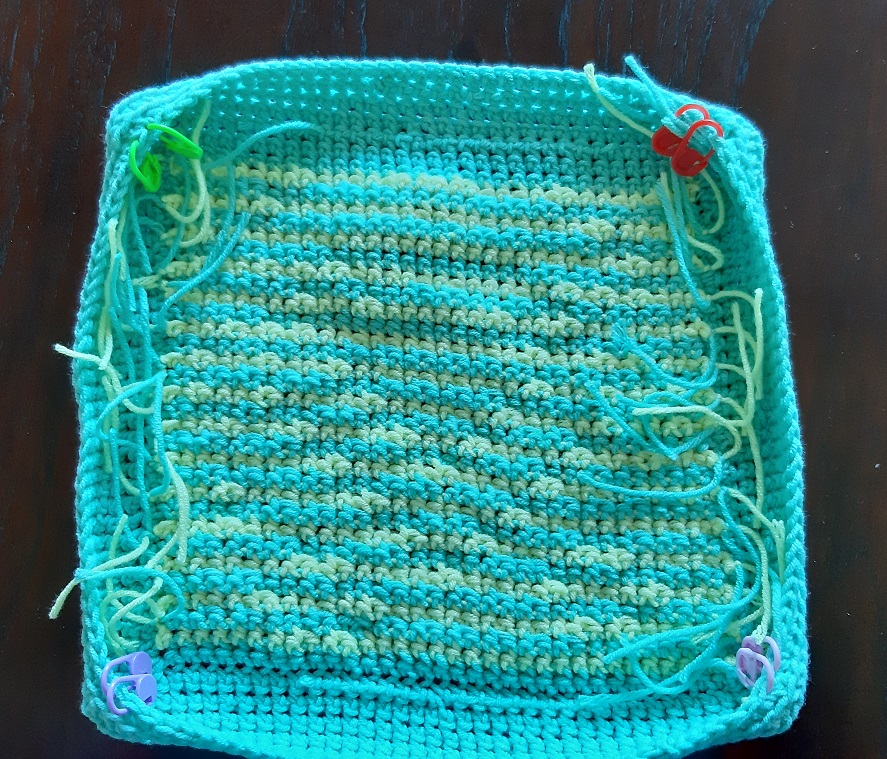
Repeat the decreases again a couple of rows. Here you can see that after the second decrease row the border curls to the back further.
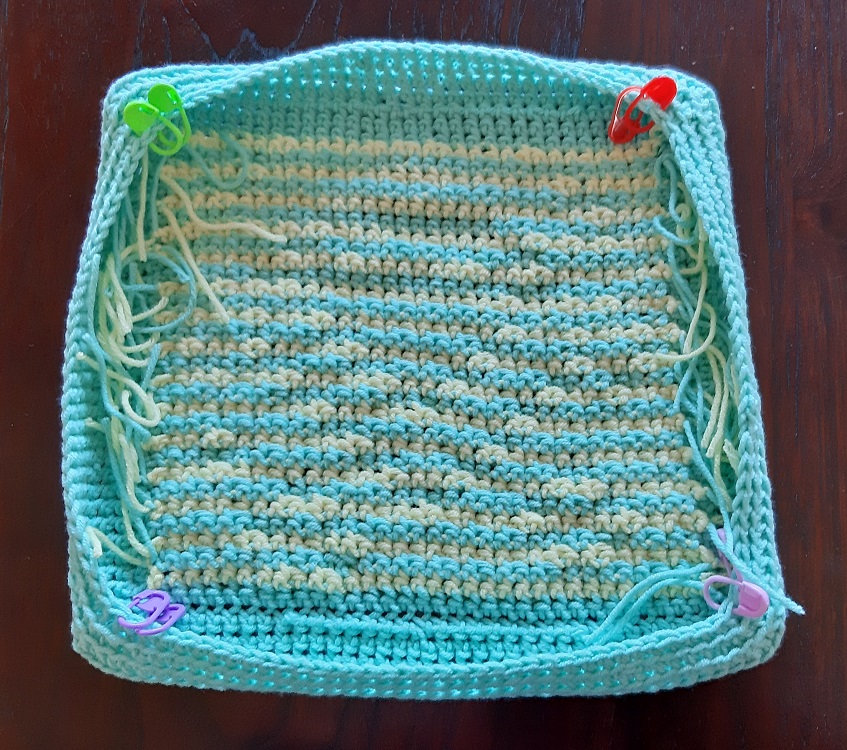
The third decrease row.
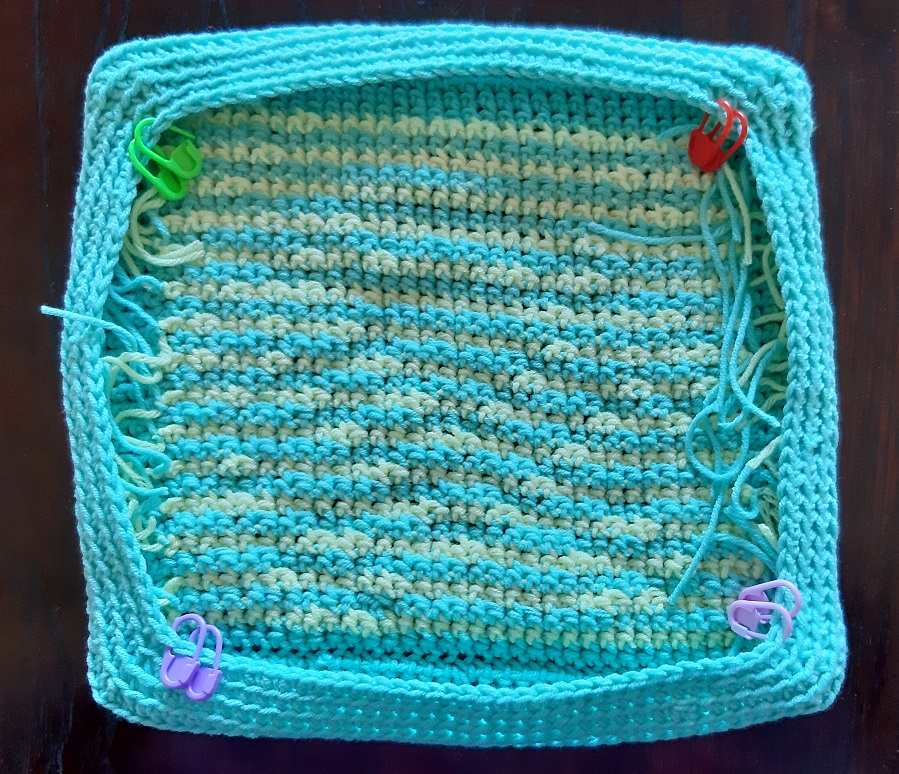
The last decrease row.
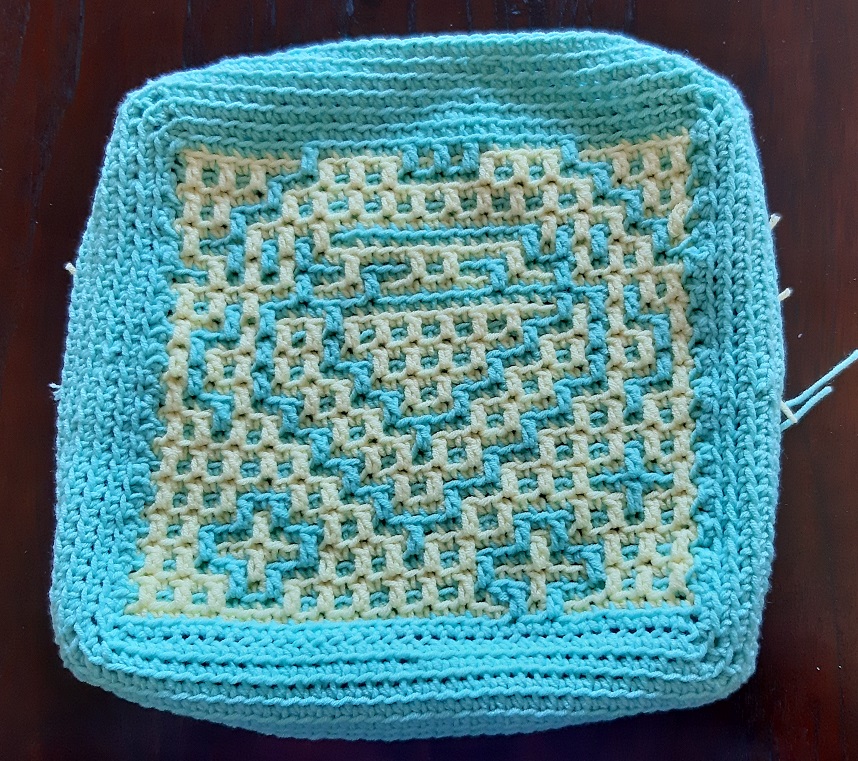
You are now finished with making the decreases. Put the threads under the border and sew the outer side of the border to the back side of your project. I just used the yarn that I used for crocheting (Alize Cotton Gold). Please take care you do this in a way it won’t show to the front of the piece, by picking up threads that are at the backside of the piece only.
Not every yarn is suitable ot sew with, becaus it can falls apart because of the pulling through constantly with the sewing. Take sewing thread instead in this case. Work neatly and consistently and use pins to keep everything in place.
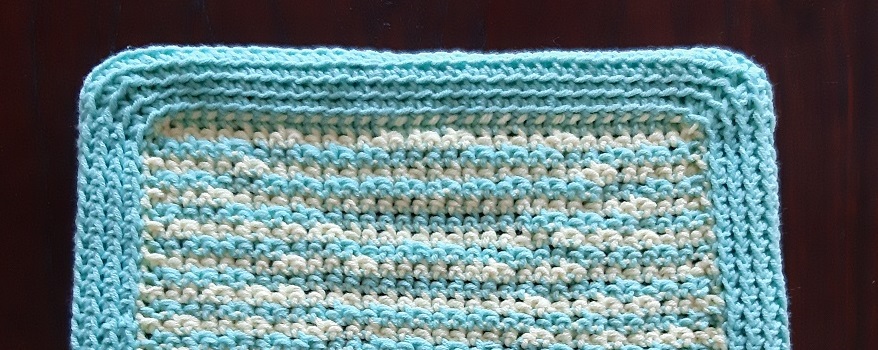
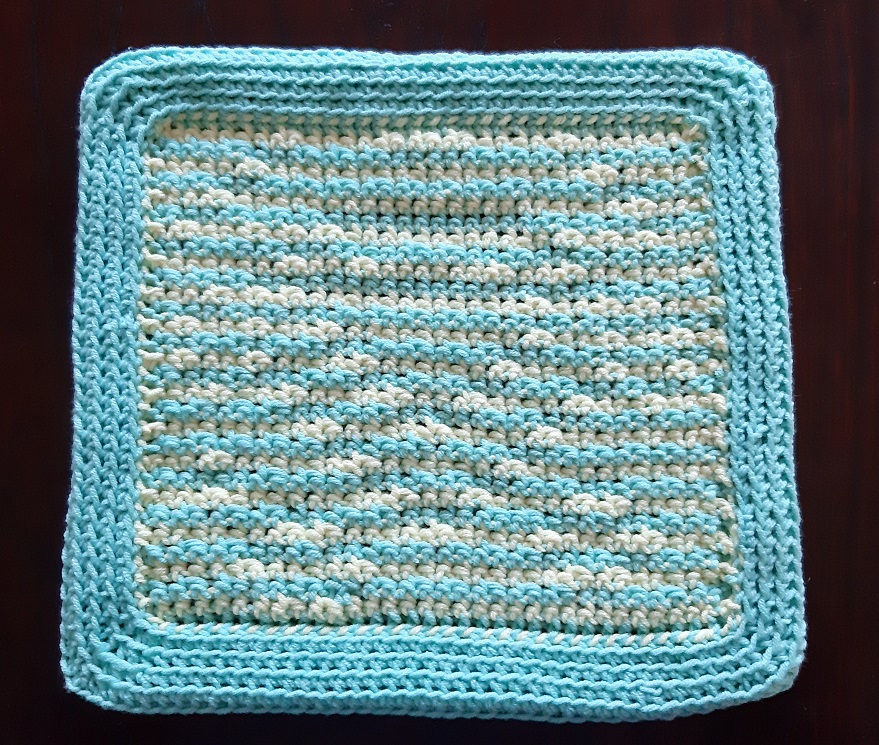
And now you have made a nice border.
A designers tip: do the decrease rows alternately with the two colors! You will get a nice striping border that matches the back of your piece!