
This tutorial is split up in several parts because of the many pictures.
- page 1: introduction and first row: click here to go to the page
- page 2: the next ‘increase’-rows: that’s this page
- page 3: the ‘decrease’-rows and finishing: click here to go to the page
The second row
In the second row owe will do the increases at the corners the same way as with the first row. We will use the markers that are very handy placed into the previous row.
First of all I start again somewhere at the middle of a rwo with a standing sc. In this case I started at the top. It doesn’t have to be halfway, it just has to be a bit before the corner.
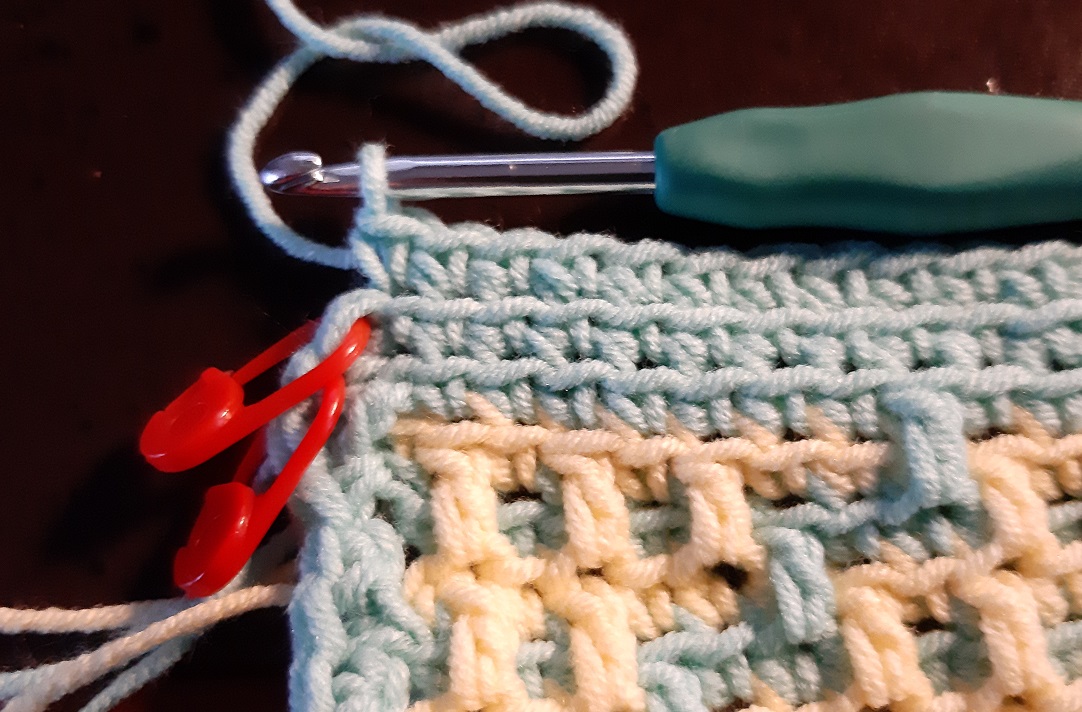
Here I arrived at the last stitch just before the corner. The marker is still into the last stitch of the previous row.
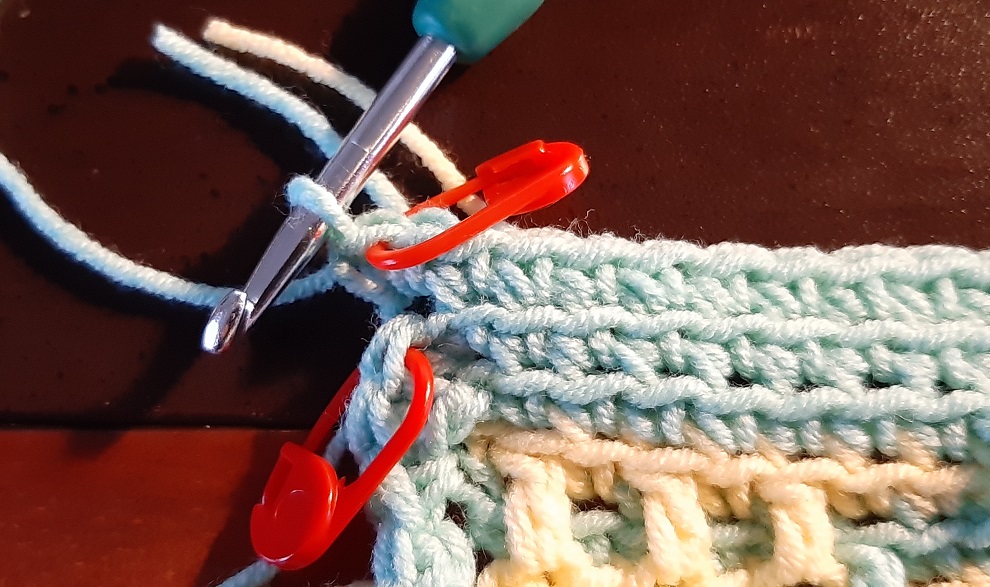
Here I dd the increase into the last stitch, so 2 sc’s into the last sc of the previous row. I put the marker into the last made stitch of this side.
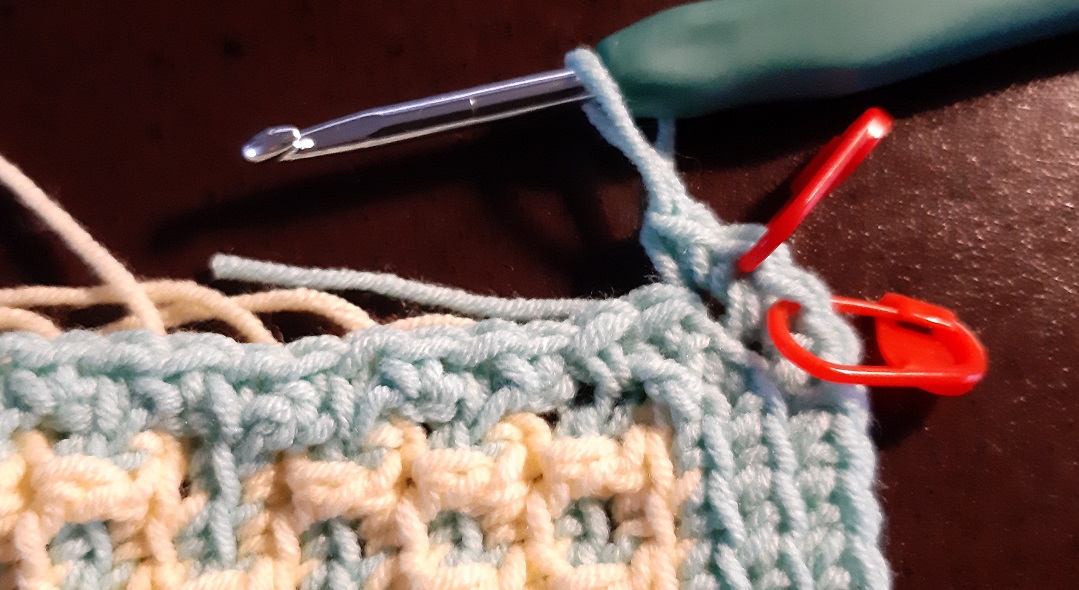
Here I did the increase into the first stitch of the next side and put the marker into the first stitch. Do this again at every corner until the entire row is done. I closed the row invisibly again with the duplicate stitch.
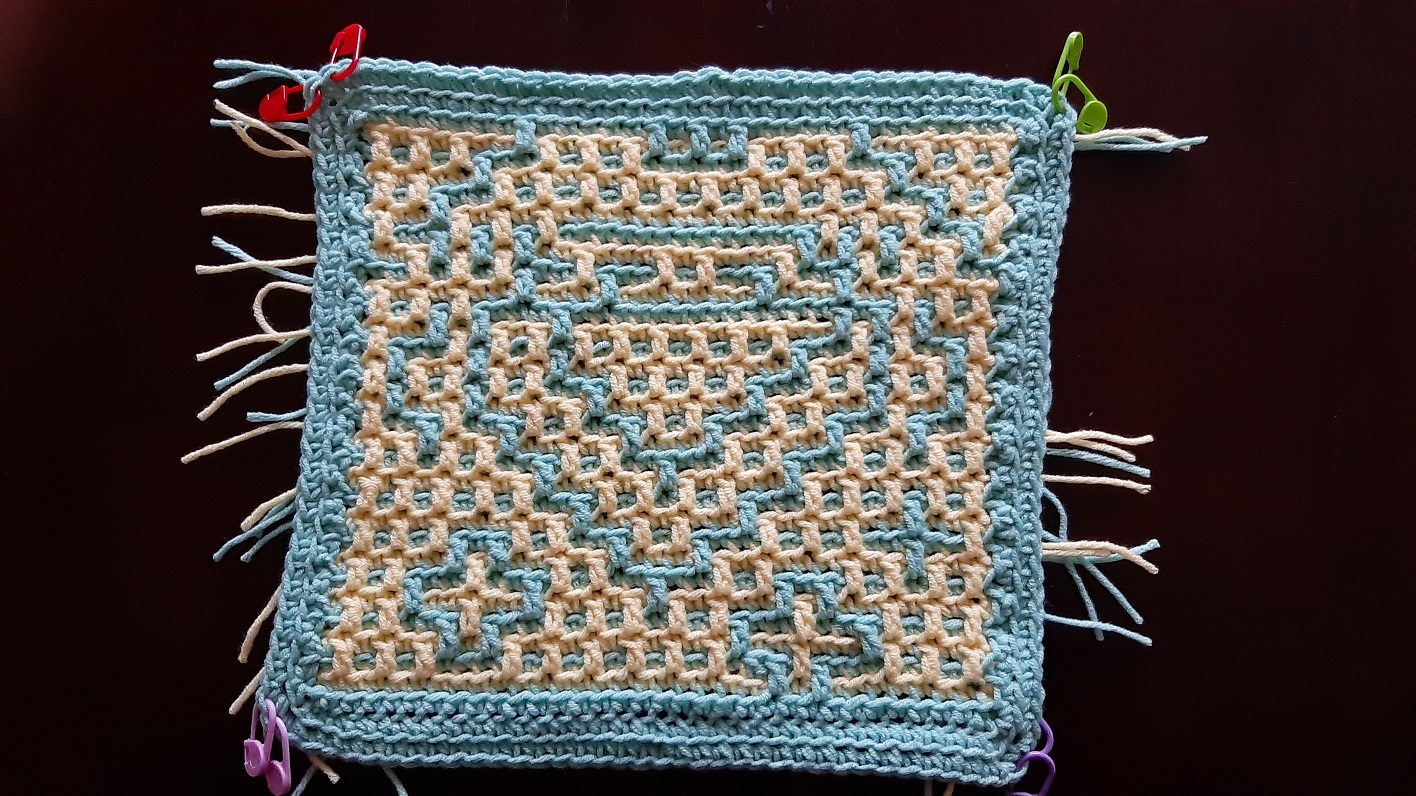
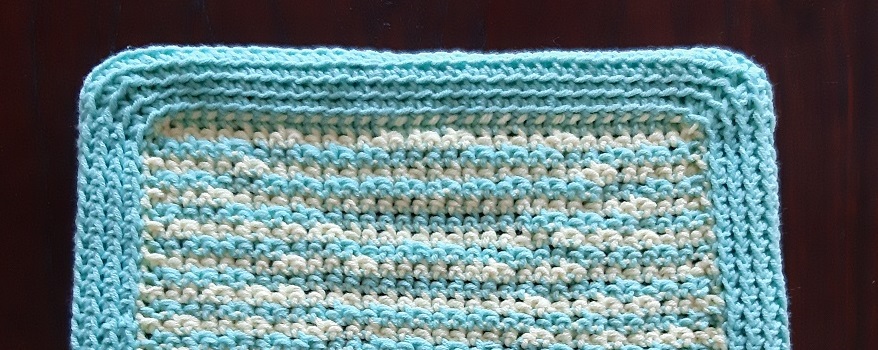
The 2nd row is done.
The third and fourth row
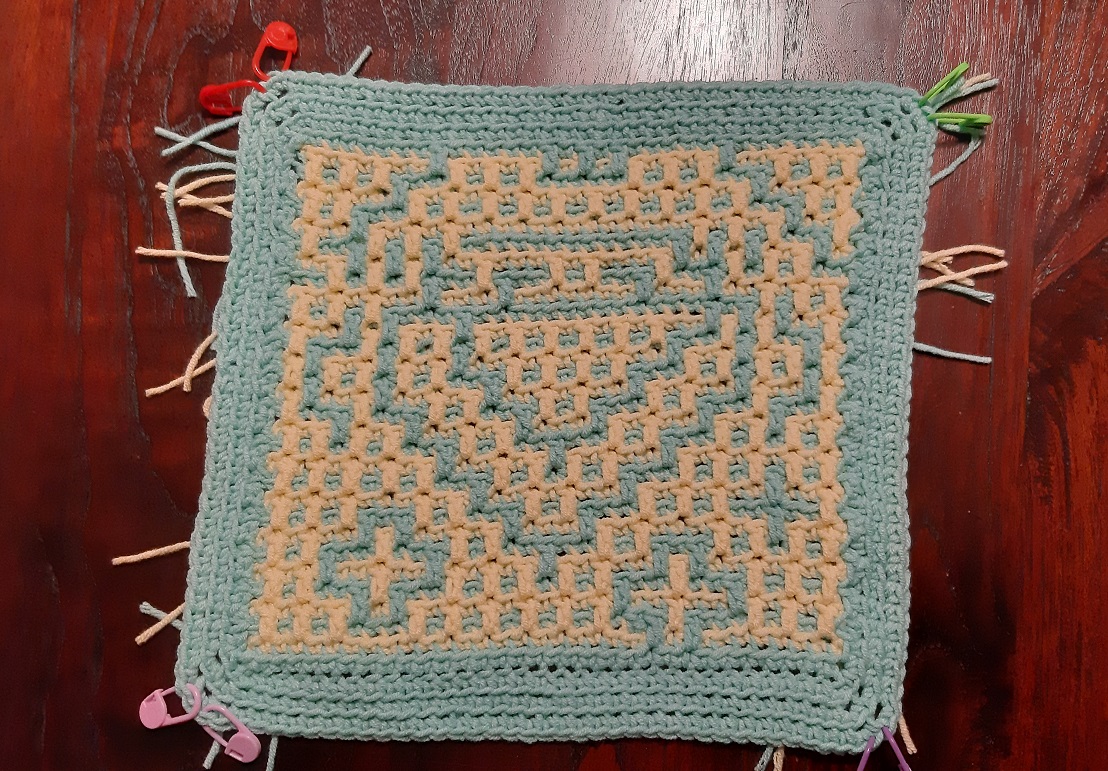
Repeat this again for the 3rd row.
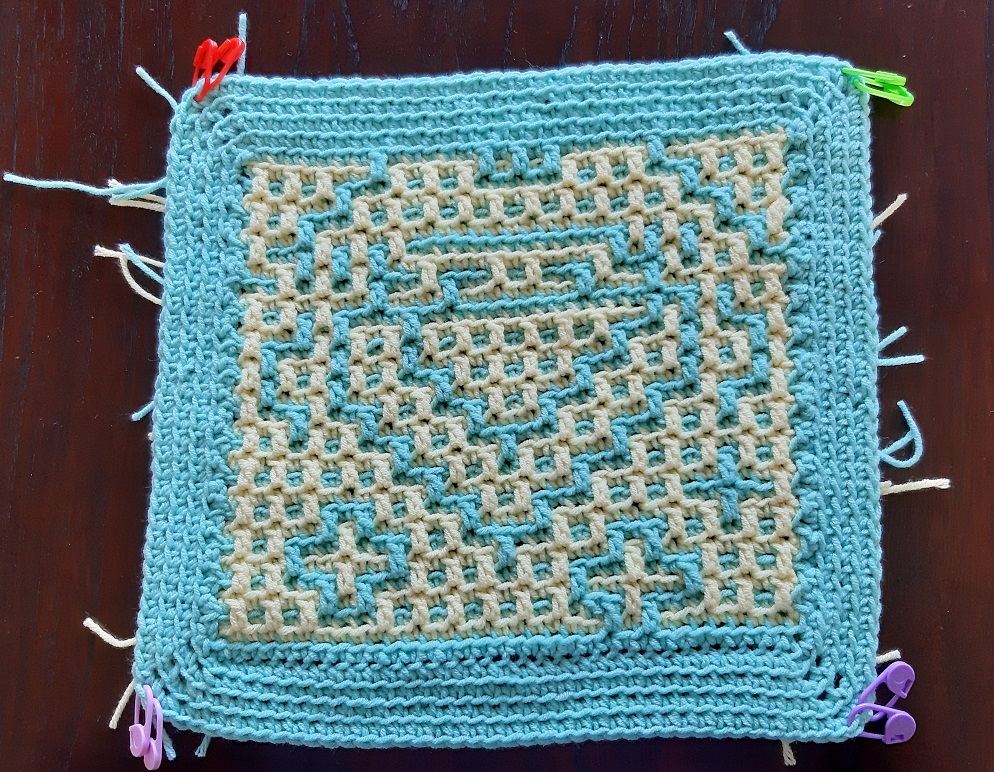
And once again for the 4th row. The border is now high enough and we will now start doing decreases.
Click here to go to the last page.