

On these pages I show how to do balanced mosaic knitting with the use of the pattern charts that are on the page with the instructions (click here). Download them both: the ‘shortened’ full version as well as the partial version with the regular knitting symbols. Please also read the explanation of the knitting symbols first and pay attention to the difference between front, back and working side!
Click on the small pictures in this tutorail to see them in full.
- Cast on and row 1: click here to go to that page
- Row 2: click here to go to that page
- Row 3 and 4: that’s this page
The videos
I also made videos for this tutorial. Click here for the entire playlist or look at the bottom of this page.
Row 3
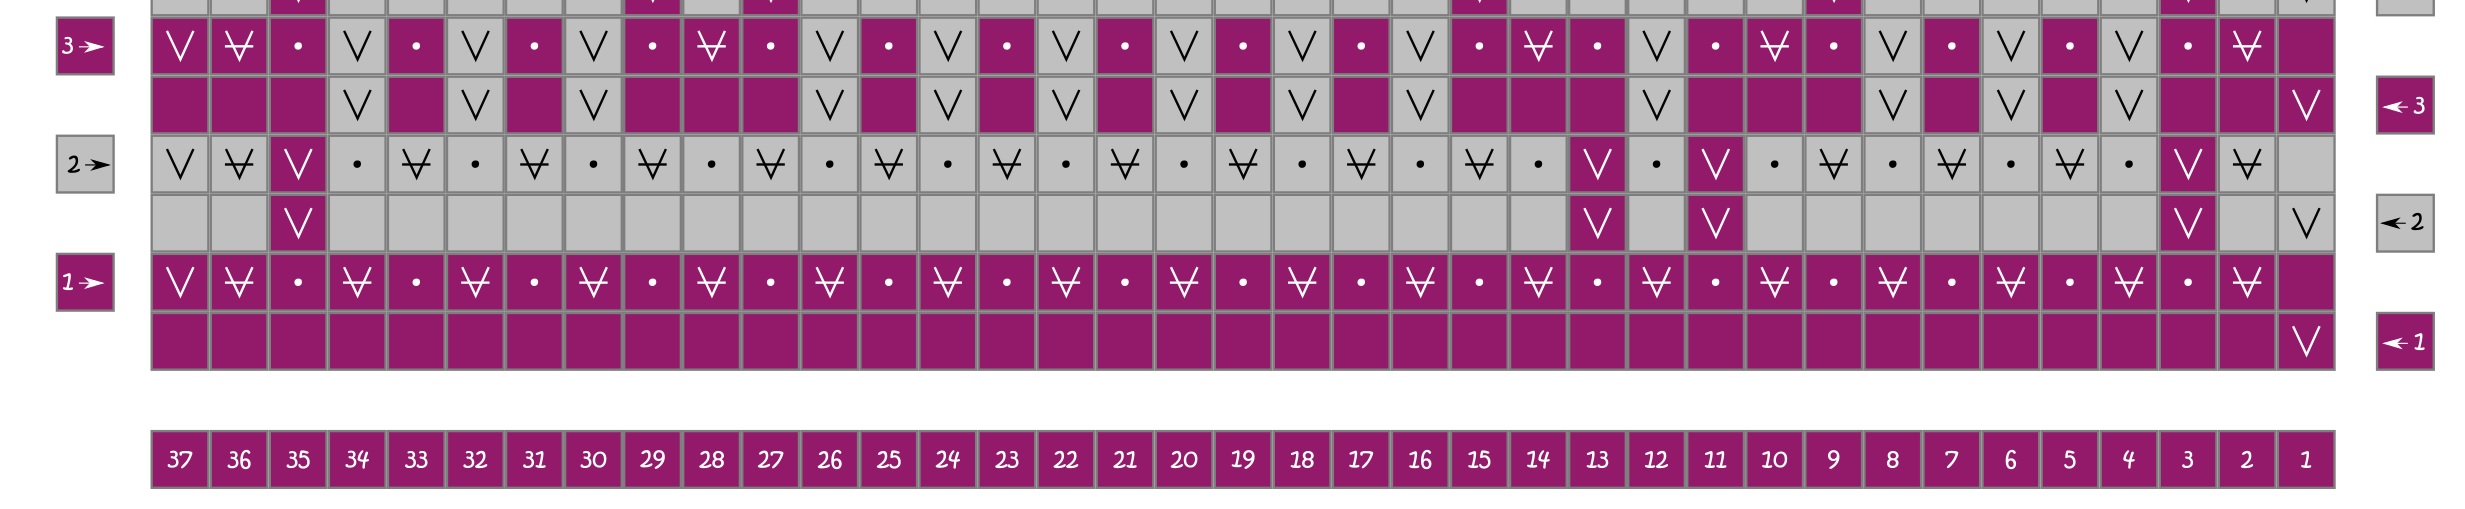 Here you see the pattern of row 3 with the knitting symbols. We will work again with the dark color (color 1), as you can see at the side where the ‘3’ is in a bordeaux colored square. You also see that the stitches in the light color (color 2) all have to be slipped with the yarn to the back side of the piece. It’s just one slip all of the time.
 Here you see the pattern of row 3 in the shortened version. Again the row is drawn only once. And again you just have enough with this if you just follow the rules of balanced mosaic knitting.
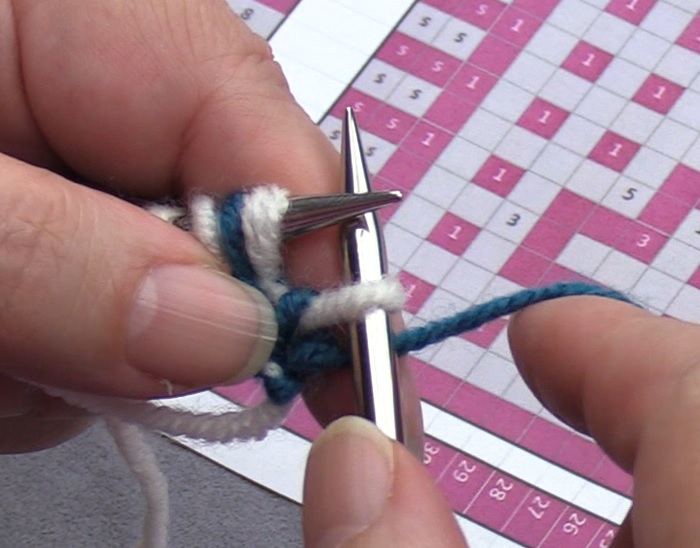
Row 3, forth going row
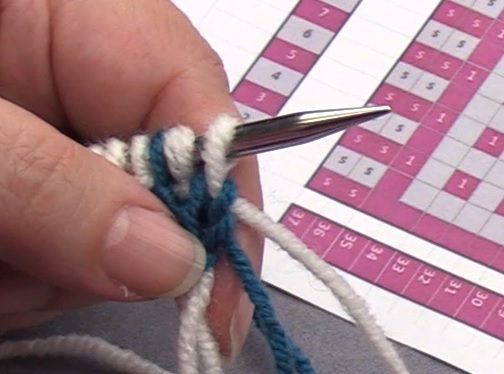
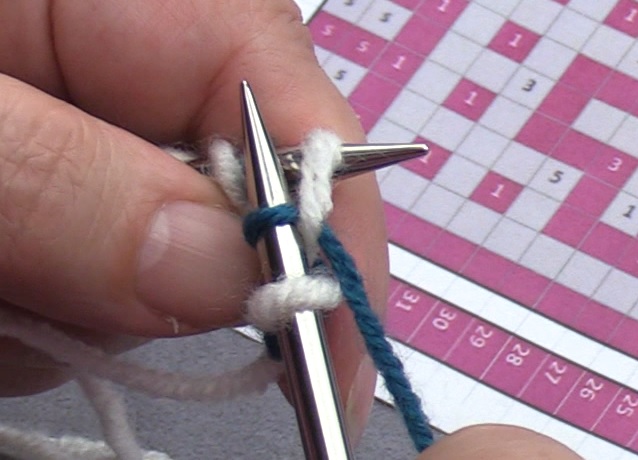
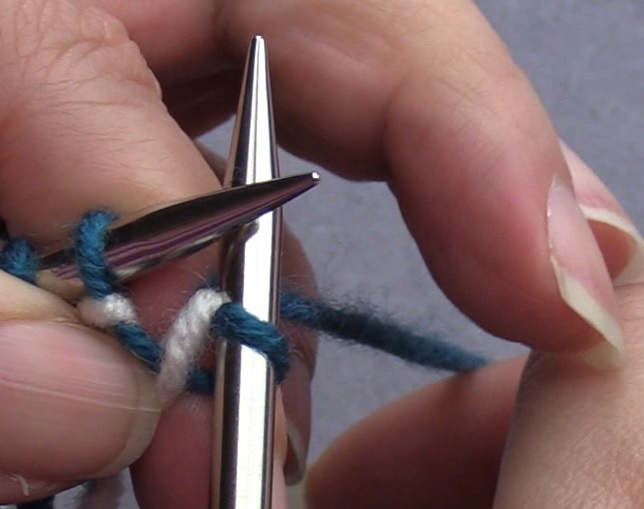
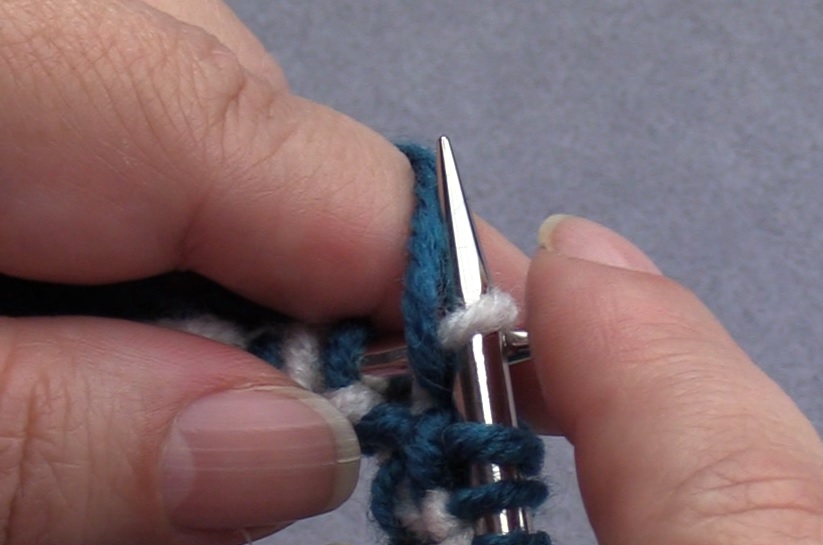
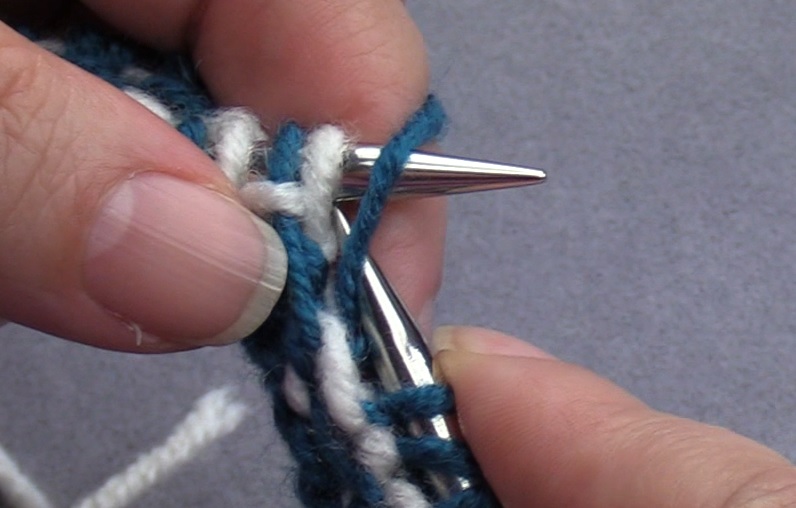
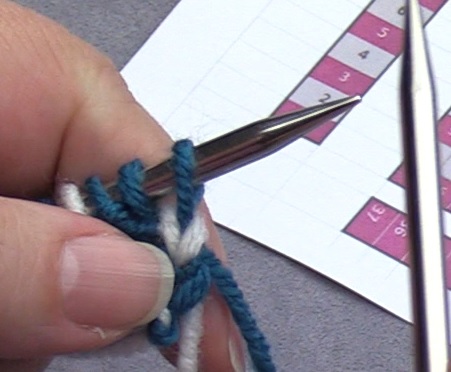
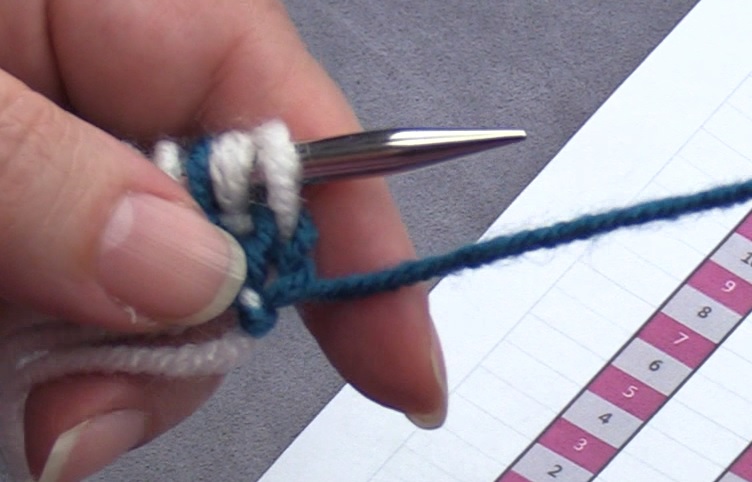 Here you see how the side looks before we do the color change (picture 1). I have brought the yarn of the light color to the back and to the left. We will now work with the dark color (picture 2). Also see the pictures of row 4 for a bit more detail of the color change.
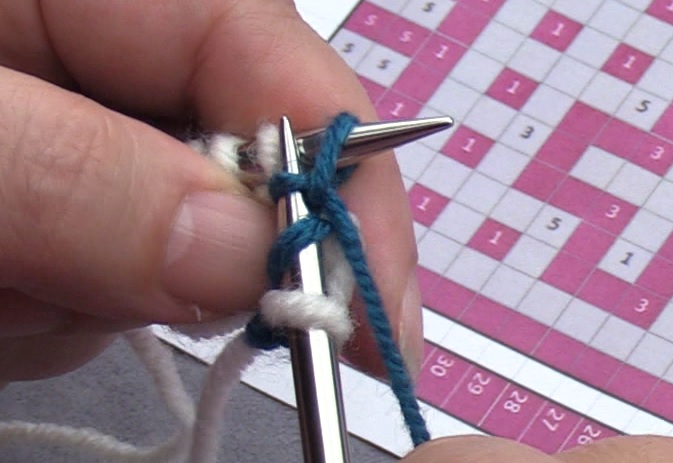
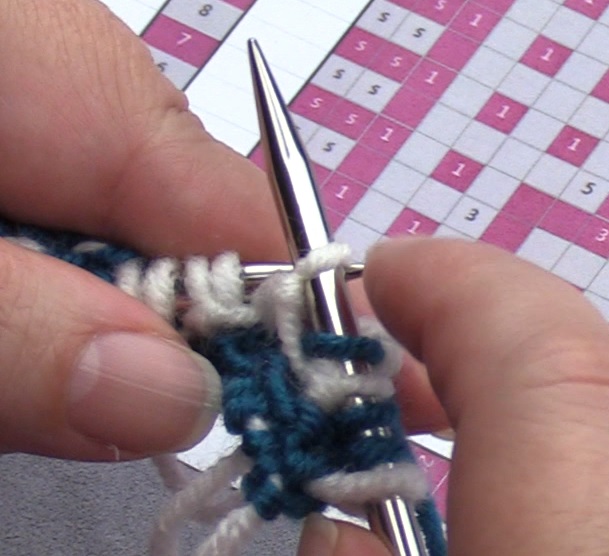
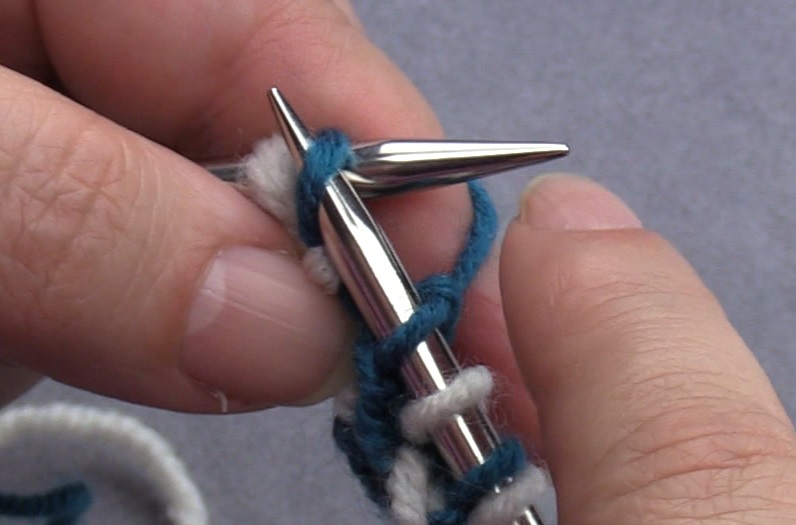
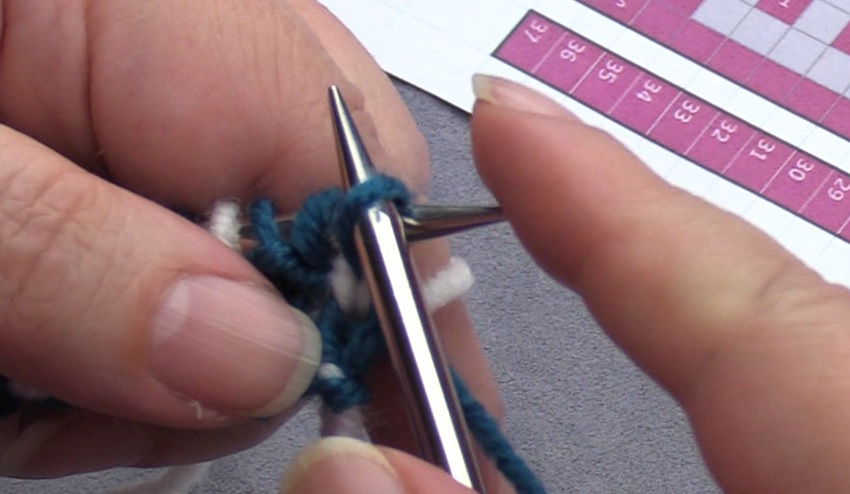
 Slip the first stitch and knit the second.
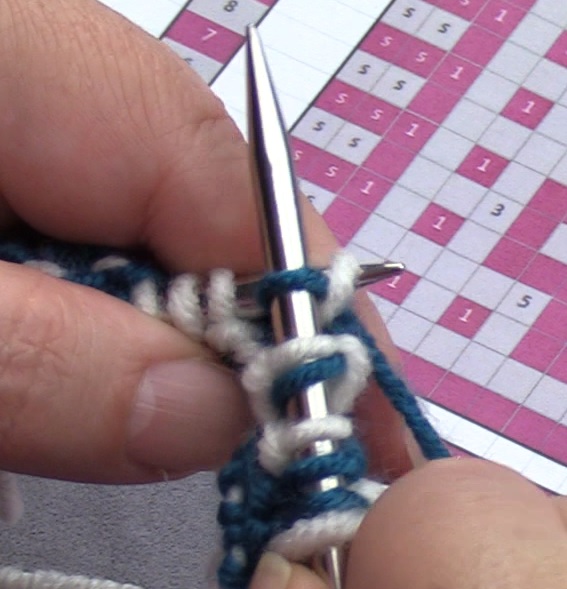
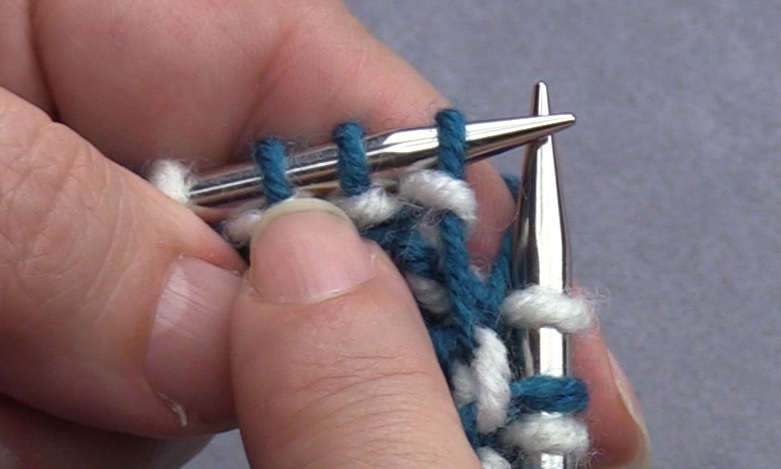
Now knit all stitches that have to be in color 1 and slip the stitches of color 2.
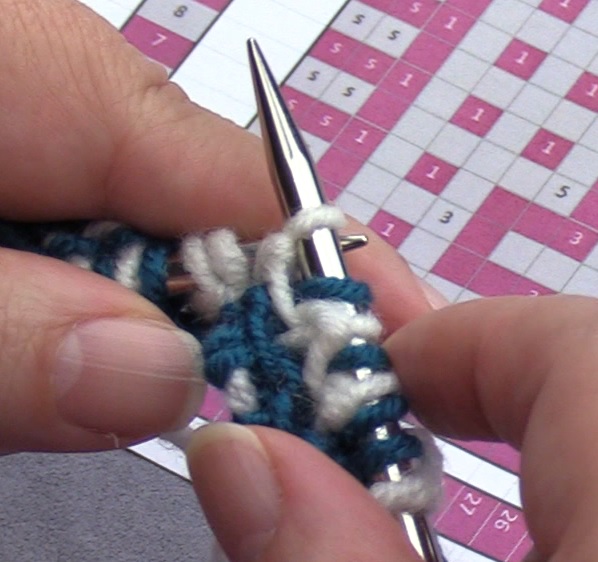
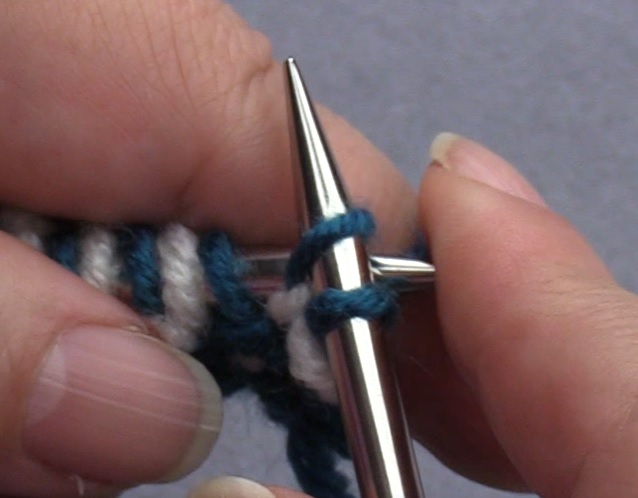
 Pictures 1 through 6 show the next stitches of the pattern. Picture 7 shows the 3 knitted stitches in a row.
Row 3, returning row
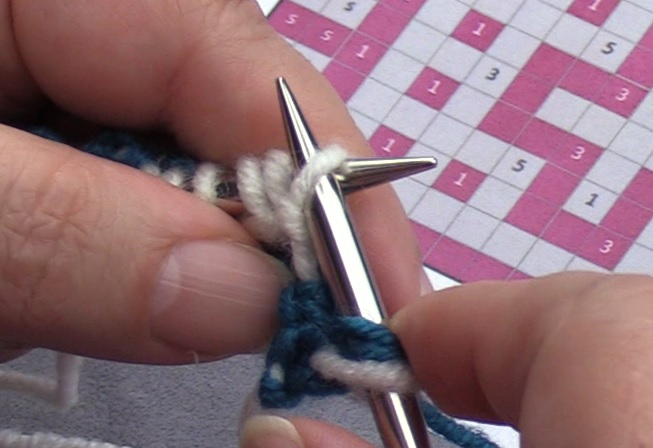
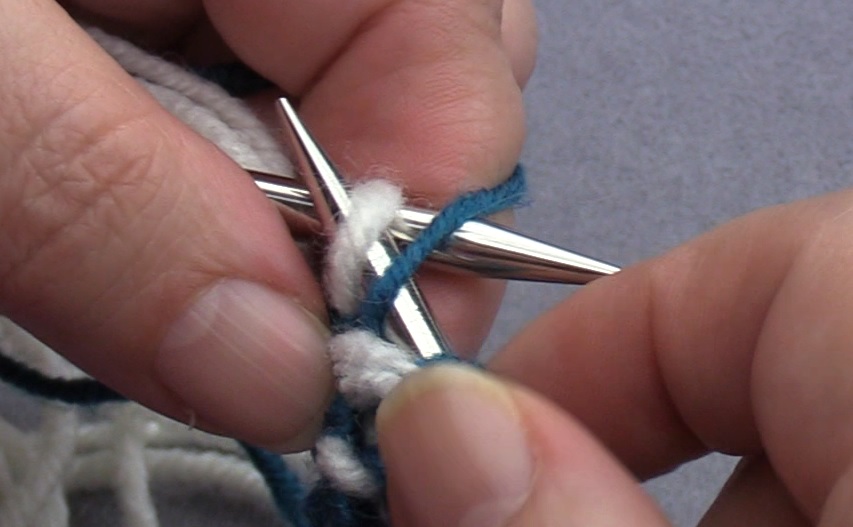
 Picture 1 shows again that the first stitch is slipped, the yarn is brought to the front of the piece agaian (picture 2) and the next stitch is slipped (picture 3).
 You don’t need the chart, look at the stitches on the left needle. Slip the stitches of color 2 with the yarn to the wrong side of the work. Knit the other color and do the knit-slip repeat when encountering more than 1 consecutive stitch of color 1.
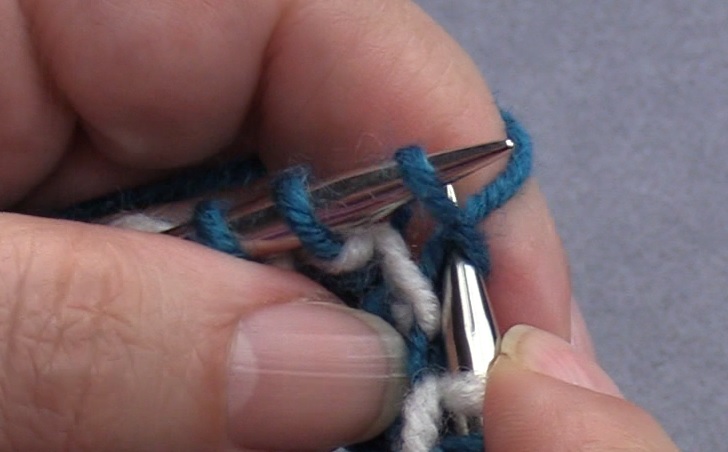

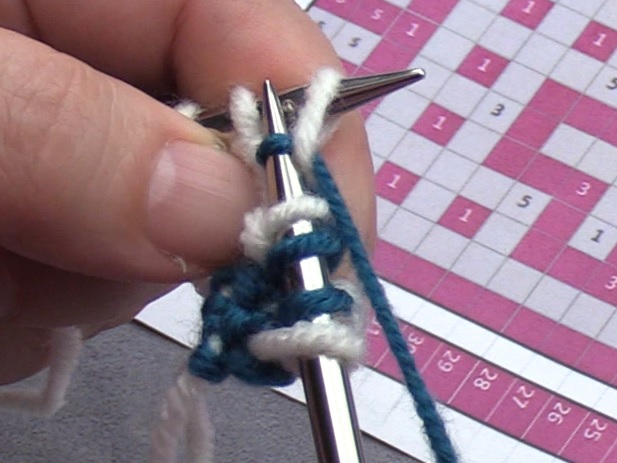
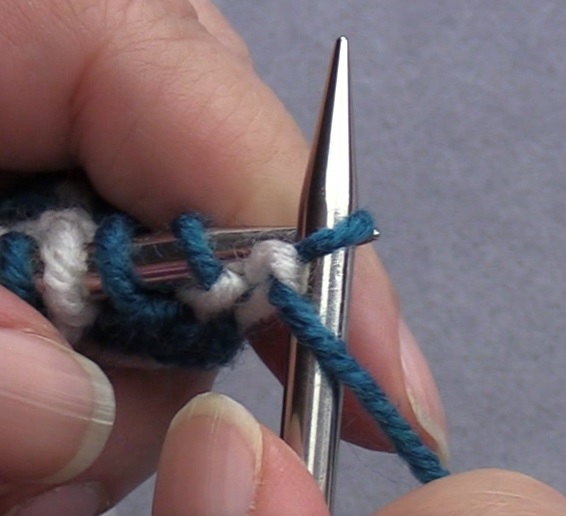
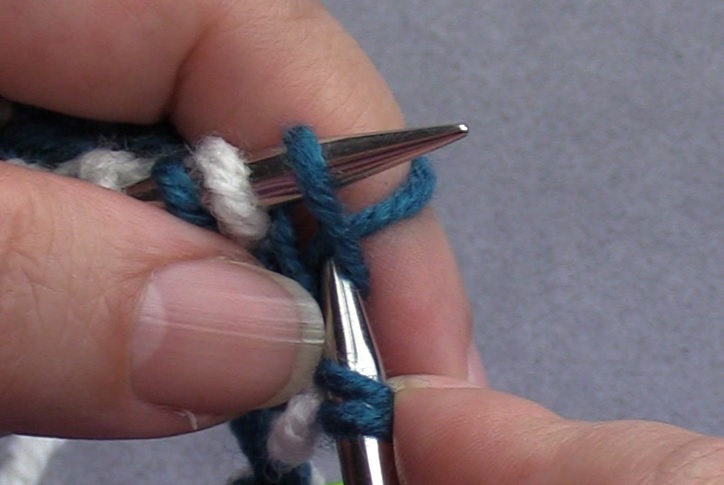
 Here you see again the knit-slip repeat when you have more than 1 stitch of color 1. In picture 5 you see the change to color 2 again, that has to be slipped with the yarn to the wrong side of the work.
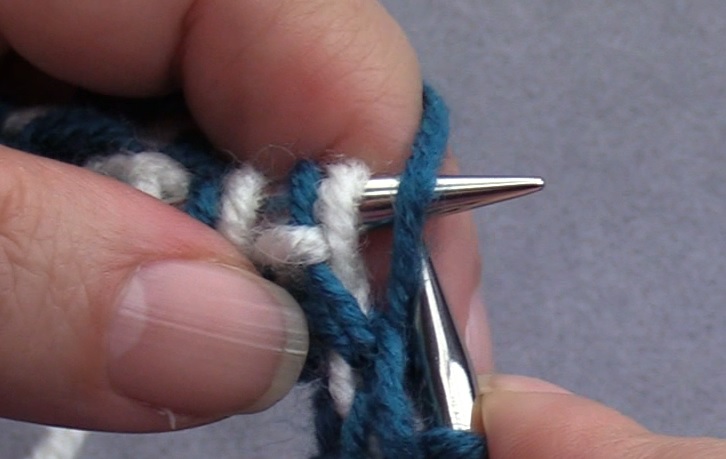
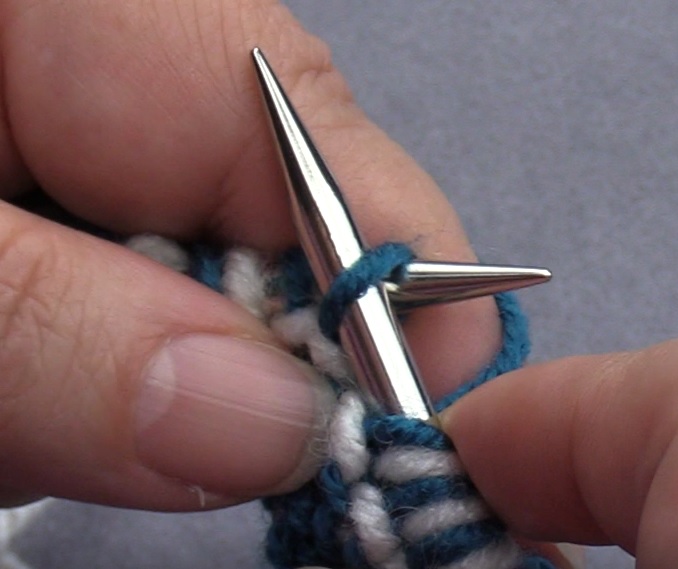
 Here are the last 2 side stitches again. The first side stitch is slipped, the last stitch is purled.
Row 4
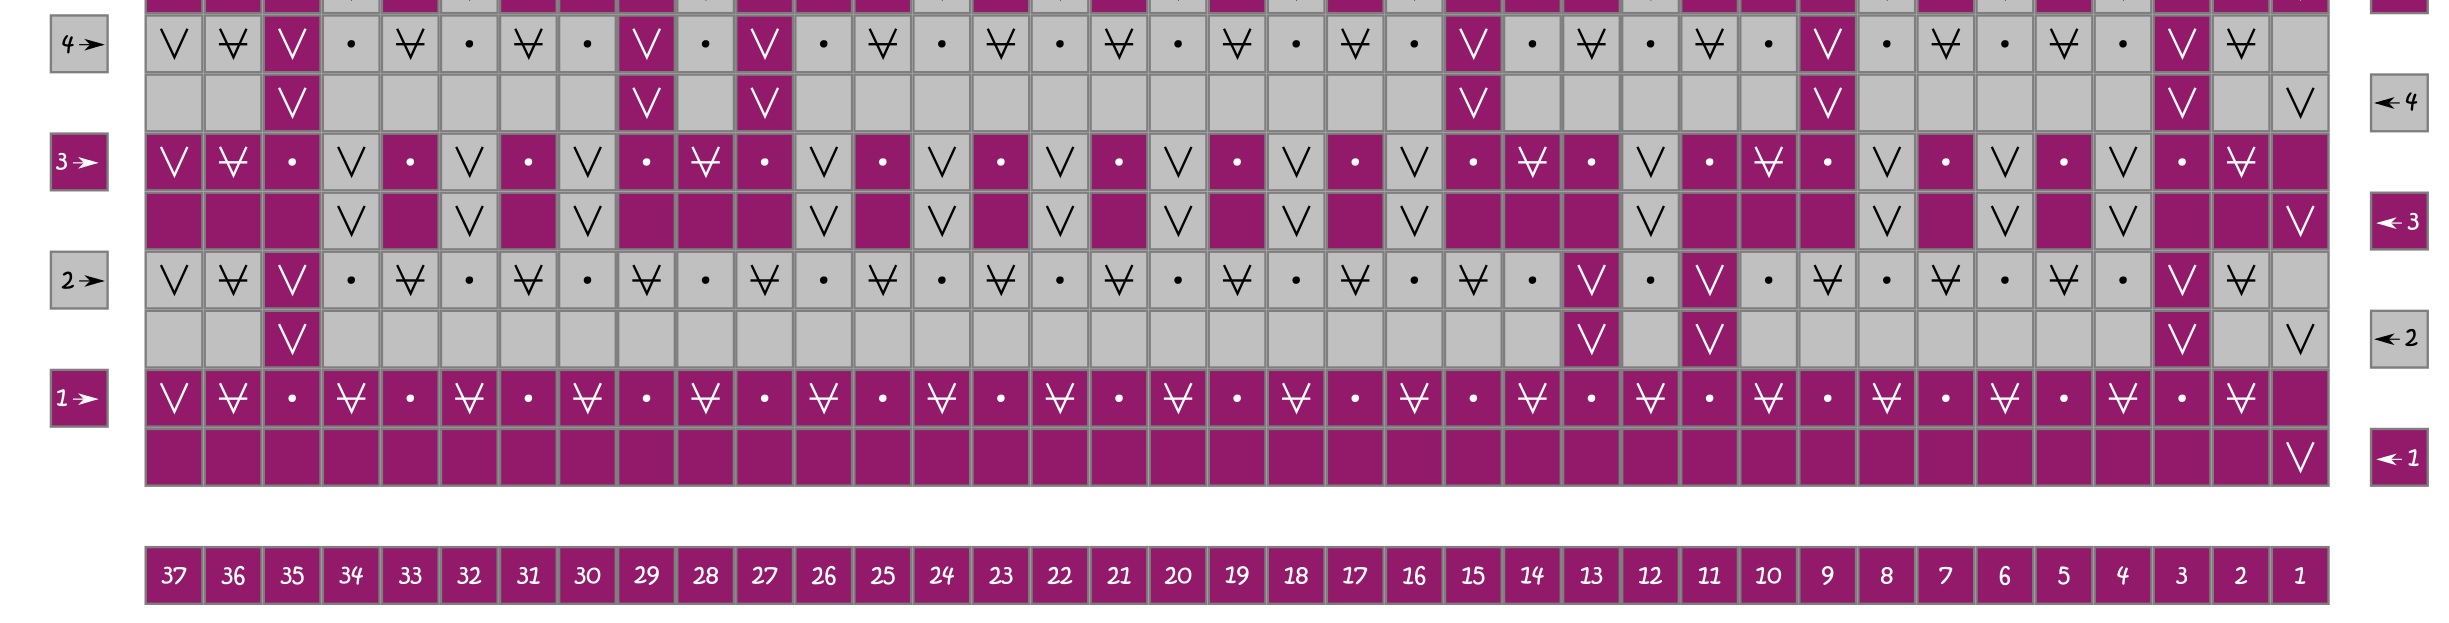 The pattern chart for row 4 with knitting symbols.
 The shortened version.
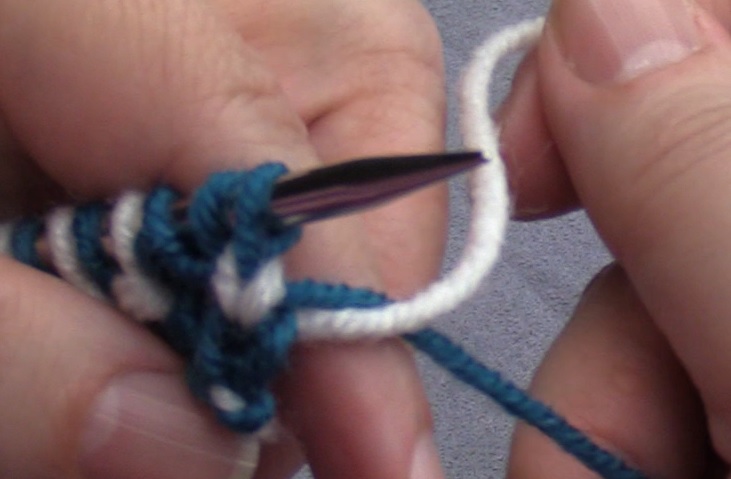 Once again the color change. Take the yarn of the previous color to the back and get the new working thread to the front and over the previous color to the back.
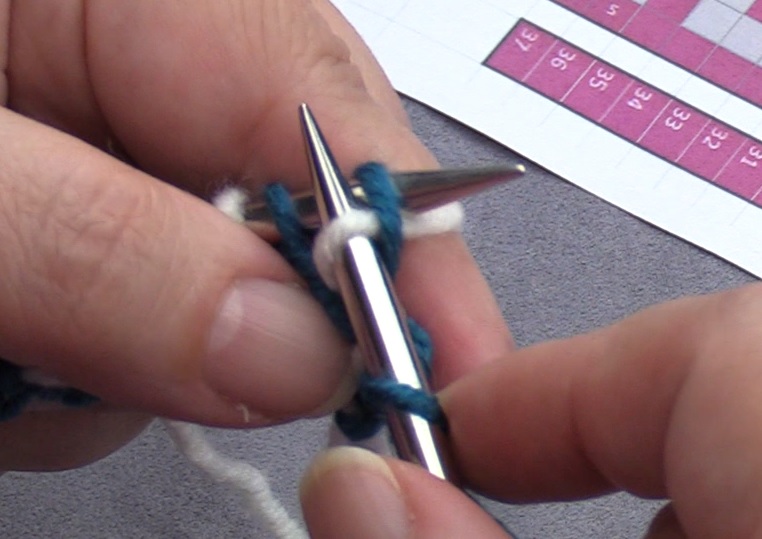 Slip the first stitch and knit the next.
I hope all is clear now. If you also want to see this in a video, you see down here the links to the videos.