

On these pages I show how to do balanced mosaic knitting with the use of the pattern charts that are on the page with the instructions (click here). Download them both: the ‘shortened’ full version as well as the partial version with the regular knitting symbols. Please also read the explanation of the knitting symbols first and pay attention to the difference between front, back and working side!
Click on the small pictures in this tutorail to see them in full.
- Cast on and row 1: click here to go to that page
- Row 2: that’s this page
- Row 3 and 4: click here to go to that page
The videos
I also made videos for this tutorial. Click here for the entire playlist or look at the bottom of this page.
Row 2
In this row the ‘real’ pattern starts. In row 1 we only knitted a border in 1 color, now we have some color changes.

Here you see the pattern of row 2 with the knitting symbols. We will knit with the light color (color 2), which you can see at the side where the ‘2’ is in a grey square. You can also see that the stitches of the dark color (color 1) all have to be slipped with the yarn to the back of the piece. It is always just 1 slipped stitch.

Here you see the chart for row 2 in the shortened version. You see again that the row is drawn only once. Again, if you just follow the rules of balanced mosaic knitting, you will have enough to do it.
Row 2, forth going row
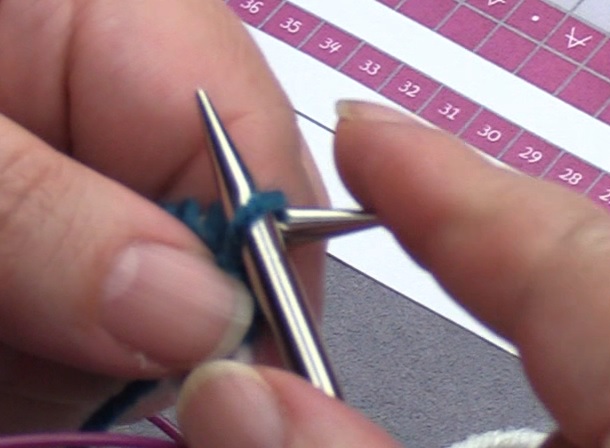
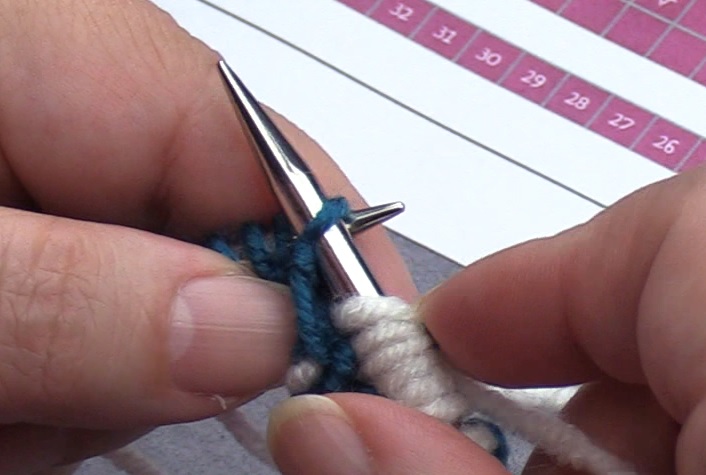
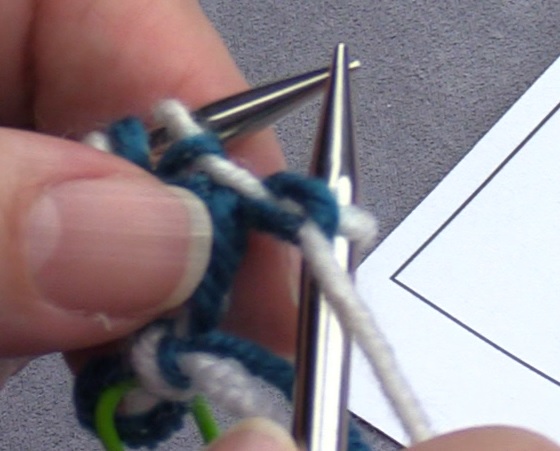
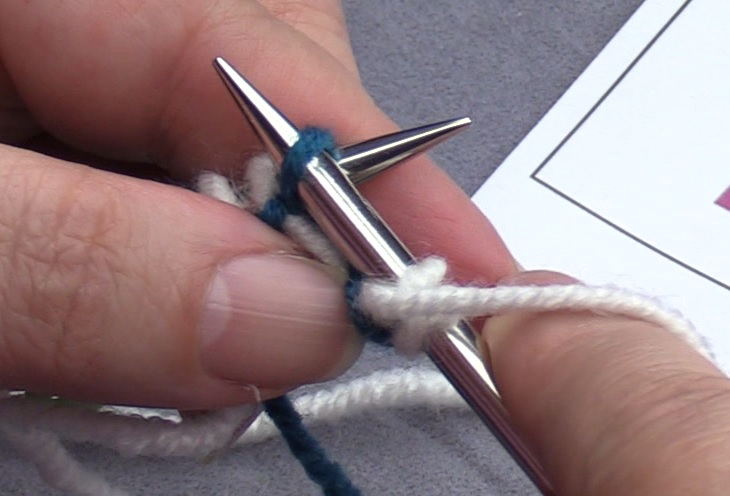
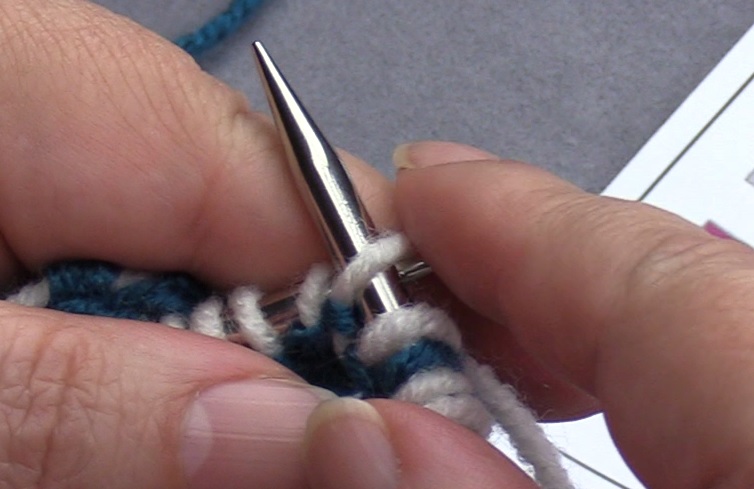
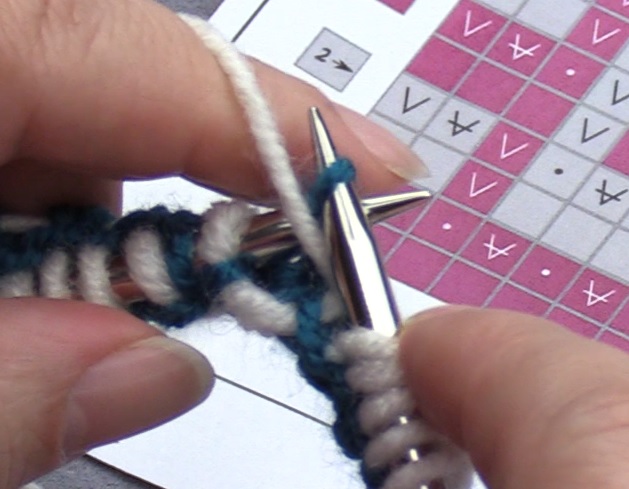
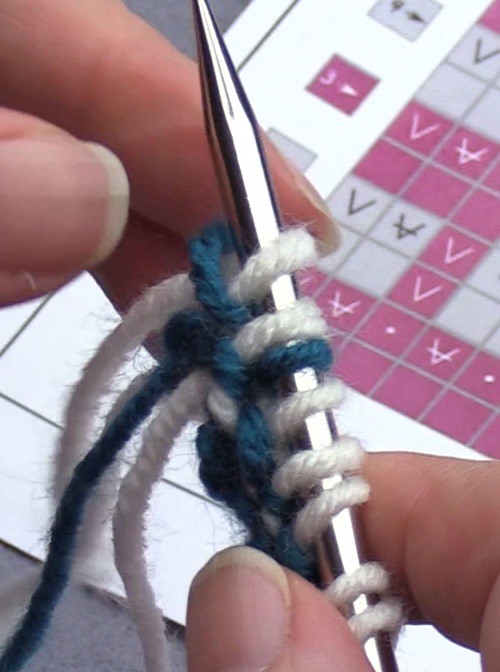
The first stitch is slipped off with the yarn to the back of the work (picture 1), just like the first side stitch of the forth going row of row 1. You see that this is still the previous color of the previous row. This can be confusing, so remember that this just is because you just didn’t knit the stitch with the new color.
The second stitch is now knitted with the light color. Because the new color is just ‘tied’ on, you do not have a color change at the side yet. I will show that with the pictures of row 3 and 4.

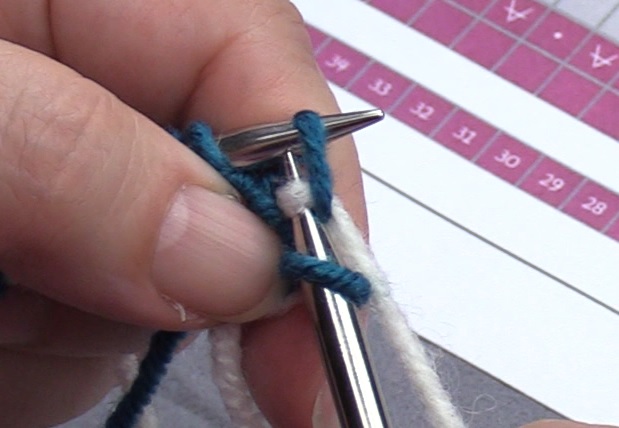
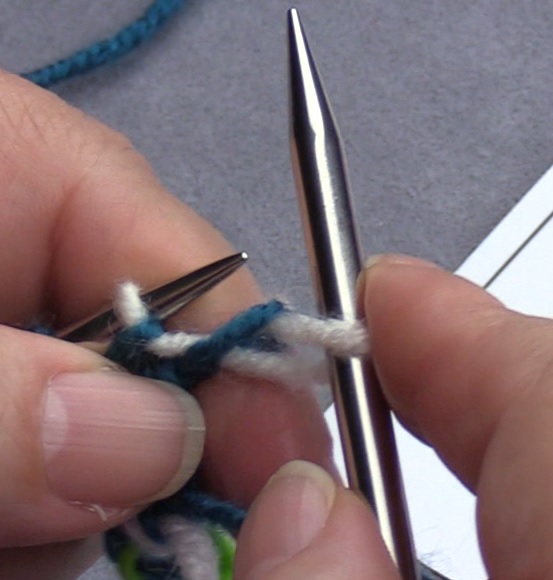
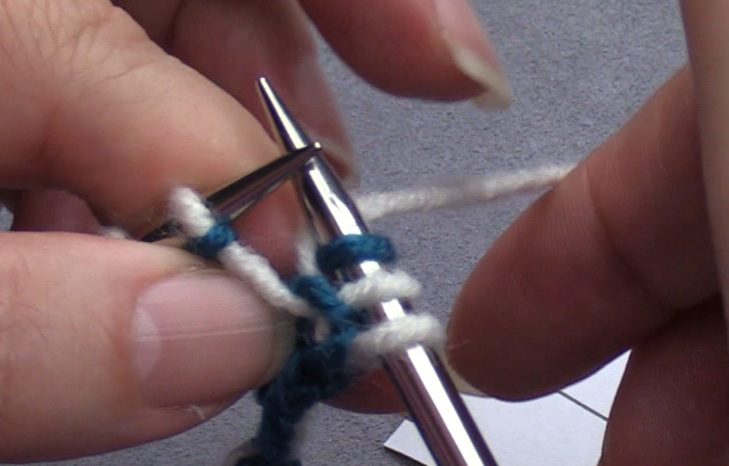
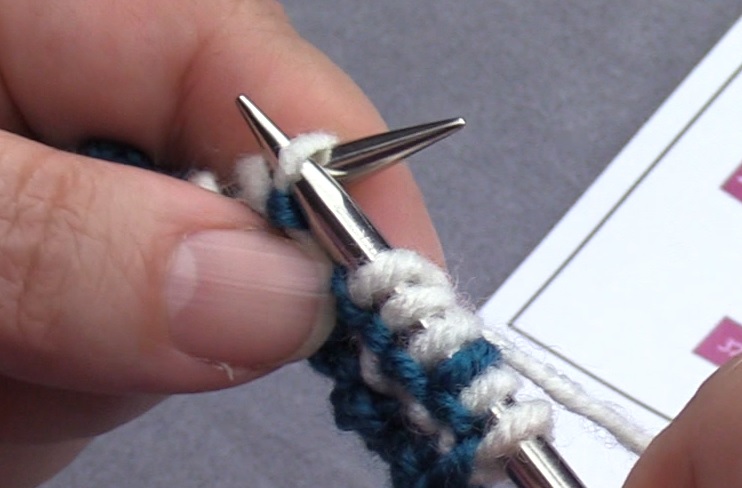
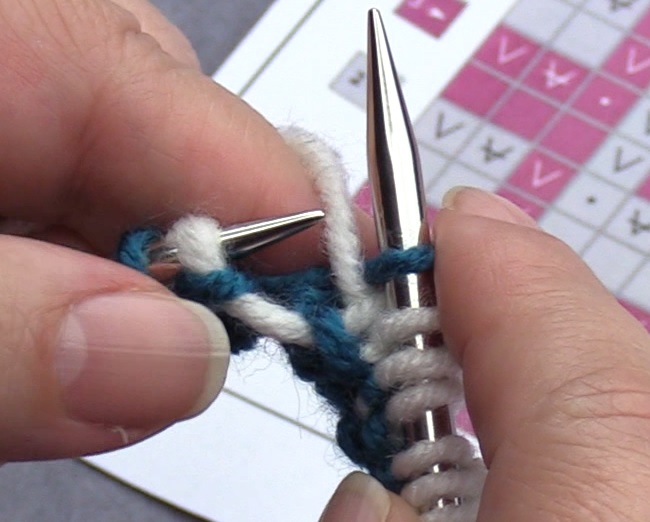
The next pattern stitch is in color 1, so we slip that off with the yarn to the back (wrong side) of the work, because we are working with color 2. Because this stitch is not knitted, the stretched loop of this stitch will make a ‘standing line’ of the pattern. The loop of the working thread runs at the back of it, out of sight of the pattern on the right side. There always is only 1 stitch that is slipped with these patterns that are also suitable for interwoven crochet by the way.
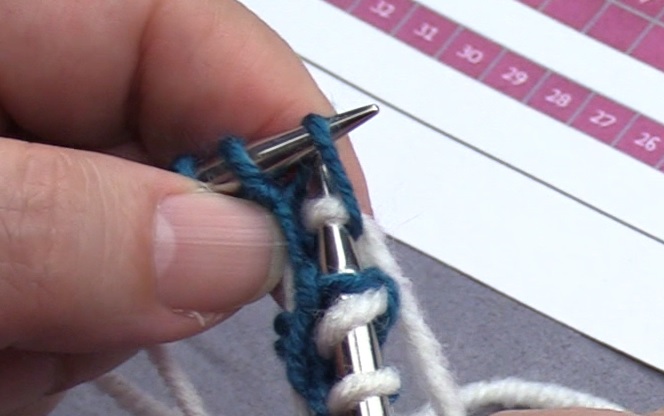
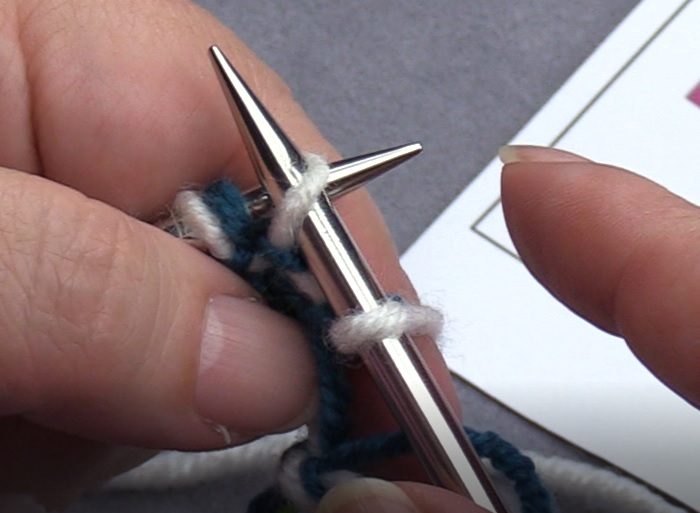
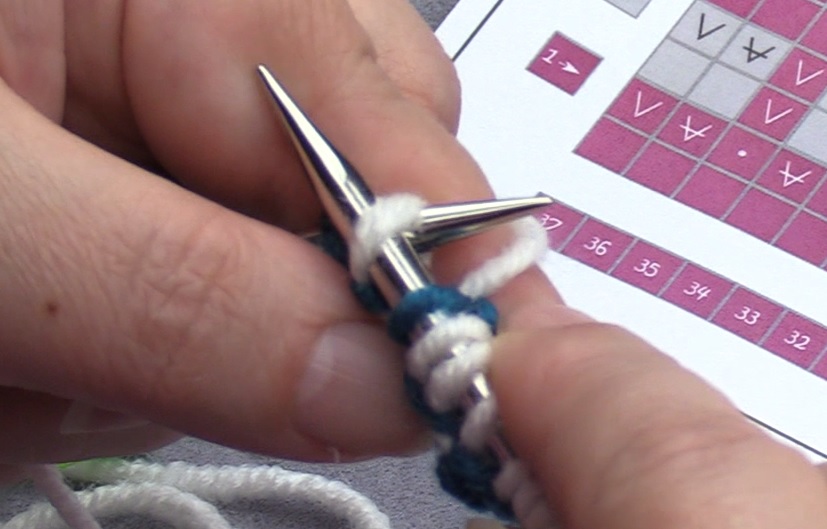
 After this we have to knit 7 stitches. And here you see the convenience of the ‘shortened’ version of the pattern: right away at the start you see a 7. This really reduces a lot of counting, and it prevents making mistakes. The speed of working increases a lot with these pattern charts.
The slipped stitches are not numbered, because it always is just 1, but the stitches that have to be knitted always have a number, even if it is only 1 stitch.
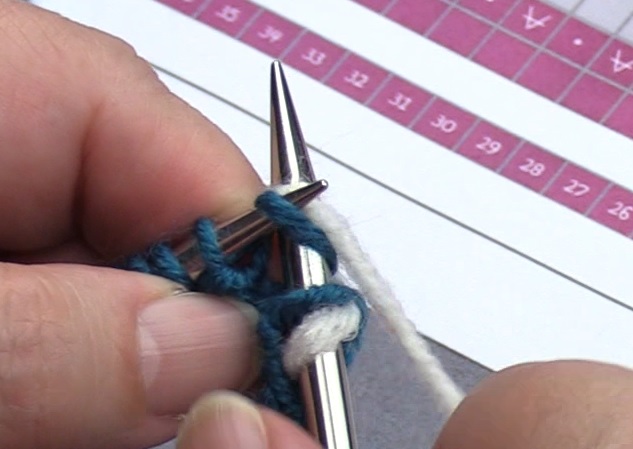
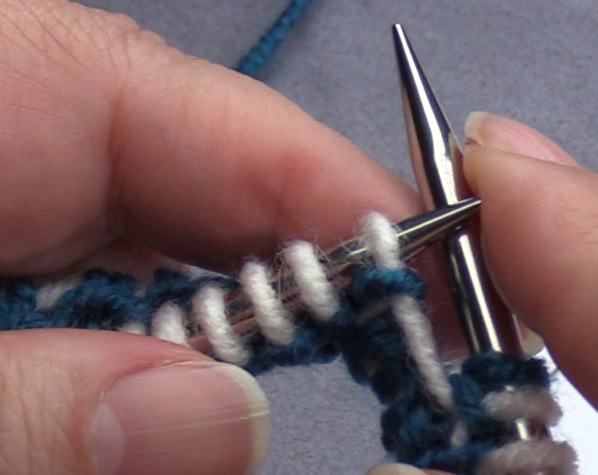
In picture 2 the 7 stitches are knitted.
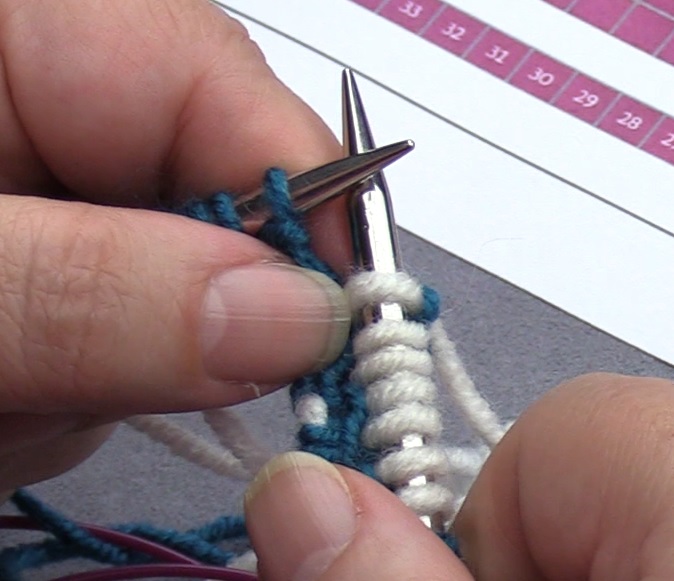
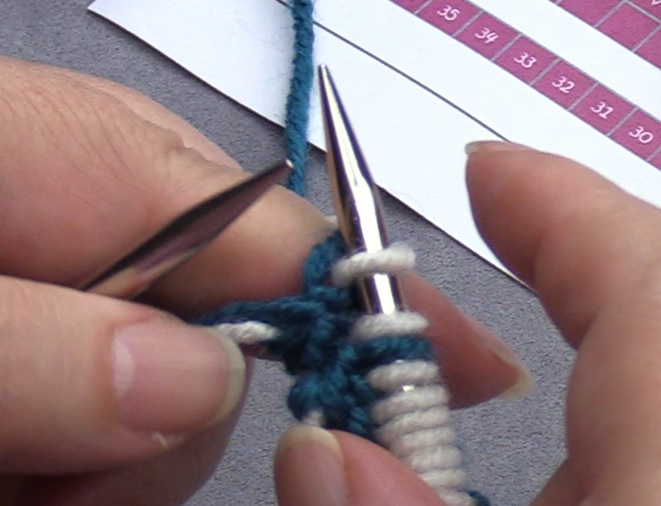
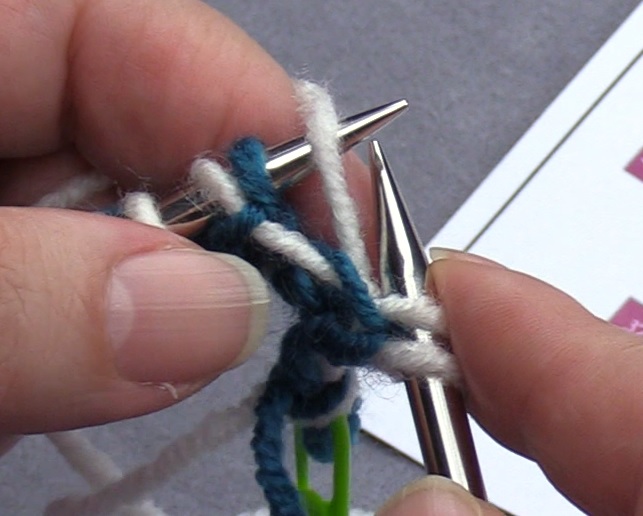
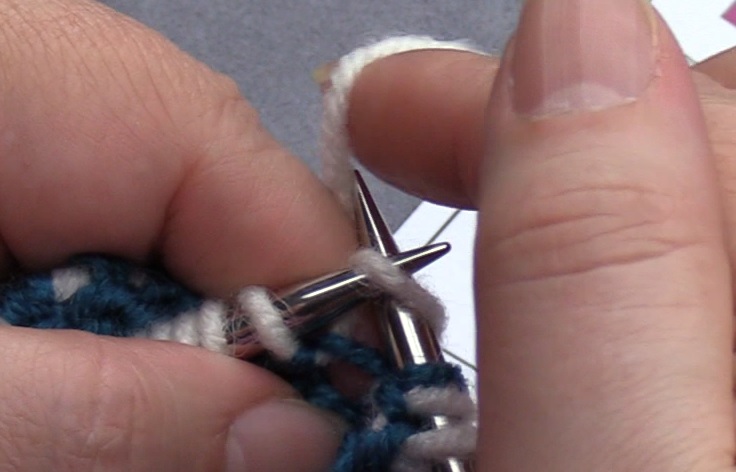
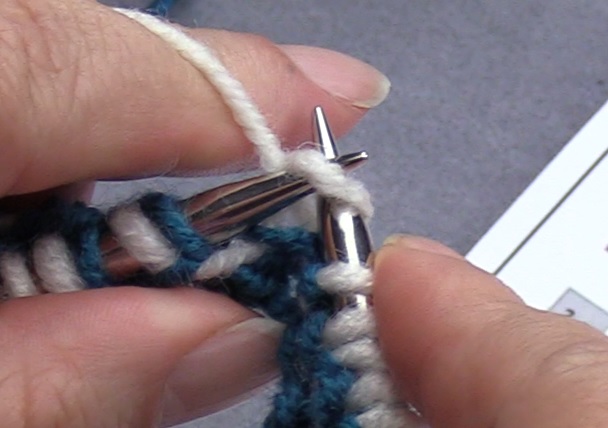
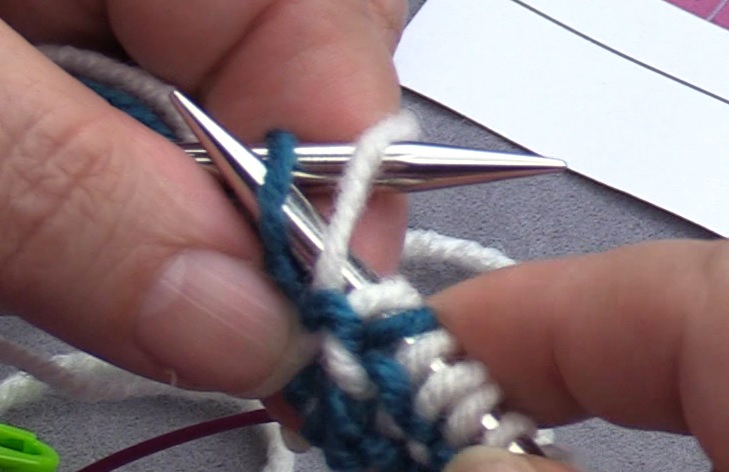
 The next stitch is again a slipped stitch in color 1 (picture 1). The next stitch has to be knitted (picture 2).
Continue with the pattern like this.
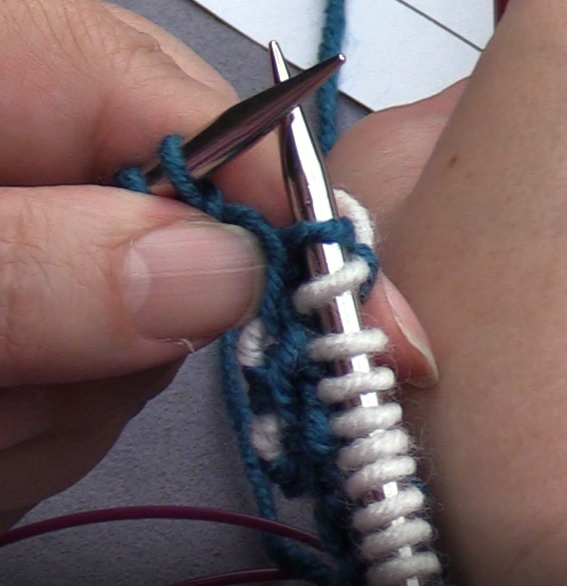
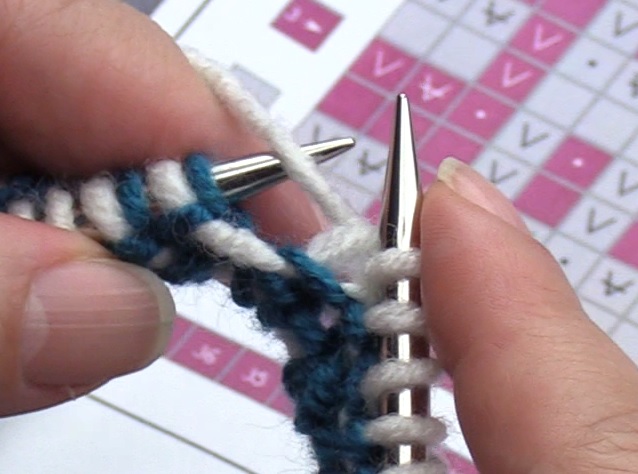
 In picture 1 you see that the last pattern stitches are knitted, ending with a slipped stitch of color 1. After this the last 2 side stitches are knitted in the light color.
Row 2, returning row
 Here you see the first 2 side stitches being done like standard: you start with a stitch slipped off purlwise with the yarn to the back (wrong side) of the piece. In this case it’s again to the side that you’re working on (picture 1). After this you bring the yarn to the front side again (picture 2) and you slip the seocond stitch purlwise with the yarn to the front side (right side) of the piece (picture 3).
You don’t need the chart for this returning row. Again just look at the color of the stitches on your left needle. The working thread is of color 2. So you slip all stitches of color 1, with the yarn to the back side (wrong side) of the piece. This makes that the ‘standing line’ of the pattern stays intact, because the loop of the slip is out of sight.
For the stitches in the color of your working thread this rule applies: if it’s 1 stitch, you knit it. If it’s more than one, you start with a knit stitch, the next stitch is slipped off with the yarn to the right(!) side of the piece, the next is knitted again, the nex slipped. If it’s more than 3 stitches, you just repeat knit-slip-knit-slip-knit and so on. You always start and end with a knitted stitch! If you end with a slipped stitch you know for sure that you made a mistake, because it’s always an odd number of stitches in a row!
Let’s continue with the pictures.
 Bring the yarn towards you to the back of the piece (picture 1). Slip the next stitch (picture 2).

 Bring the yarn to the front again (picture 1). You see now that several stitches of color 2 need to be done (picture 2). The next stitch is always a knit stitch (picture 3). The stitch after this is slipped with the yarn to the right side of the piece (picture 4). The stitch after that is knitted again (picture 5). The next stitch is slipped (picture 6). Continue like this. The last stitch of the set is knitted (picture 7).
 After this there is a stitch in color 1 on the needle again, that has to be slipped with the yarn at the wrong side of the work. So bring the yarn towards you to the back of the work (picture 1), and slip the stitch purlwise (picture 2). Continue like this until you are almost at the end.
 Here you see in picture 1 that the last pattern stitch before the last 2 side stitches is slipped and that the working thread is brought to the front of the piece. The first of the 2 last side stitches is not(!!!) knitted, but slipped off purlwise (picture 2). So now you have 2 stitches after another that are slipped. It doesn’t matter what you have to do with the last stitch before the last 2 side stitches, the first side stitch will ALWAYS(!) be slipped.
In picture 3 the thread is brought forward again to the back of the work and the last stitch is purled (picture 4).
Rows 3 and 4
Actually you know now almost everything what there is to know about the technique, but at the next page I will repeat it again for color 1 as the working thread and a short part with color 2 as the working thread, because there wasn’t a pattern in the first row of color 1. And I want to show you how to do the color change at the side. So continue with the next page (click here).