
Pages of this tutorial
This tutorial is split up in several parts.
- Introduction and some background information: click here to go to that page
- The setup, rows 0a to 1b: click here to go to that page
- Rows 2a and 2b: click here to go to that page
- Rows 3a to 3b: that’s this page
- The border: click here to go to that page
Videos
I also made some videos for this tutorial. Click in the list below or look at the end of this page:
- video 1: Introduction and some background information: https://youtu.be/NL9UrtaLb5w
- video 2: The setup to row 1b: https://youtu.be/s3m99D5g5-U
- video 3: Rows 2a and 2b: https://youtu.be/2jrk8EUPyz4
- video 4: Rows 3a and 3b: https://youtu.be/DcYlyLwMf6k
- video 5: Rows 4a to 5b: https://youtu.be/xb-aO-wqj0k
Row 3a
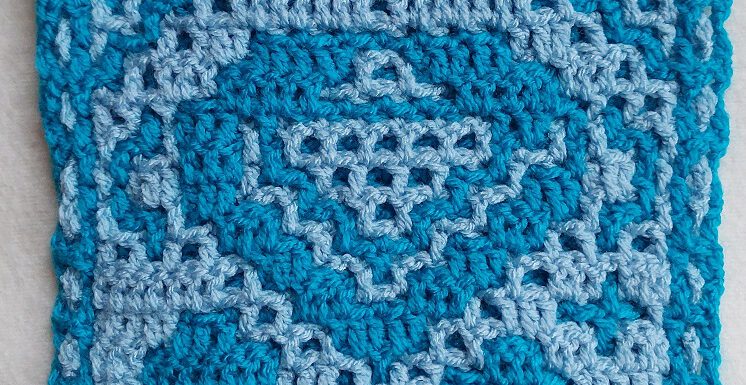
With the odd rows we work at the front side of the piece. This means that we will be making solid squares at the front of the piece.
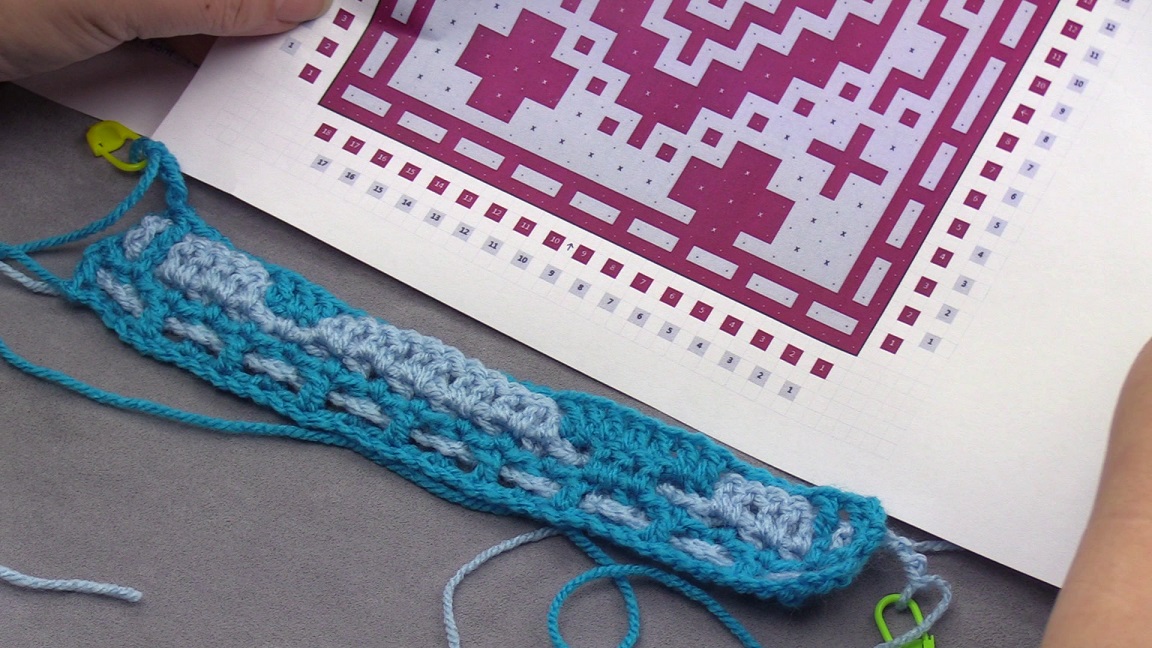
The instructions for this row are: color 2 to back, side st, f 1x, b 2x, 7f 1x, b 5x, 3f 1x, b 2x, f 1x, side st. The parts marked in blue are the blocks with the solid squares. You see that there is a number right in front of the ‘f’ with the solid blocks.
Click again on the pictures to see them fully and full size. Also watch the video if you want to see more.
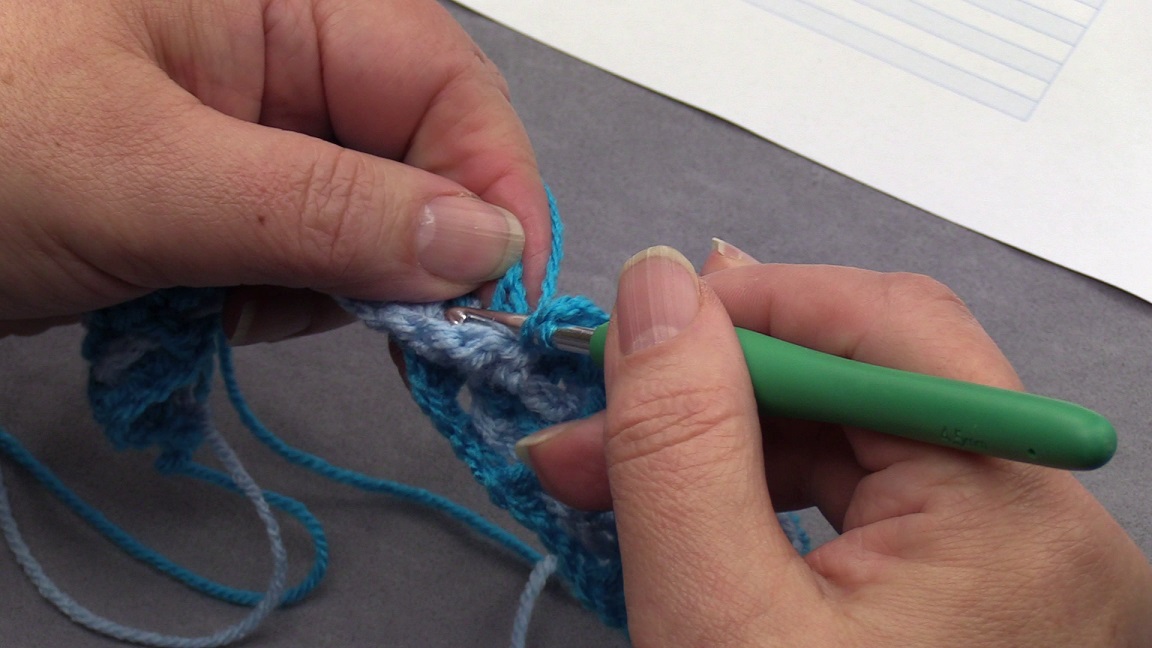
 The side stitch and the first dc at the front are done. Then we have to do 2 dc’s at the back. You see that the dc that you have to work into is hidden behind the solid square block of the previous row in color 2.
 Fold the block in color 2 to the front and you will see the dc that you have to work into.
 The first dc is made.
 And the second dc at the back.
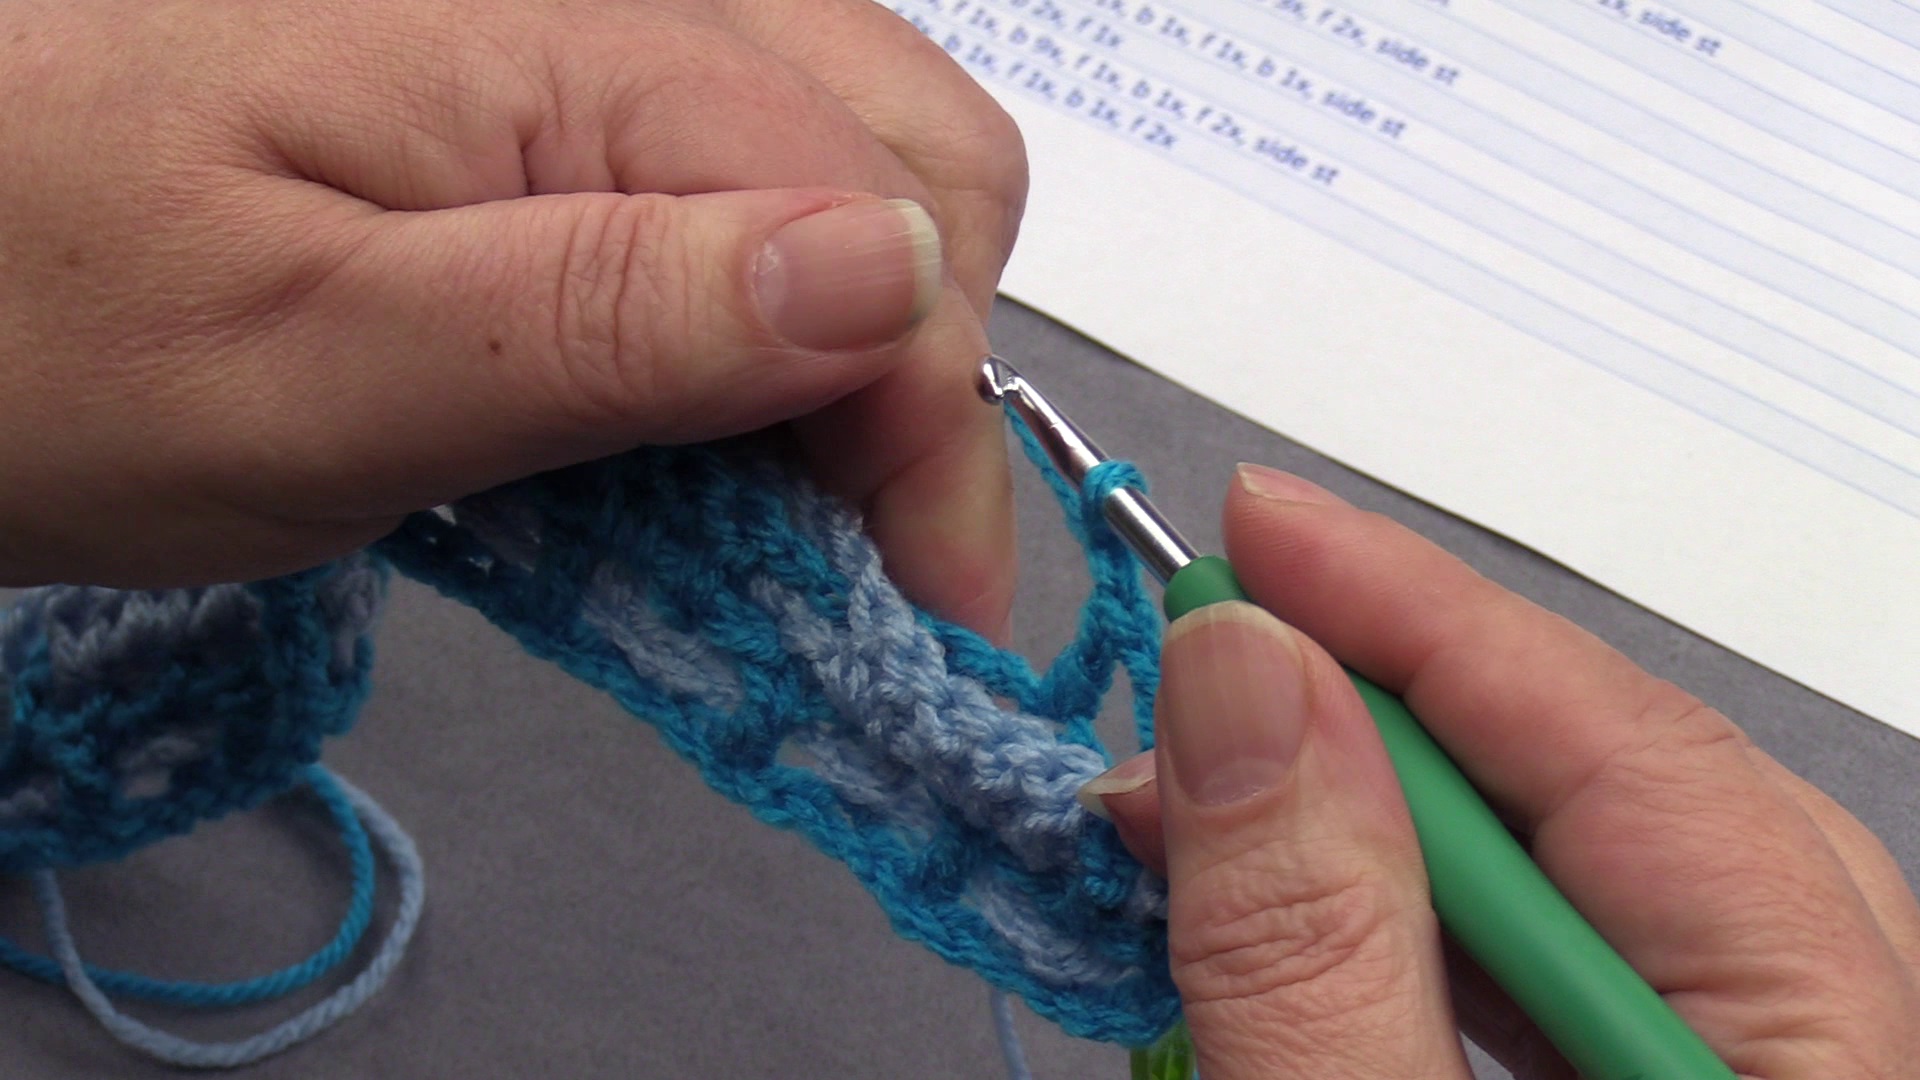
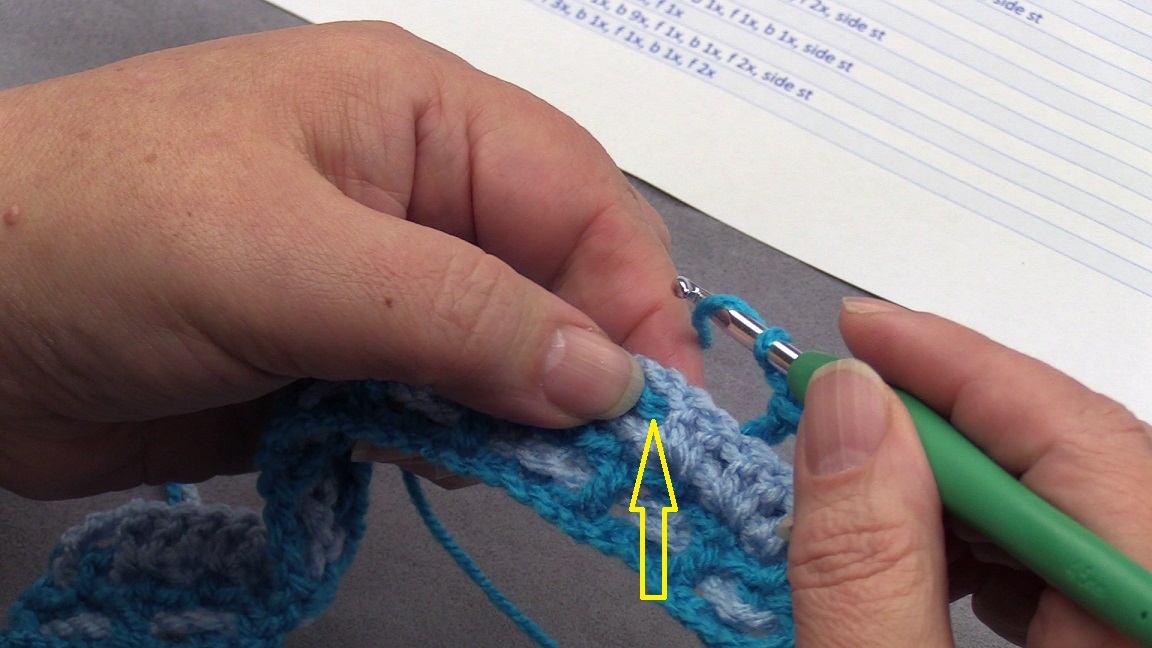 After this the solid squares block of 7 dc’s next to each other starts. The arrow marks where you have to work into, the dc.
If it’s not totally clear to you where you should work into, then take a look at the rows below it. The dc’s that form the mesh are running below in a straight line, so follow the lines.
 The first dc of the block in front is made.
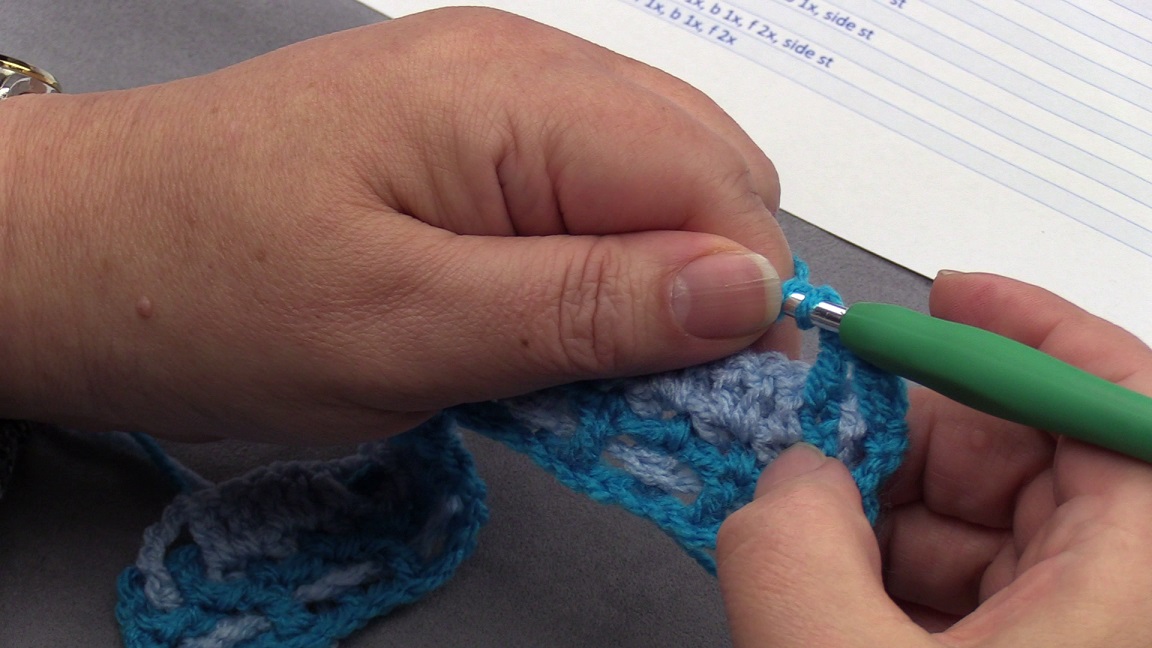
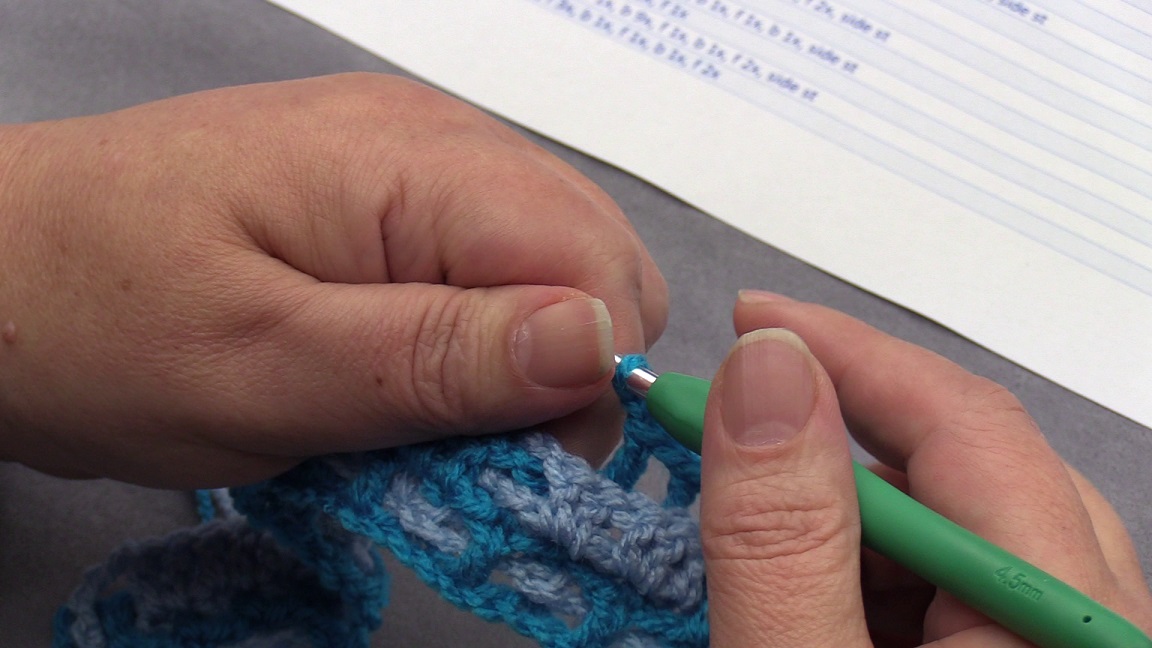
 The second dc is made into the chain-opening and you already see where the next dc has to be made (at the right of my thumb).
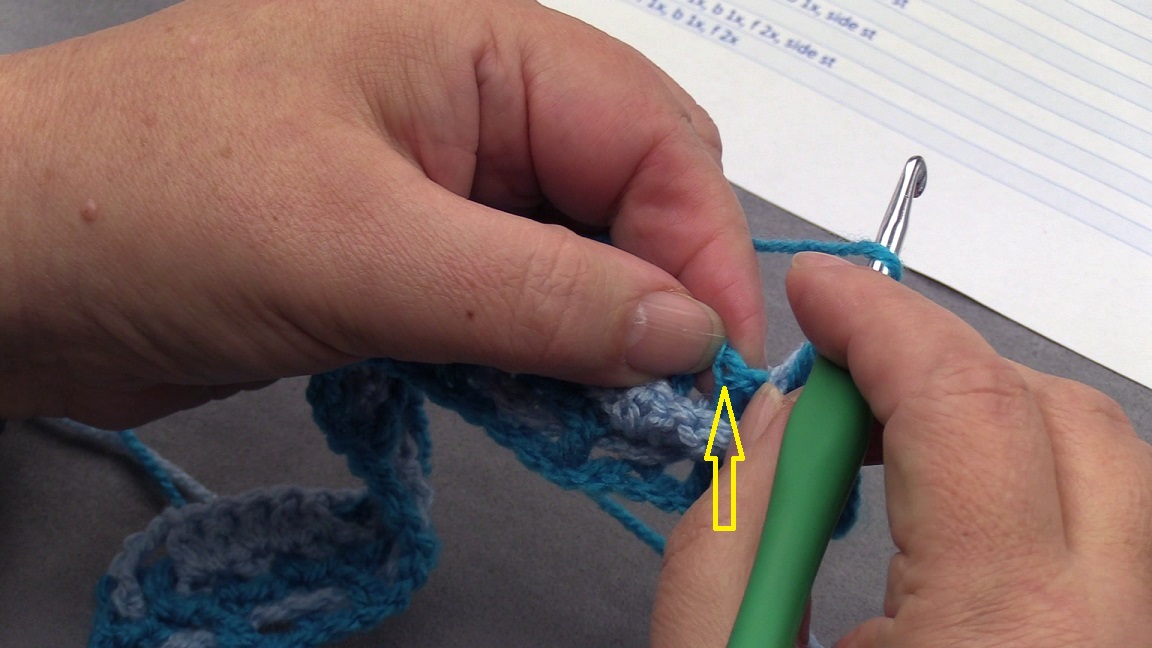
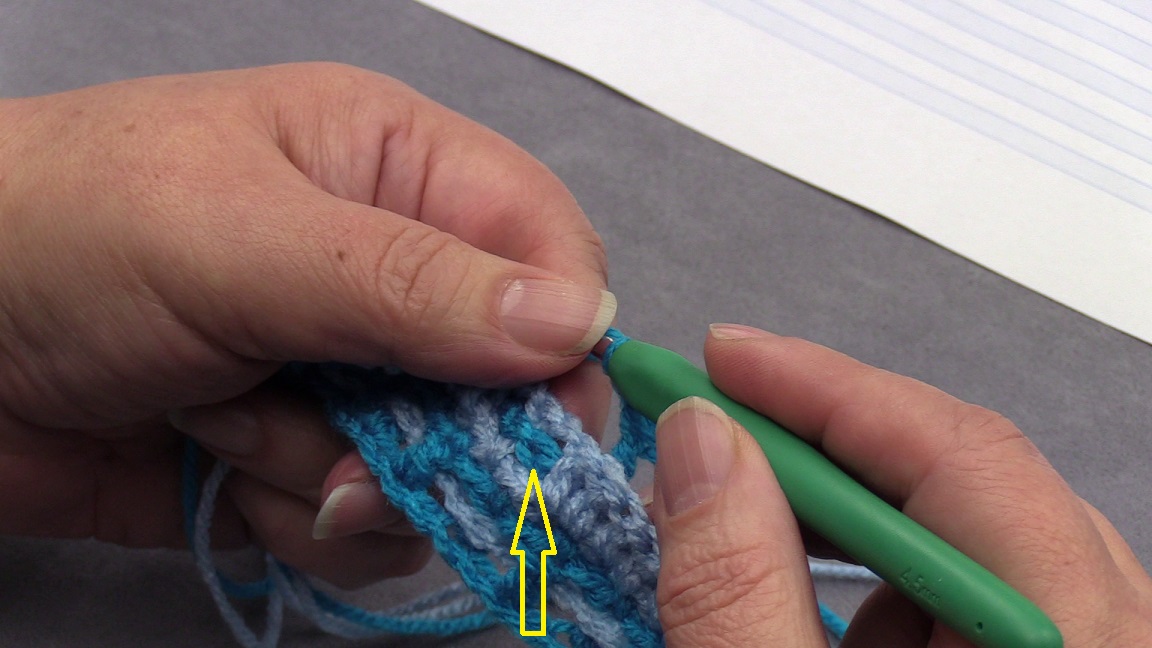
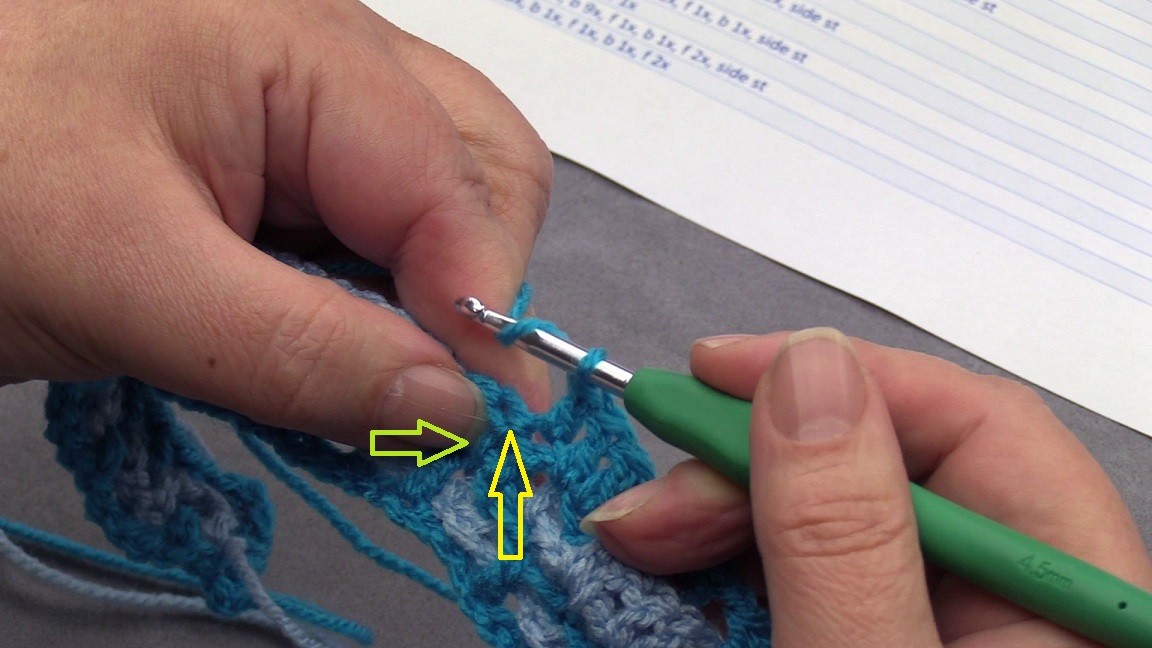 Here you see a situation where an even stitch is not made into a chain-opening, but into a dc of a solid block of the previous row of the same color. The green arrow points to the dc of the solid block below it, the yellow arrow points to where we will do the stitch.
 And here the fourth dc is made.
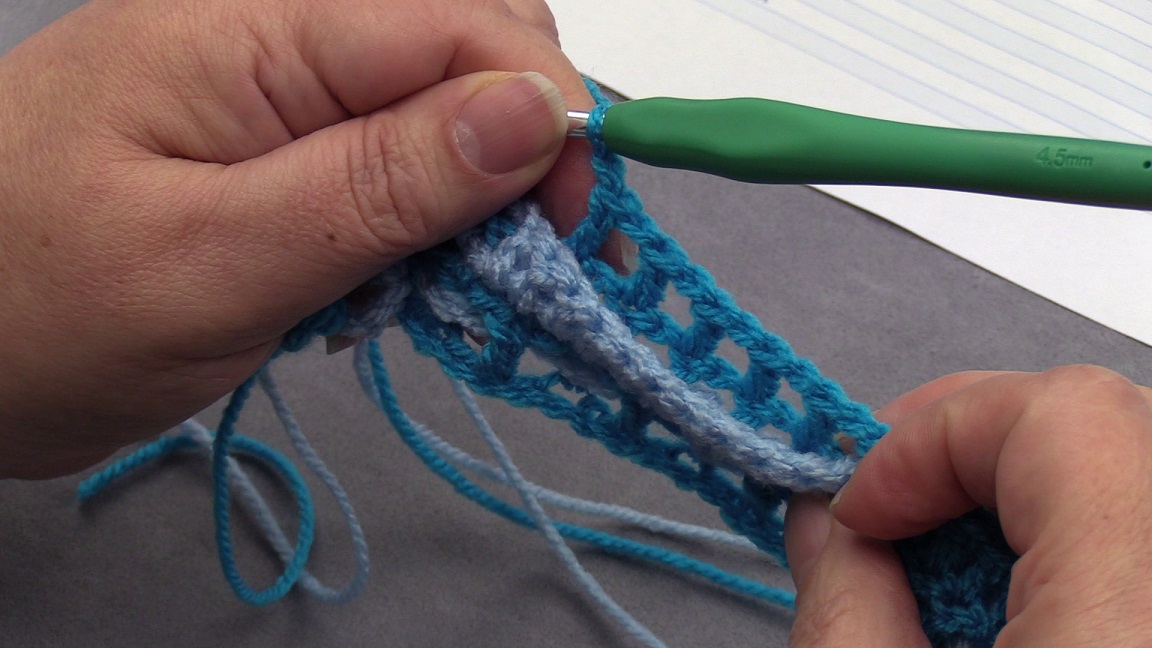
 The block of 7 dc’s is crocheted. Make the in-between chain after this.
 After this again 5 dc’s at the back have to be made, with the in-between chains. You see again that the dc’s that you have to work into are hidden behind the solid block of color 2.
 Fold the block to the front again and do the dc.
 Here all 5 dc’s are made.
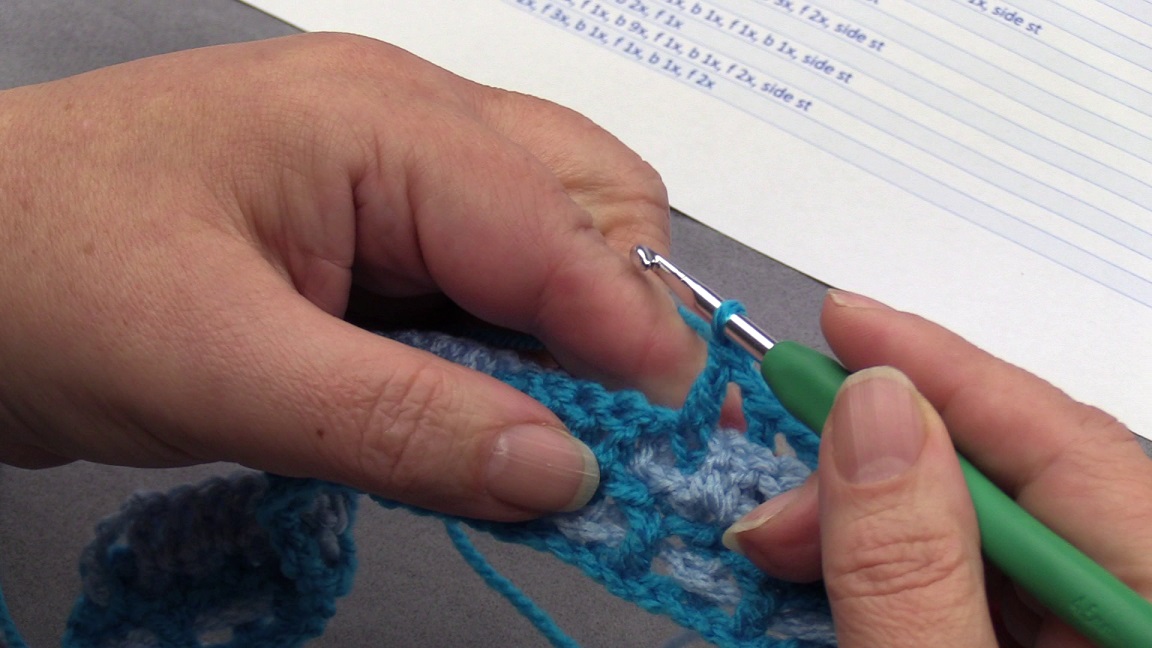
 And after this we have again a solid square of 3 stitches. The arrow points to the place where to insert the hook.
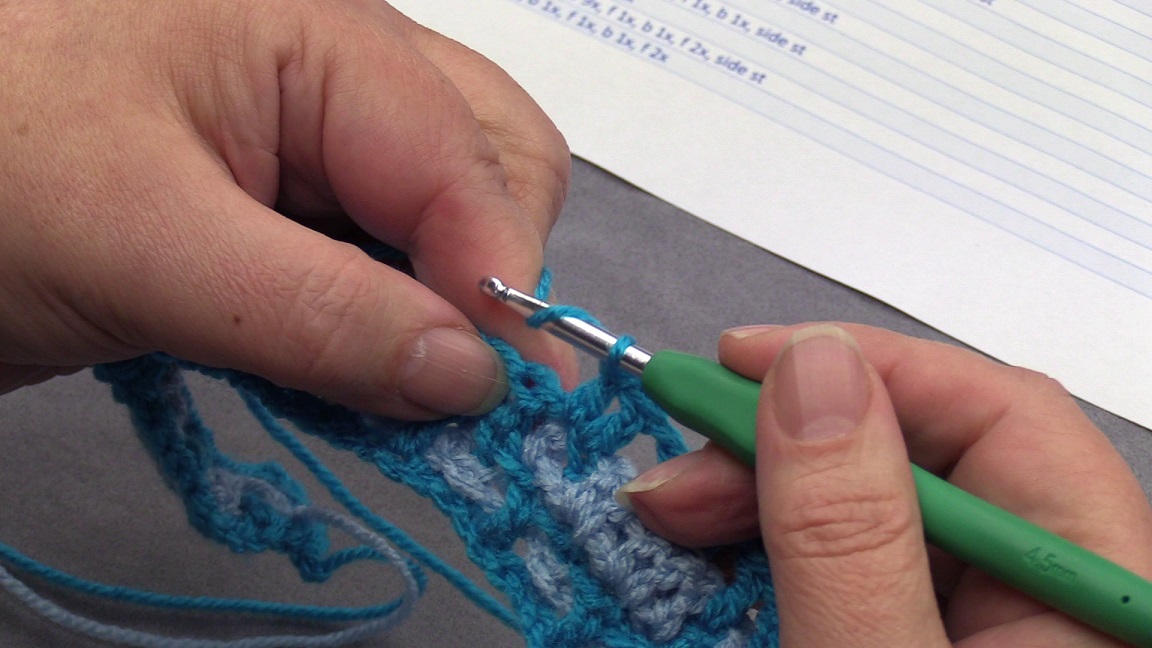
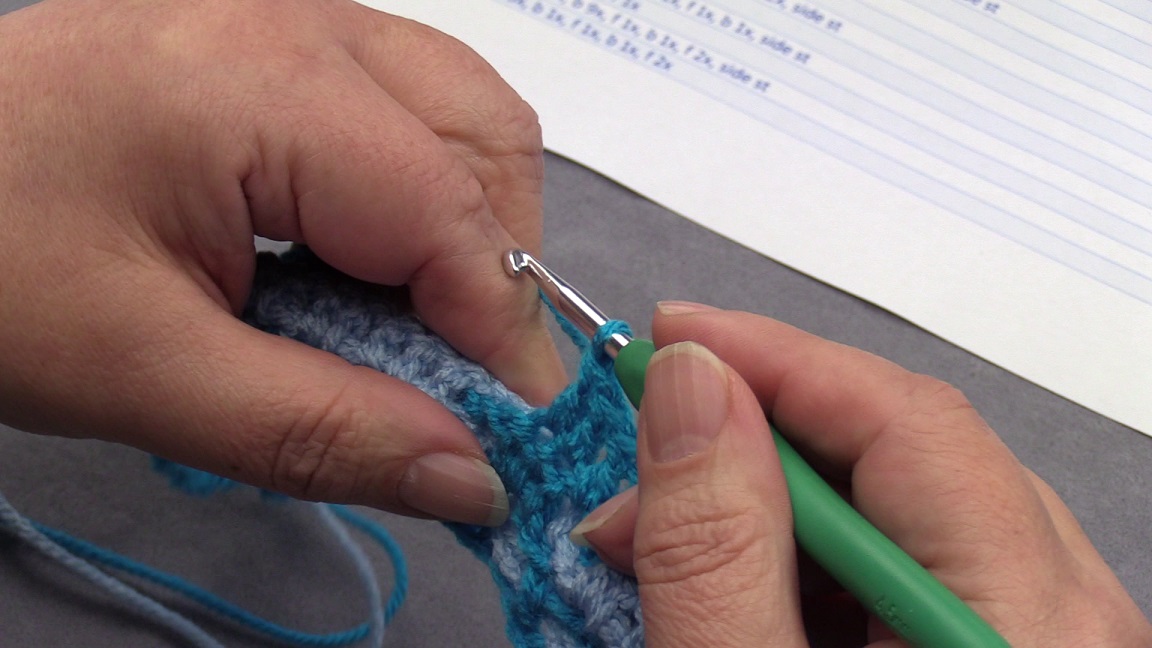
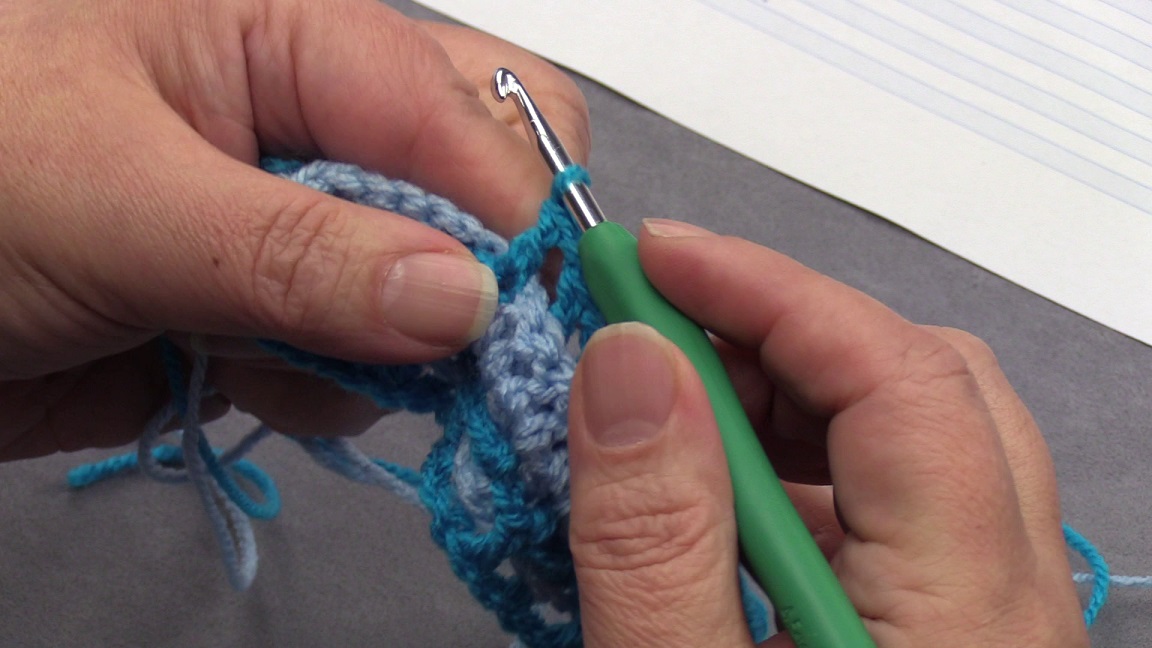 The first dc of the next solid square is made.
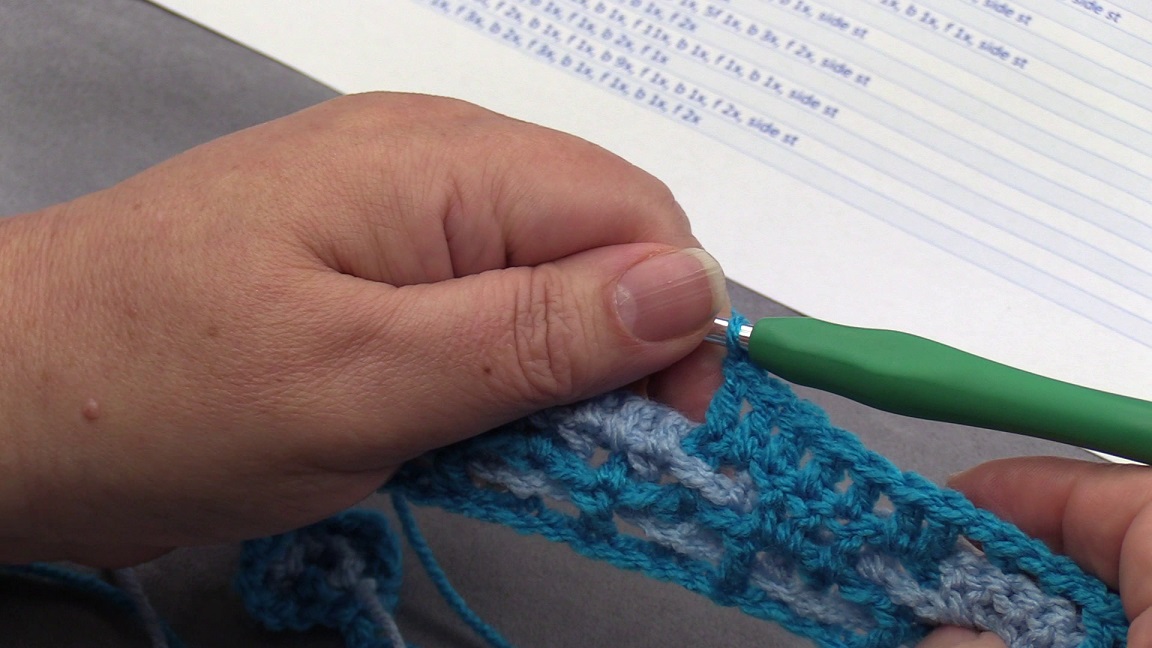
 This is how it looks when the row is finished.
Row 3b
The instructions are: b 1x, 5f 1x, b 3x, f 3x, 3f 1x, b 3x, 3f 1x, b 1x
I think you will probably know now how this works. Here you see again that you have 2 parts after each other that are worked at the same side: the part marked in yellow and the block after it. So really pay attention!
I show 2 details after this, so you can clearly see where to crochet.
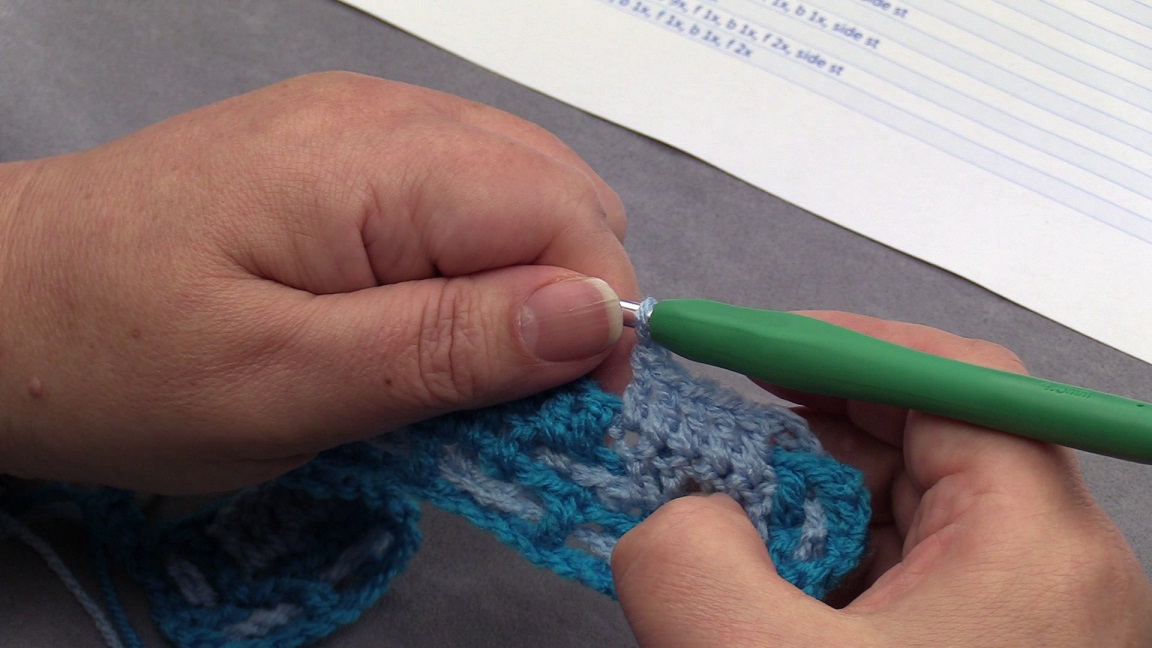 This is the start of the row with the first stitch at the back, and the solid block of 5 stitches.
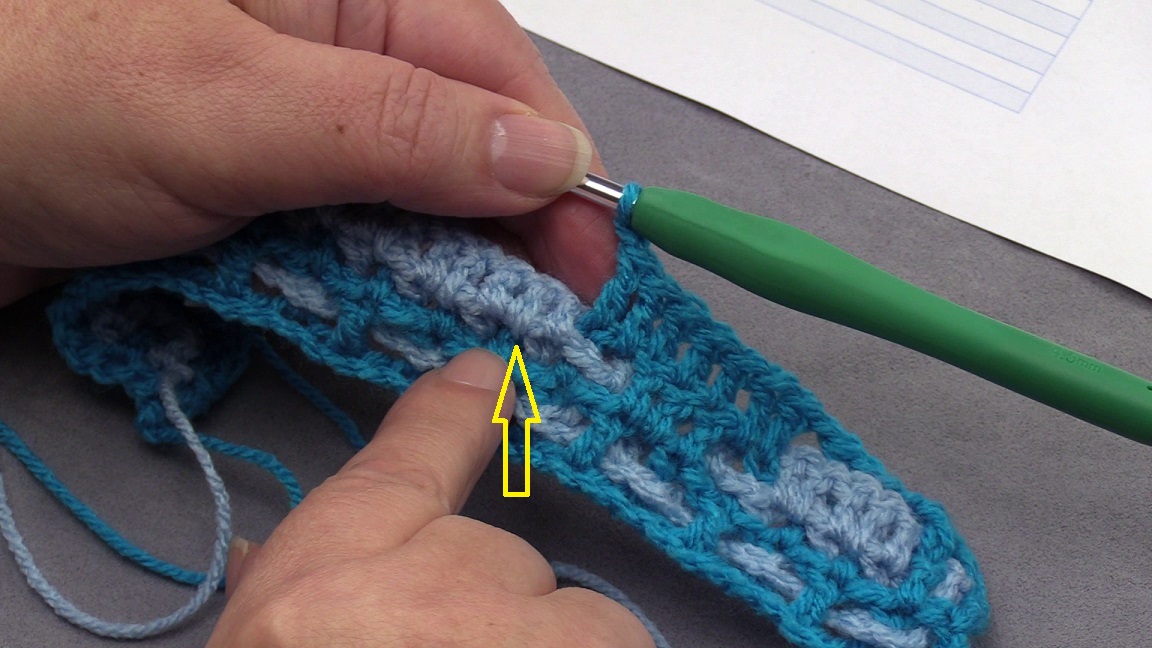
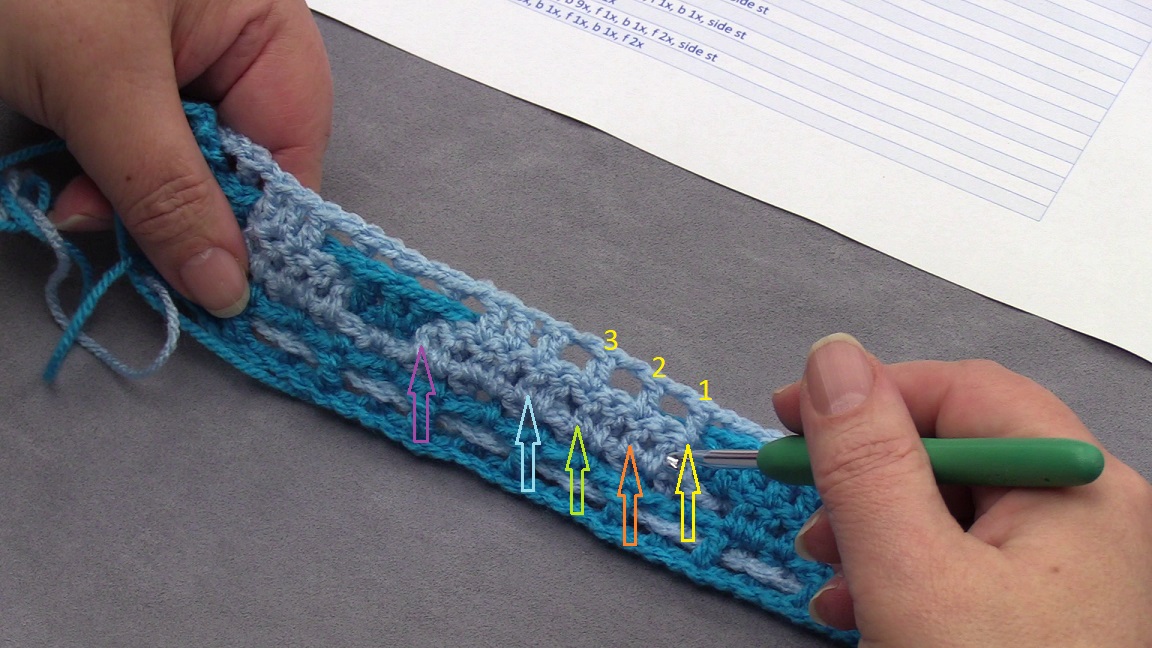 Here you see in detail where the stitches have to be made of the part with the instructions f 3x, 3f 1x, b 3x. This part is made above a solid block of 11 dc’s, so you have to carefully count where you will make your stitches.
The f 3x you see marked at the numbers 1, 2 and 3.
- The yellow arrow marks the spot of the first dc, this is made into the first dc of the block below it.
- The orange arrow marks the spot of the second dc, this is made into the third dc of the block below it. This is because you skip 1 stitch, because of the in-between chain that you did after the first dc.
- The green arrow marks the spot of the third dc, this will be made into the fifth dc of the block below it. You skip 1 stitch again, because of the in-between chain that you did after the second dc.
After this you make the solid square of 3 dc’s next to each other: 3f 1x.
- The first dc is made into the seventh dc of the block below it. You skip 1 stitch again, because of the in-between chain that you did after the third dc of the f 3x.
- The second dc is made into the eighth dc of the block below it.
- The third dc is made into the ninth dc of the block below it.
After this a b 3x.
- The first dc of this is made into the eleventh dc of the block below it, but this time at the back! After the last dc of the solid square you made an in-between chain, so you have to skip the tenth stitch of the block below it.
So you see that you have to carefully pay attention to the ‘lines of the filet mesh’.
Rows 4a to 5b
I have made a video for the rows 4a to 5b if you would like to see 2 back rows and 2 front rows again. I also give some tips there. So have a look at it.
What if you have 2 solid blocks that are the same next to each other?
In for example row 4b you see the following: 3b 2x (see the video also). This means you have 2 solid squares of 3 stitches next to each other: so first a solid block of 3 dc’s next to each other, then an in-between chain, then again a solid block of 3 dc’s next to each other, then an in-between chain.
Labor intensive? Hard? No!!!
It might be that you think this will be hard to crochet. And looking all the time where to insert your hook by folding over bits to the front. But this is really not hard at all!!! I have crocheted the blanket of the HAL CAL 2022 now, and it all goes so naturally. the folding over is a move you do automatically without even thinking. And if you crochet neatly and don’t do too little stitches (or maybe too many), because it could happen sometimes to forget an in-between chain, then the stitches all fall into place naturally, and you can see the right spot where to work into almost blindly, without having to carefully see it. Of course you need to check occasionally, but if you’re experienced at interwoven crochet, you will see you can crochet this super quickly!
The border
And last but not least I’ve made a video for my favourite border that you can do around this piece, but actually around any interwoven crochet piece. It gives a nice, a bit rounded edge, and is super simple and very pleasing to see. See the video or look at this page (click here).
I’m wishing you lots of fun with this variation on the interwoven crochet technique!