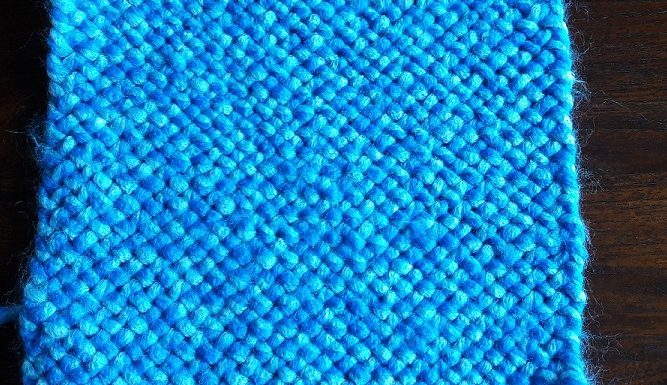
The last check

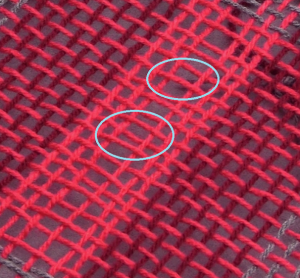
You can do this check if you’ve done everything right earlier also, but especially do this before doing the last step. Look on every side if you skipped nails, or if you went around a nail twice. This is usually a bit harder to see. If you discover a mistake, you can easily correct this, by picking up a loop at the nail with a crochet hook, and bringing it over to the right nail. You will probably need to correct the weave structure a bit by sliding some threads to the right position, so they will run straigth again, but that is all! You can still correct weaving mistakes later, if you went over or under too many threads, but I have a seperate tutorial for that.
The last step
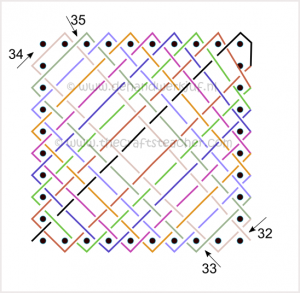
At step 9 you pulled a loop through the cloth the last time, but the 2 middle threads follow the same under-over-under path. So there has to be 1 last thread in between them.
Now measure a piece of thread from the ball, enought to cross the diagonal, plus 15 cm (6 inch) extra, and cut it off. Take your blunt needle, thread it, and now you are ready for step 10.
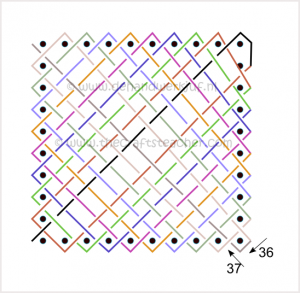
Go around the corner nail (at nr 36) and weave a row with your needle in between the last pulled 2 threads of step 9. Start by going under the first thread (see nr 37), over the next thread, under the next, and so on, till the end.
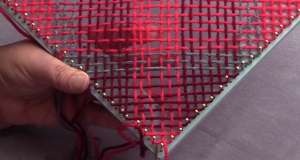
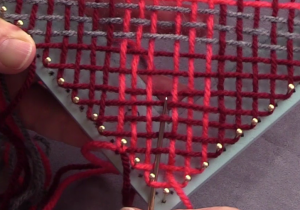
Finished!
You can now just take your weave from the loom. That is what I usually do when I’ve worked with bulky yarns and a close weave. There are other ways to finish your weaving with a decorative border. If you have a very open weaving structure, because you used thin yarns, this can also add some stability. But you can also do it, just because you fancy it more, or maybe you find it easier to work with when attaching woven pieces to each other. I will explain you this is seperate tutorials that you can find in the menu.
Some people end with making a knot at the end of the thread. I must honestly say that I actually never do that. When I finish the borders I will handle them in a specific way, to create a loop, But I will show you that at that tutorial. So I finish this thread later.
I hope you found this to be a clear explanation. I’ve made video’s for this, that will make it a bit easier to see probably. You can find the link to the video to do color changes at the relevant tutorial (here).

