
A full course with all possible situations you can encounter
Previous tutorial
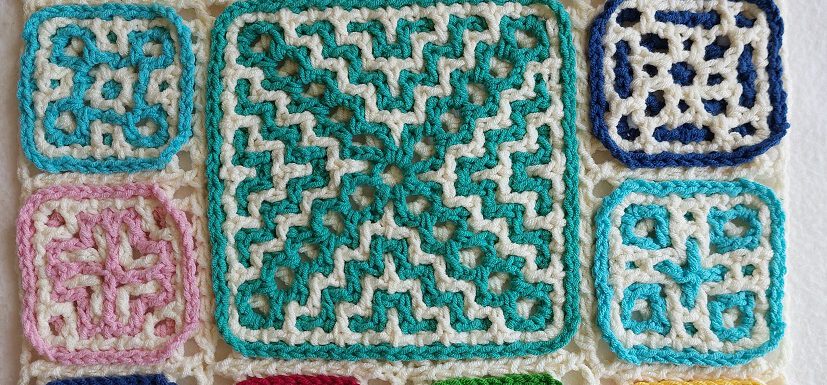
 As you can see on this website I have a tutorial for doing interwoven crochet squares in the round (click here). This is a tutorial that I still highly recommend doing first, or at least read it and watch the videos that come with it. On the left you see a sampler I made for this tutorial.
The e-book series
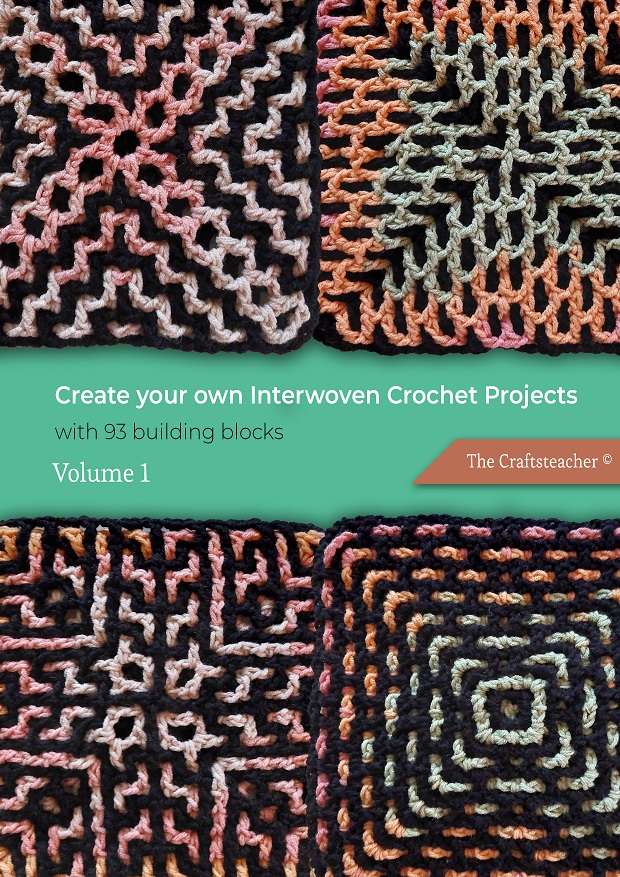 With the creation of my e-book series ‘Create your own interwoven crochet projects’ (read all about it here), I wanted to show you a bit more then I showed in my previous tutorial, because the start of the blocks in these e-books can all differ. Well, you only have so many variations in the first rows of course 🙂 , but I wanted to show you how to do each situation. Actually there are 8 different starts, and I made videos for all of them. Besides that I think I made it a bit easier and each variation is kind of ‘done in the same manner’. Once you have done a couple, you will get how to do the rest fairly easy. You will understand when you’ve watched the videos 🙂 . So this is actually a full course that makes you an ‘interwoven crochet in the round’-pro. Making all the blocks will make you able to pick up any design without hesitation.
The written tutorials with text and lots of pictures will not be here on my website. These are in the first volume of the e-book series, all 8 situations. But you can watch all videos for free on my YouTube channel.
My e-books are available on Ravelry: click here.
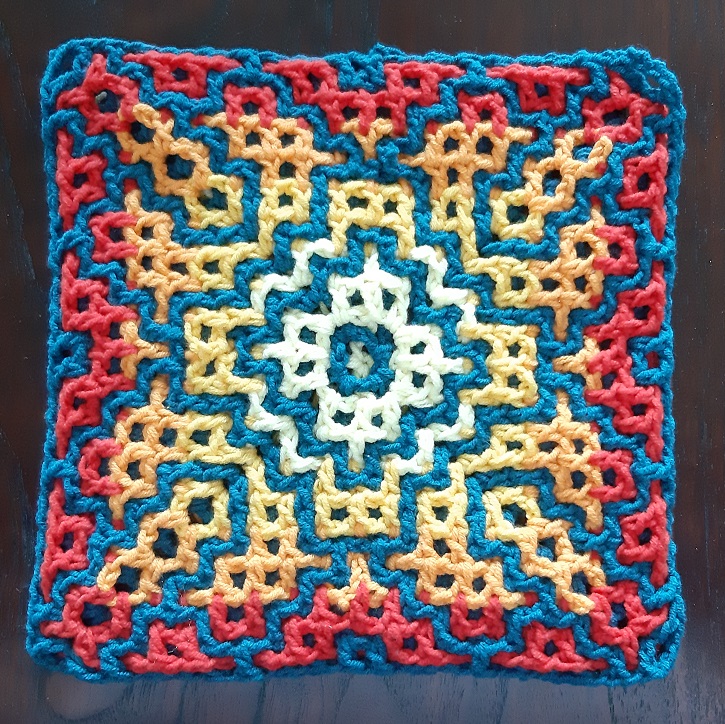
The practice piece of the Hooked and Locked CAL 2023 – Framed
After publishing my e-book series, I actually wanted to do a bit more with the designs I made. I wanted to create something to get you started designing your own projects, based on the blocks in the e-books. To inspire you and show you the possibilities. In the e-books you find samplers for the bottom to top designs, for tutorial purposes, but for the square designs I didn’t do this. It’s actually very easy to think of something, but I wanted to take it a bit further and make it more fun, by creating a design where front, back and the reversed versions were combined, and also spice it up by making different sizes of blocks. See the beauty of the effects when you use just a tiny bit of a pattern, and when you do a really large version, and sizes in between. You will be surprised how different these versions of 1 block pattern can all look!
So I decided to take a couple of patterns from each e-book, and started playing with them. This resulted in a new design, and I decided to make it a CAL. But what is a CAL without a practice piece :-)? So I combined the blocks I made for the videos and put them together. All situations are covered in this practice piece, and I also show how to put them together, so jump into it!
The info for the CAL can be found here. Enjoy the ride!
Link to the course on YouTube: here <TBD>