
2 Parts
This tutorial is split up into 2 parts. Click here to go to the first page.
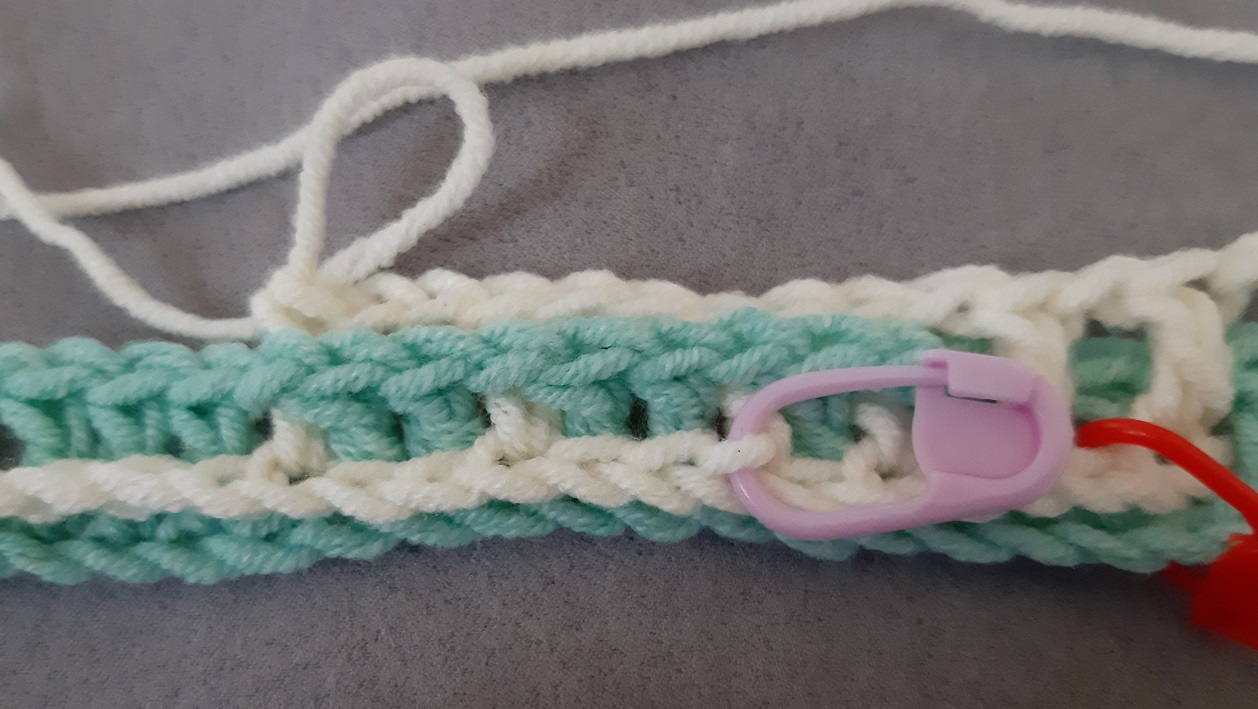
Row 1b
Description: Row 1b – front: b 2x, *(f 3x, b 8x, f 3x, b 2x)* 3x
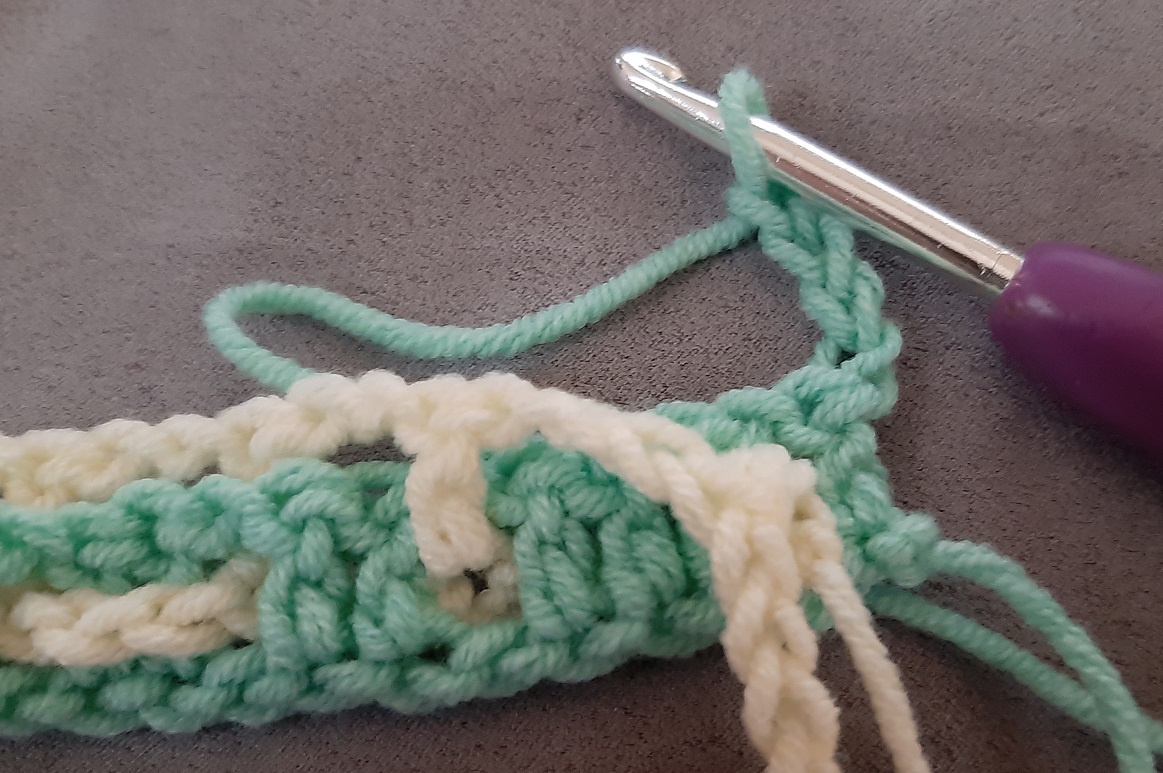
Usually we do first 4 chains: the first dc (3 chains) and 1 in-between-chain, and then the next dc comes. But this time we have to get past a cluster of 3 dc’s of color 1.
With regular interwoven this is only 1 dc, and then you have enough of the 1 in-between-chain. Now we have to make 3 in-between-chains! So at the start of this row we make 6 turning chains.
Pay attention! This pattern starts right away with a cluster of more than 1 dc. If you have a clustered pattern that for instance starts with a cluster of 1 dc, then you of course only make 4 chains. So the rule is: 3 chains + the number of stitches of the cluster you are passing.
General rule for the b-rows: you wll only crochet 1 dc, but the number of in-between-chains varies, depending on the number of dc’s of the cluster you’re passing.
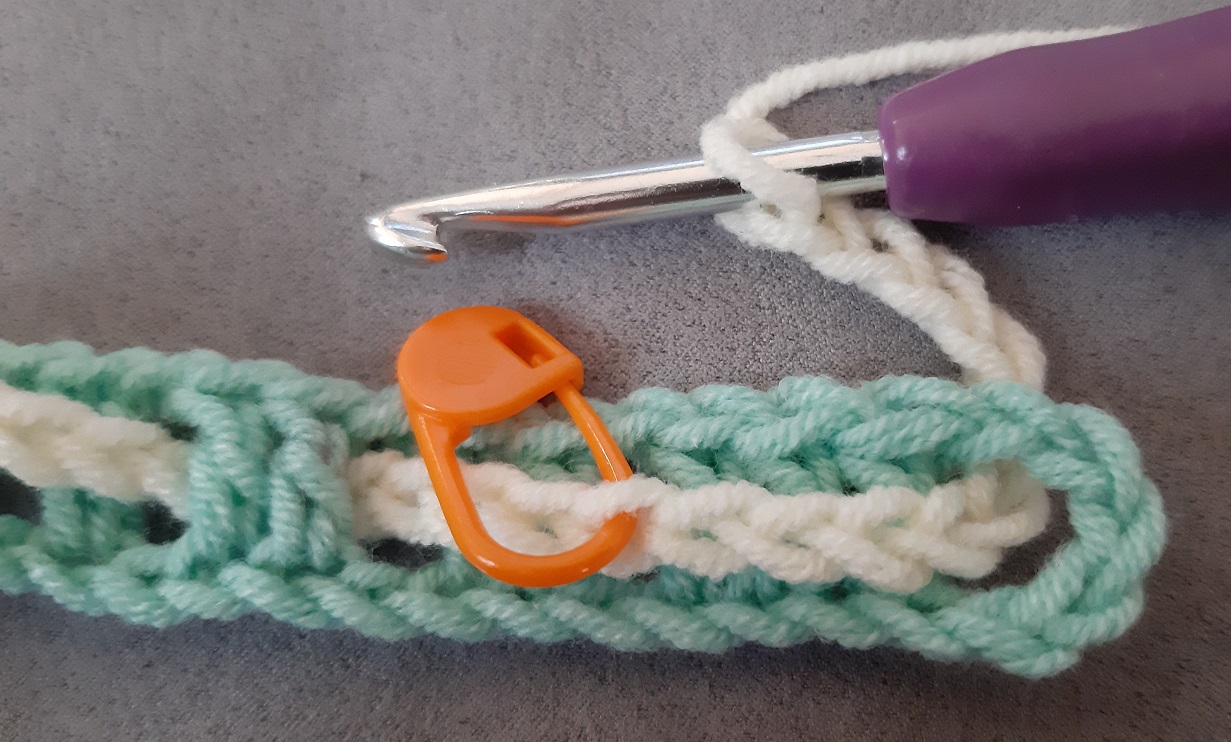
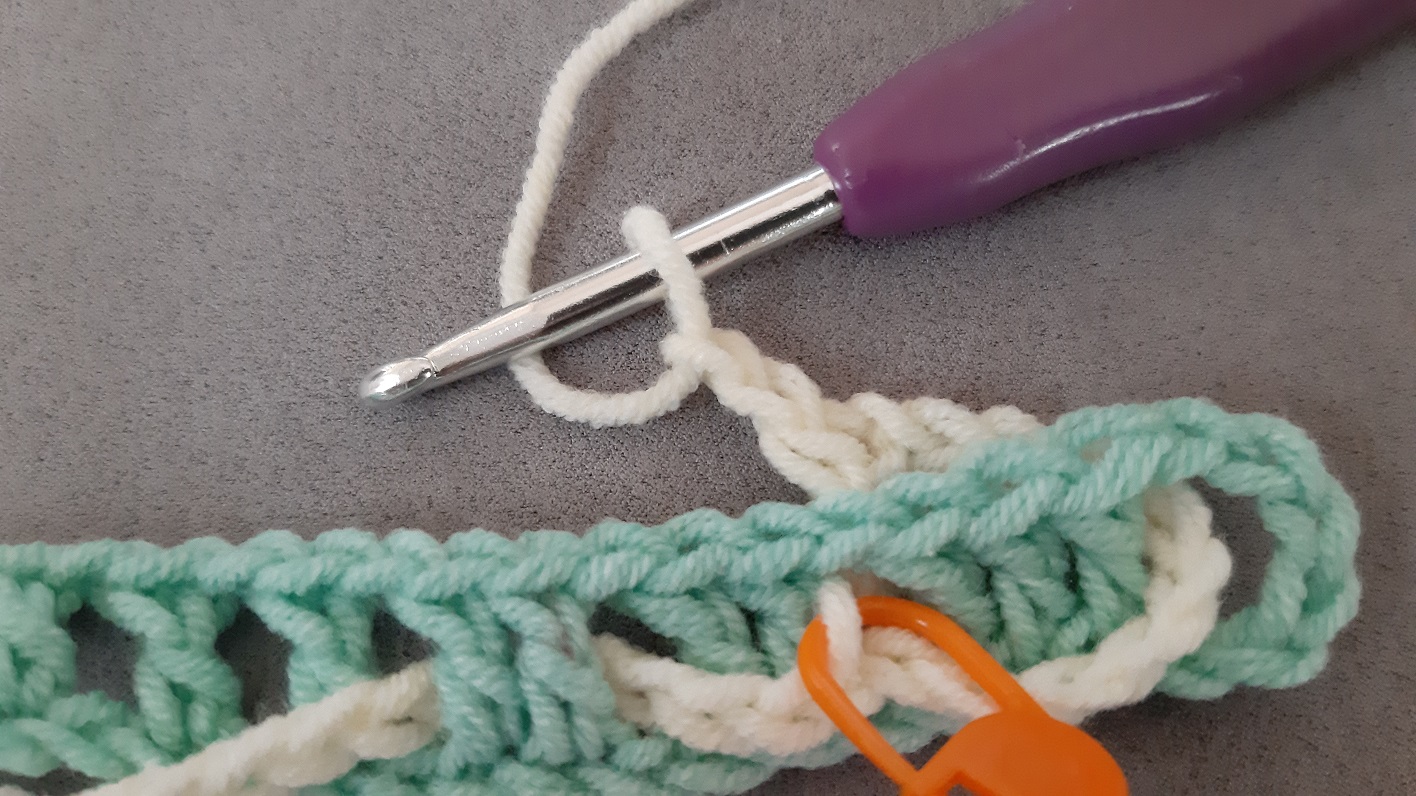
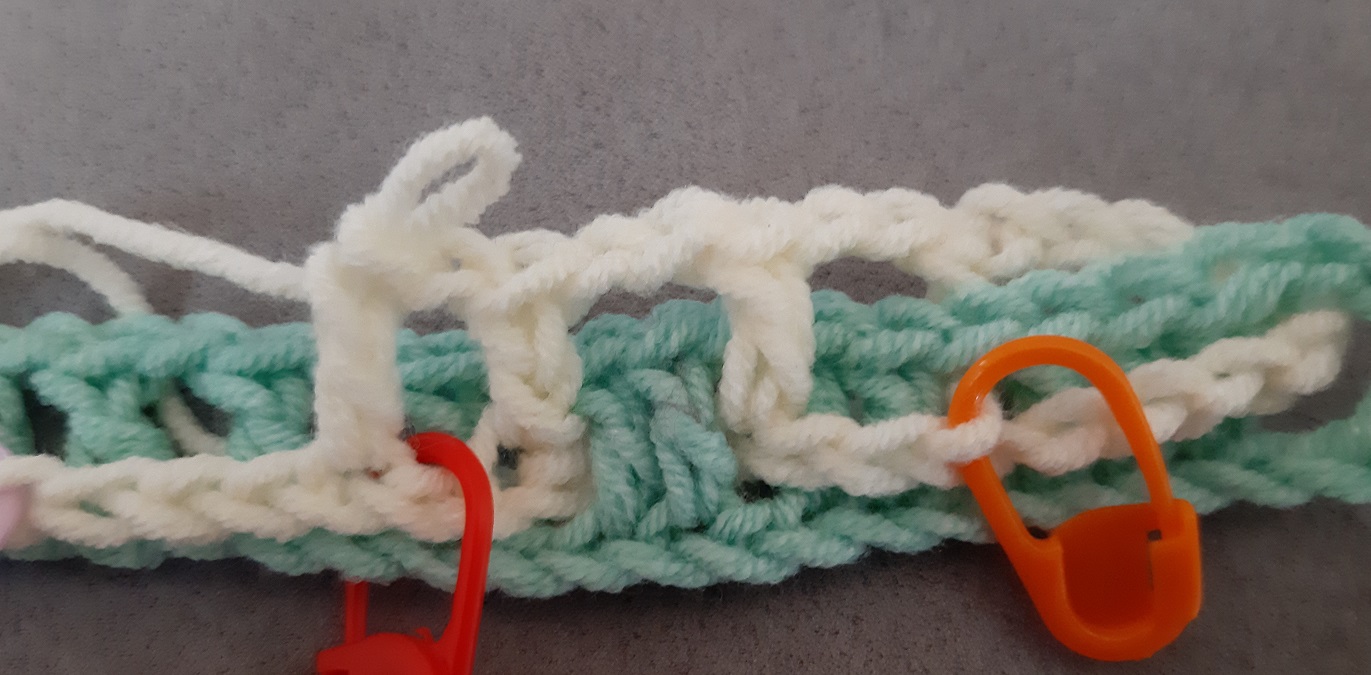
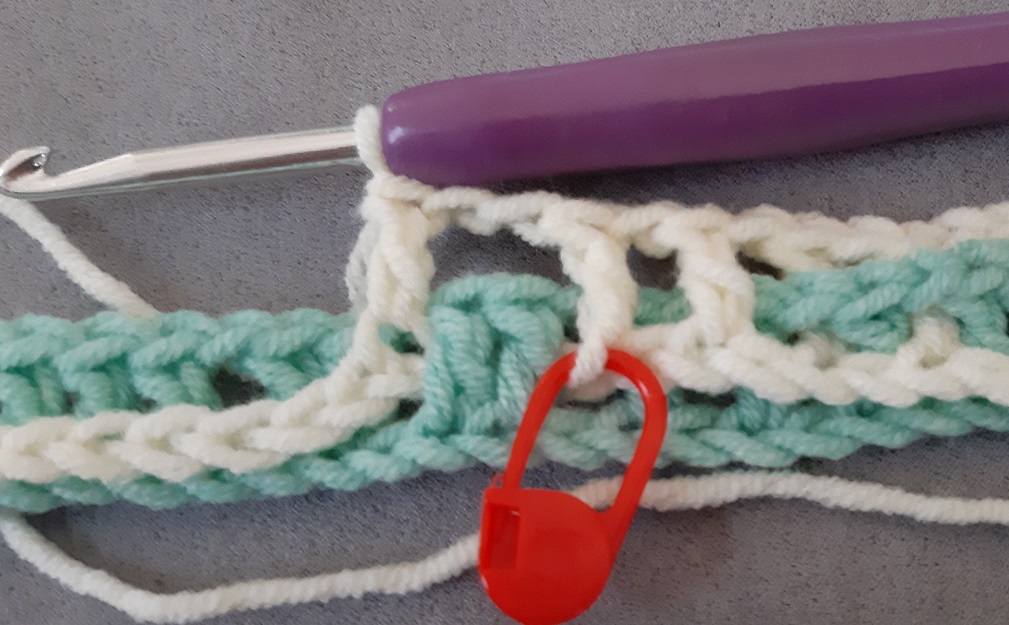
 For making the 2nd dc you will work in between the clusters. This dc has to be made at the back of color 1 (b 2x, where the turning chains form the first dc at the back). Here you see the hook is put in between the first and second cluster.
 The second dc back, at the marker. Now you also see why this marker was 2 stitches more to the left!
 From now on you have to pay attention and look at your work. The instruction will say nothing about how many in-between-chains you have to make. It is just about front or back. It is just not necessary to mention the number of in-between-chains, this will only make the instructions longer and harder to read!
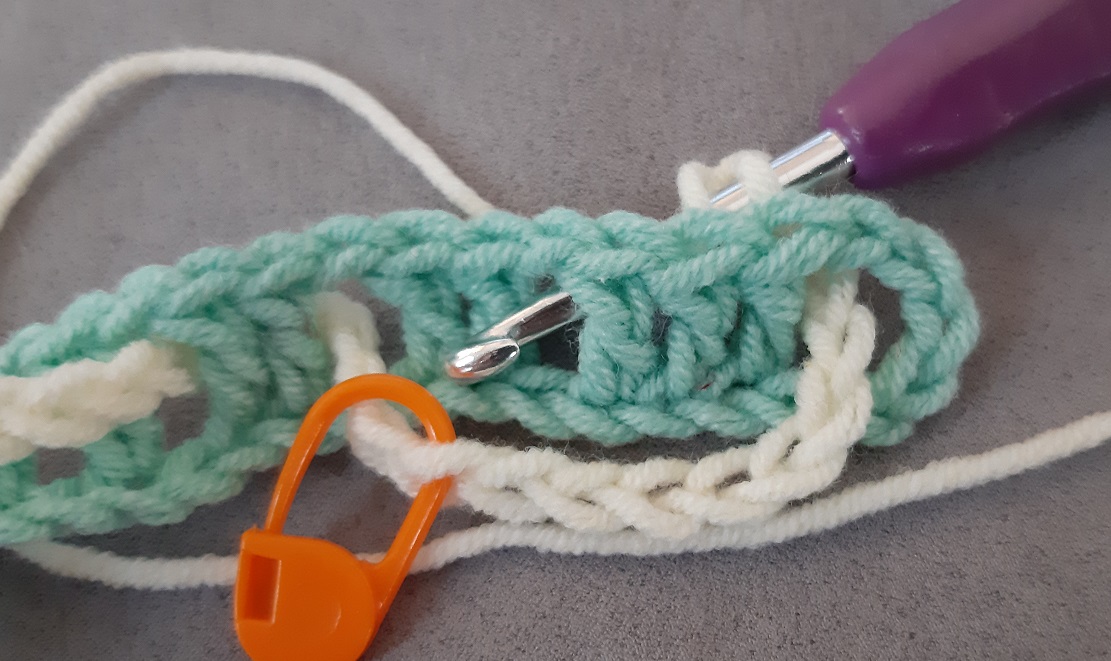
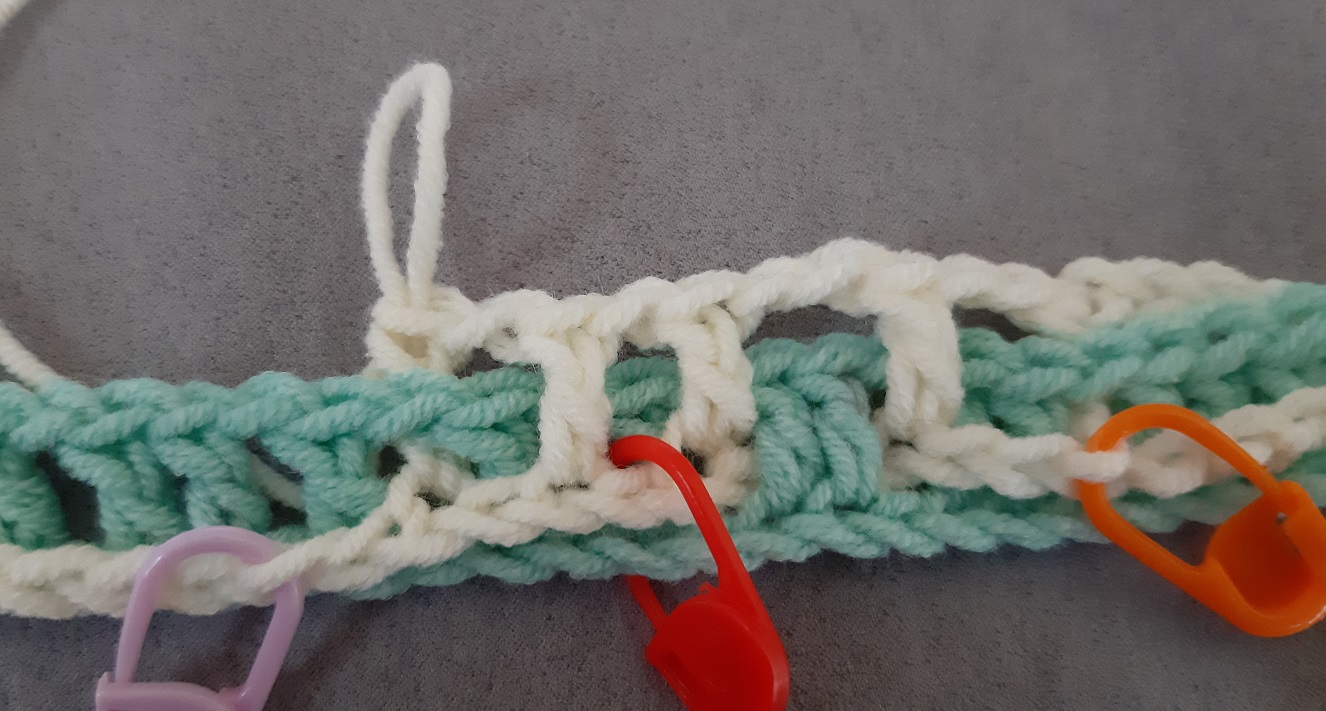
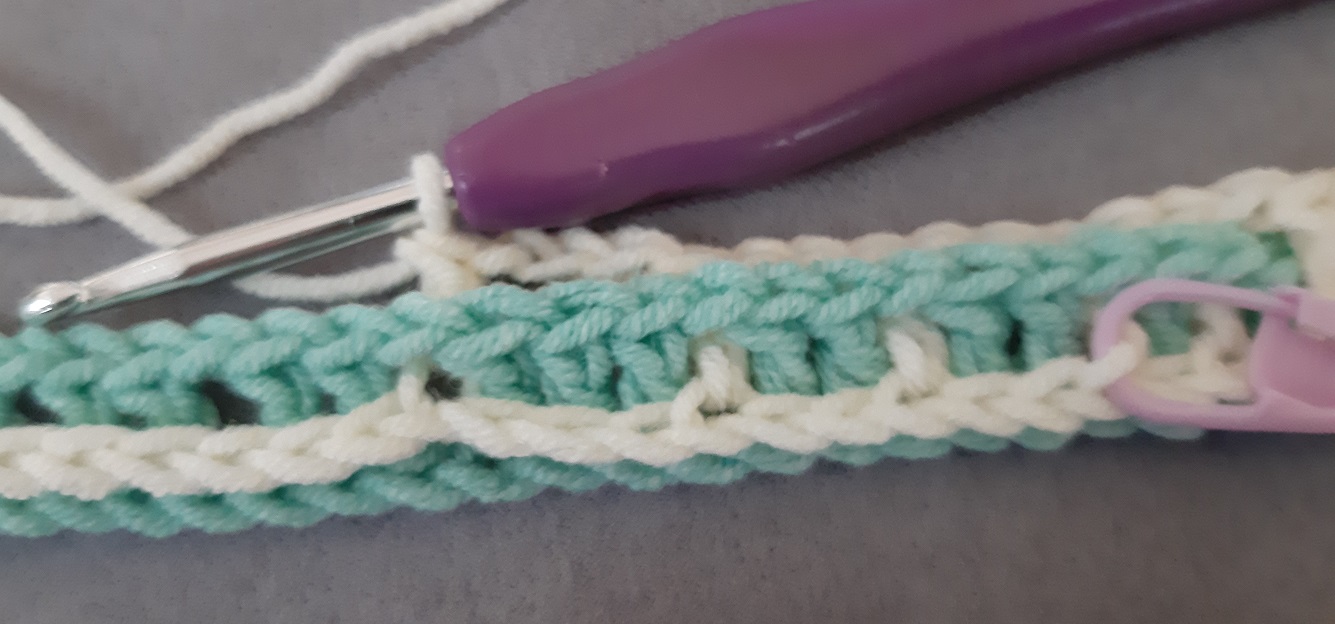
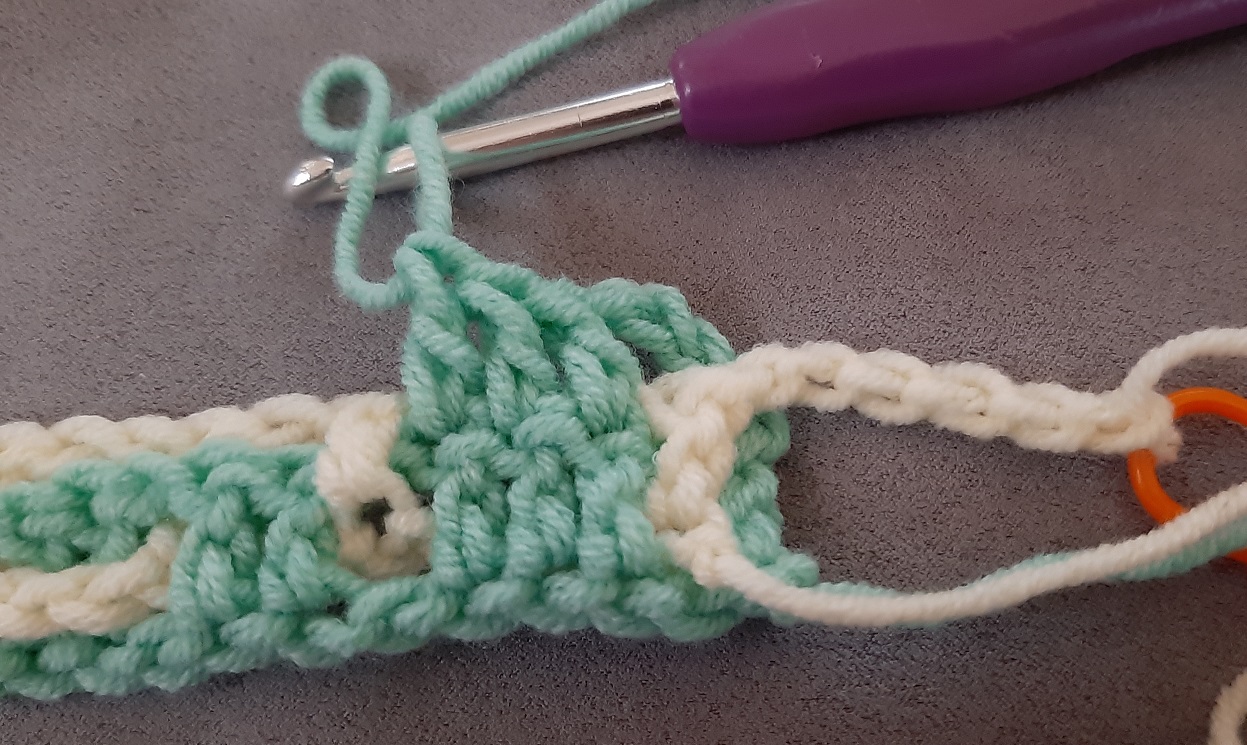
You can see very clearly how many dc’s of color 1 you need to pass. In this case you need to pass a cluster of 2 dc’s, so you have to make 2 in-between-chains. And it also means that you have to skip 2 stitches of the setup row! Easy to see in this case.
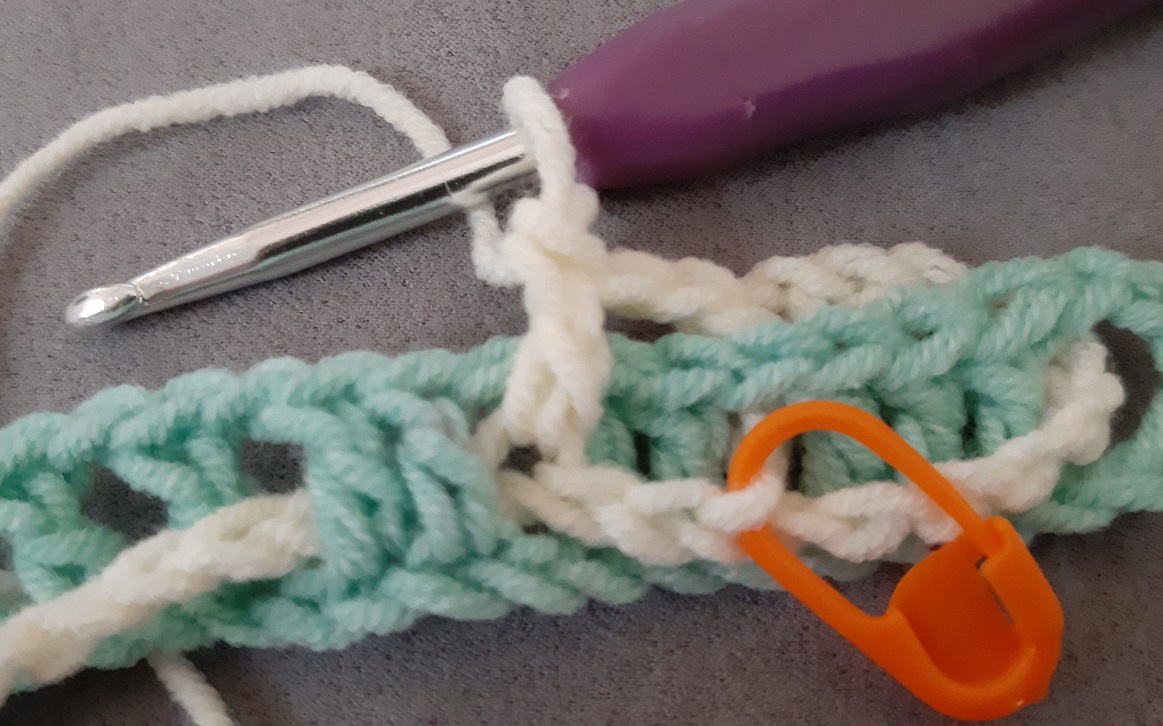 The instructions now say f 3x. The dc shown here is the first of these 3. You can also see I skipped 2 stitches of the setup row: there are 2 stitches between the orange marker and the place where the dc is crocheted.
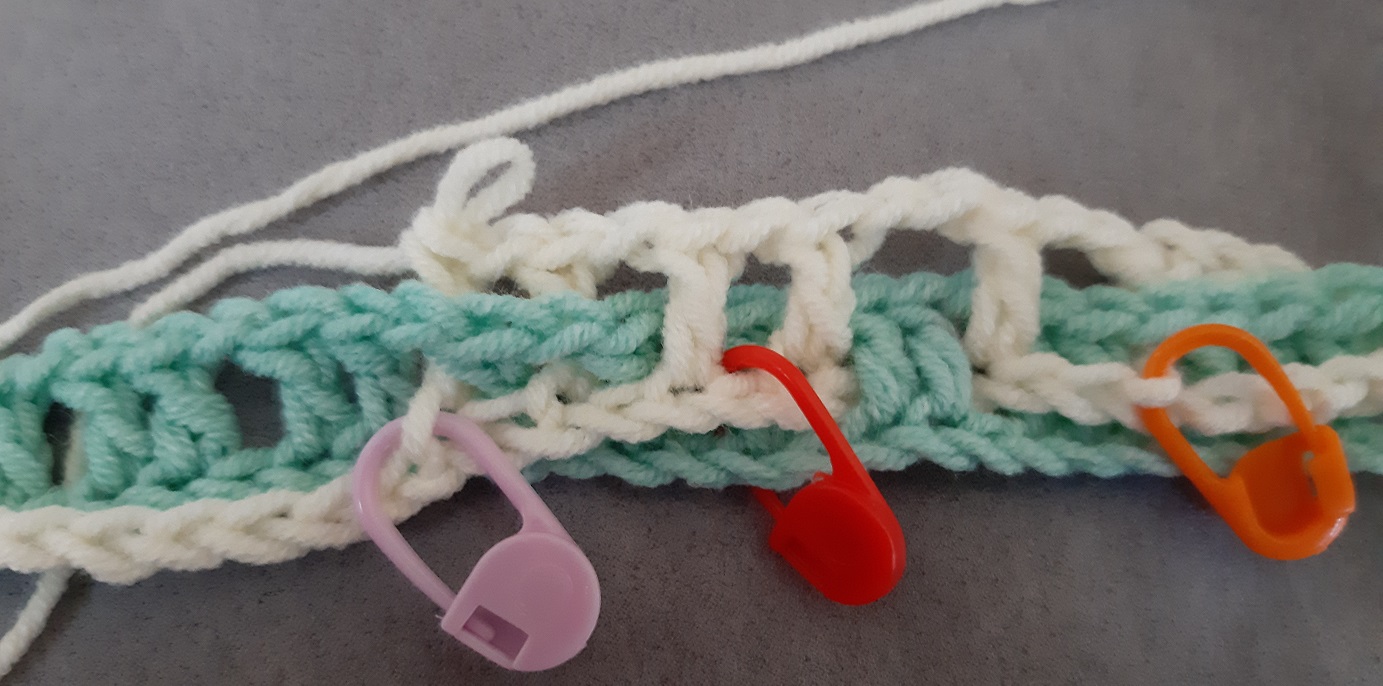
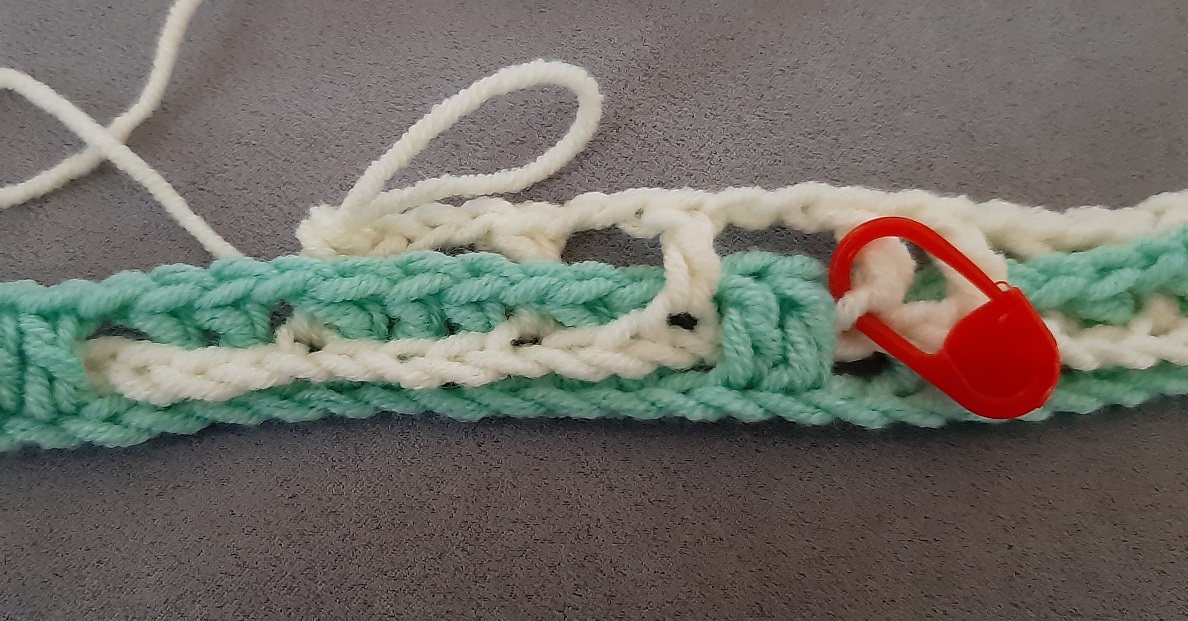
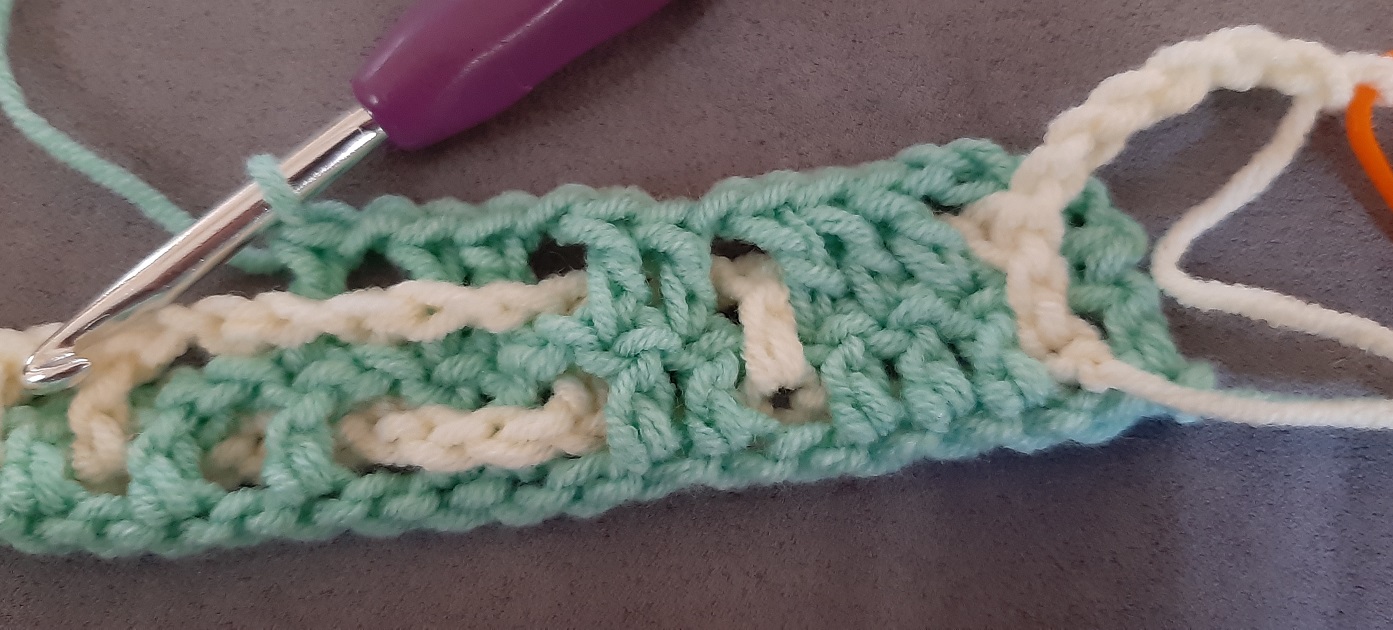
You now have to make 2 in-between-chains, because you will be passing 2 dc’s of the cluster that you see here laying on top, left of the dc that was made last. The next dc has to be made at the left of this cluster of 2 dc’s. You also have to skip again 2 stitches of the setup row, and it is a bit difficult to see in which stitch of the setup row the dc has to be made.
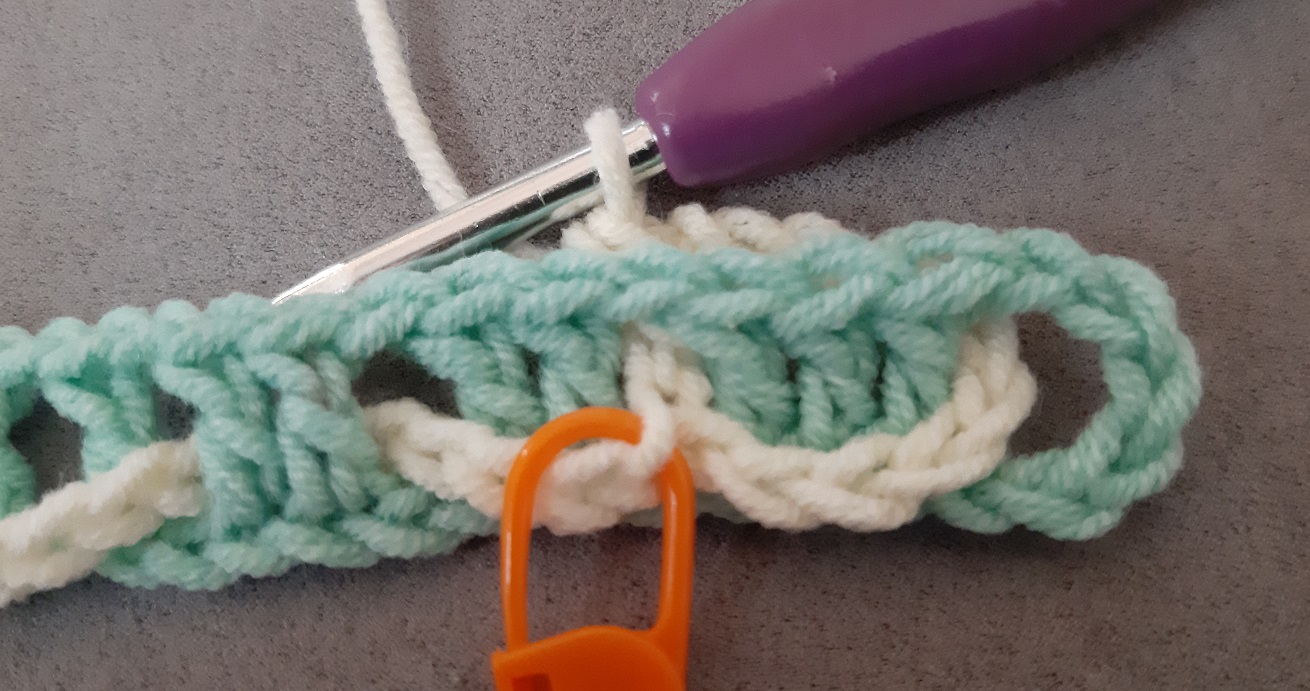
I will show you a trick how you can easily identify the spot where to crochet the next dc. In the video it is shown a bit better, I forgot to take a picture of the first part of the trick, so I will try to explain it as good as I can.
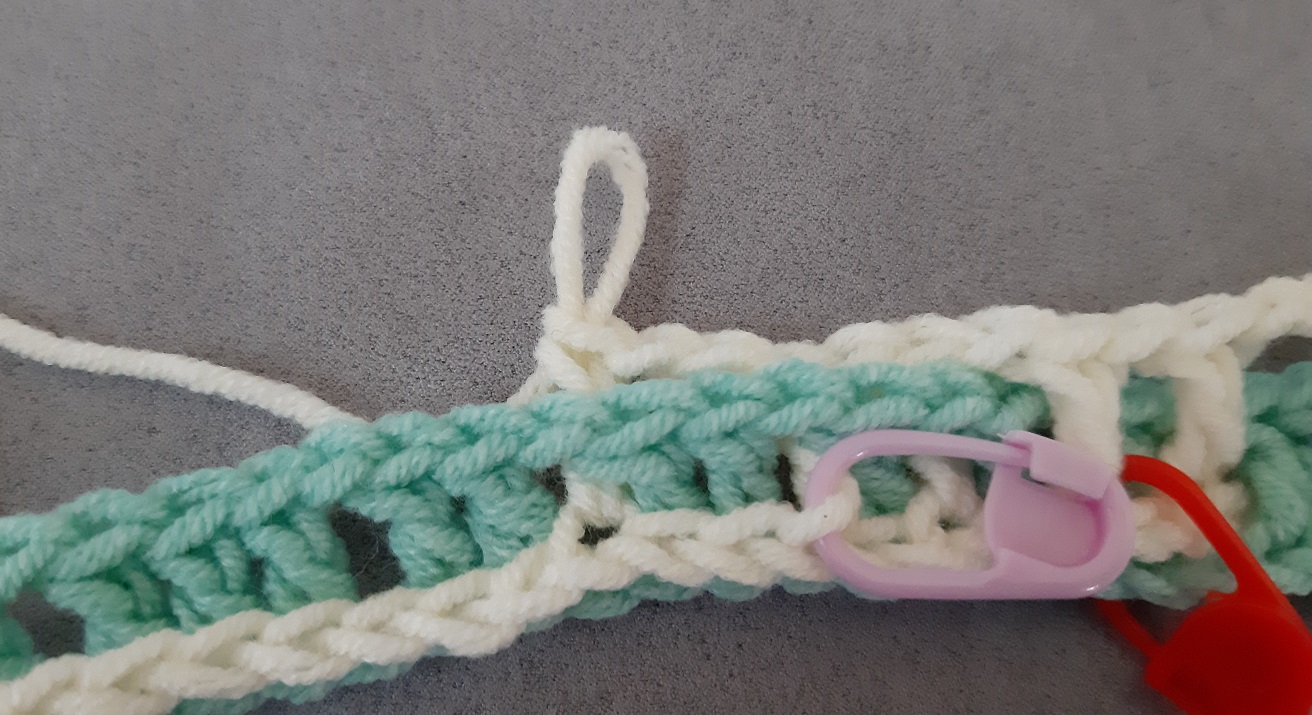
Pull the tail of the setup in color 2 a little bit to the left. You can now easily identify the stitch that you have to work into. Place a marker into it.
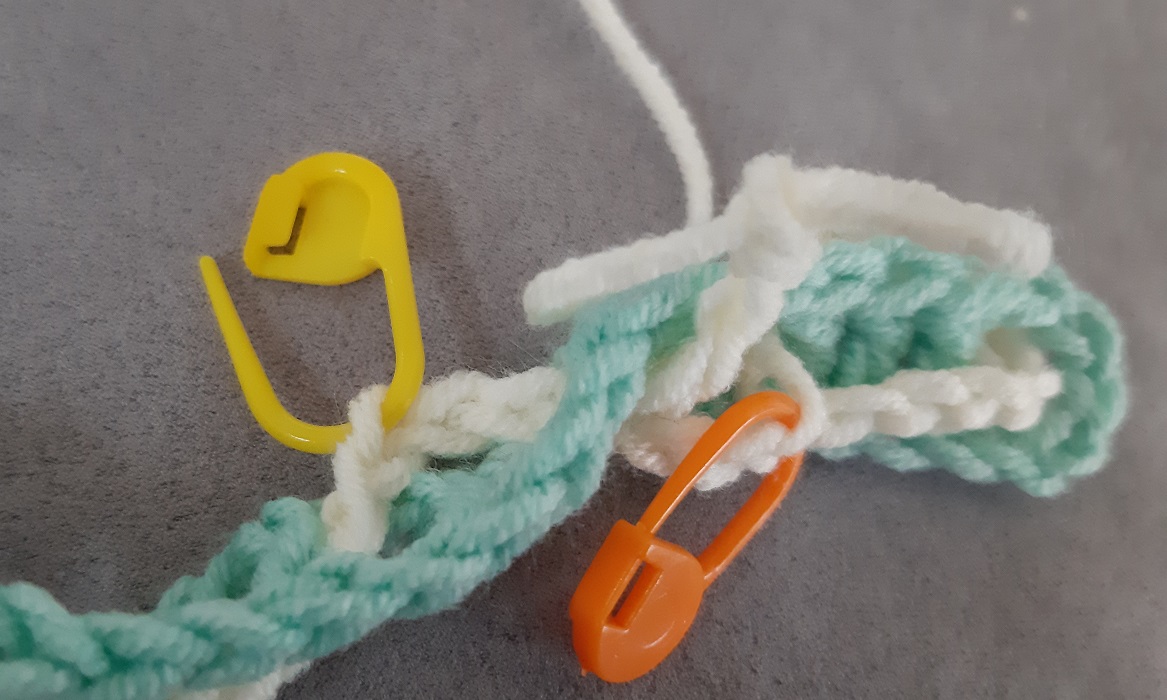 If you can see it clear enough you could also identify this stitch at the back. Here this stitch has the yellow marker into it.
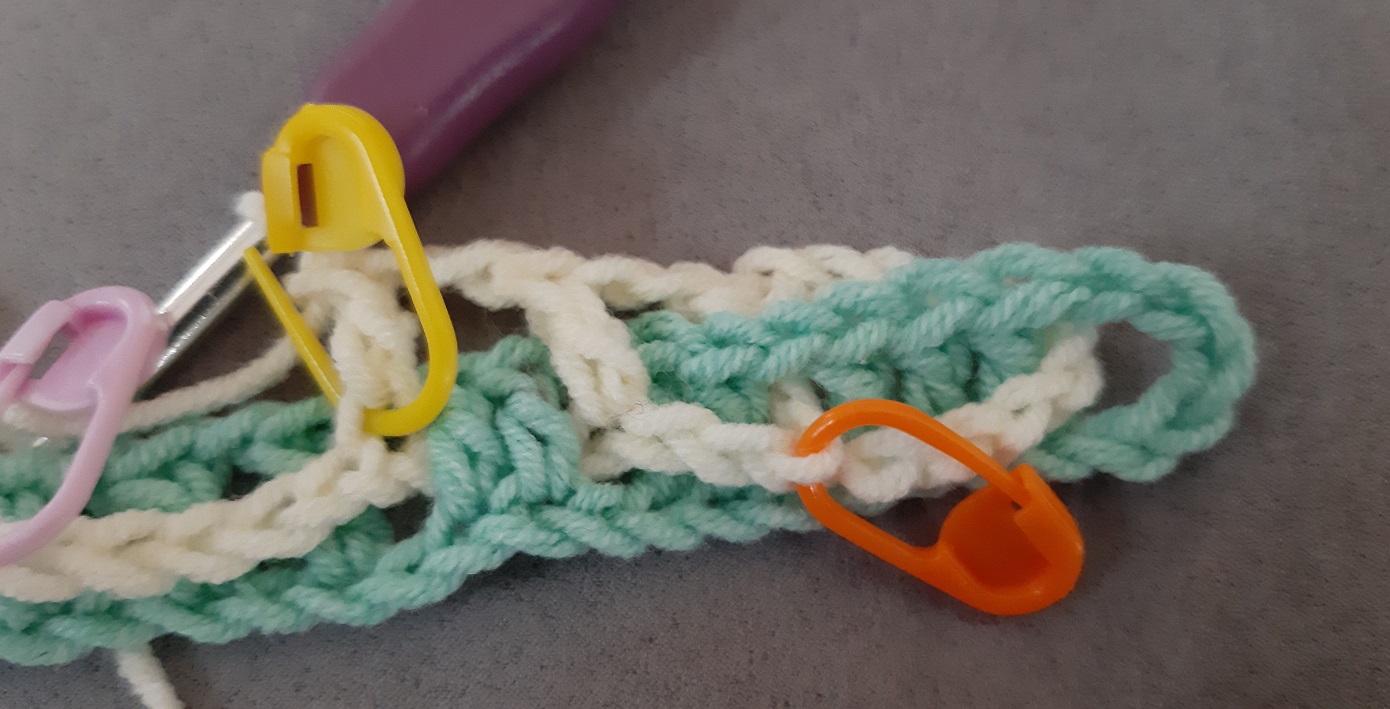 Now bring the marker to the front (because the next dc has to be made at the front) at the correct position. Now you can easily see where the dc has to be made. You can remove the marker after that.
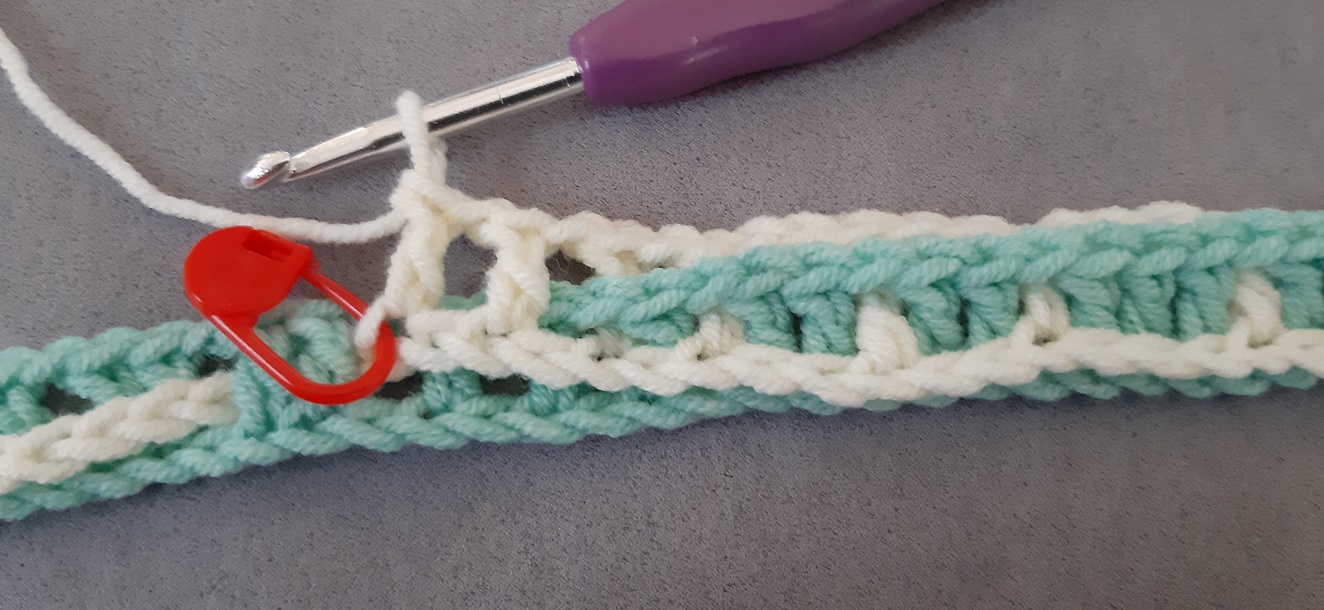
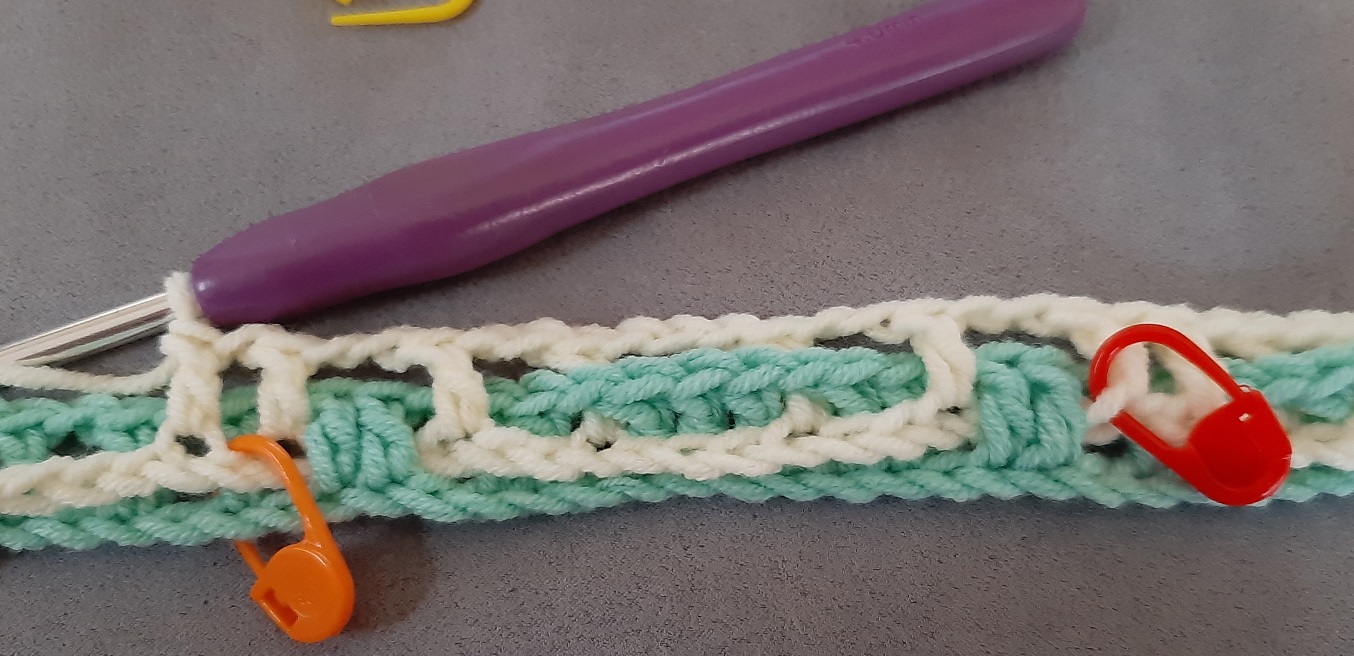
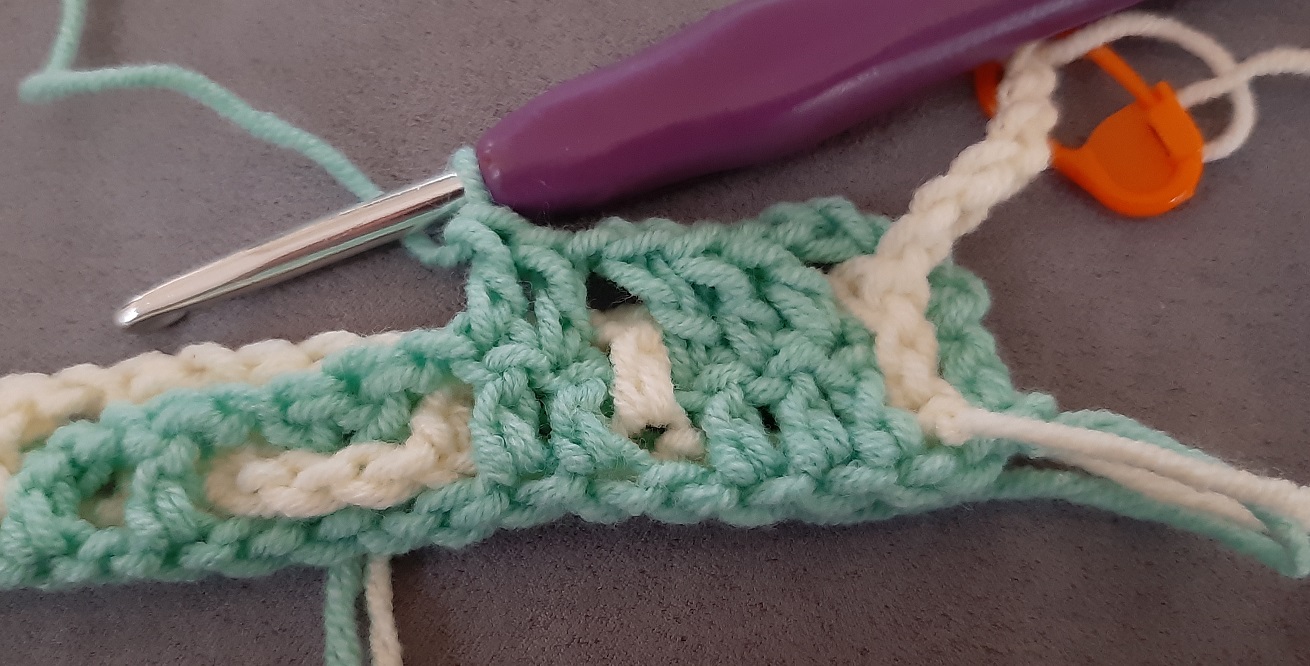
 There still has to be made 1 dc at the front. Here you see just 1 in-between-chain is made, 1 stitch of the setup row is skipped, and the dc is made at the front of color 1. The red marker that you see here, I used that to keep the work in place: the dc stays at the correct opening of the correct 2 clusters this way. You don’t have to do this, but I just find it easier to work correctly.
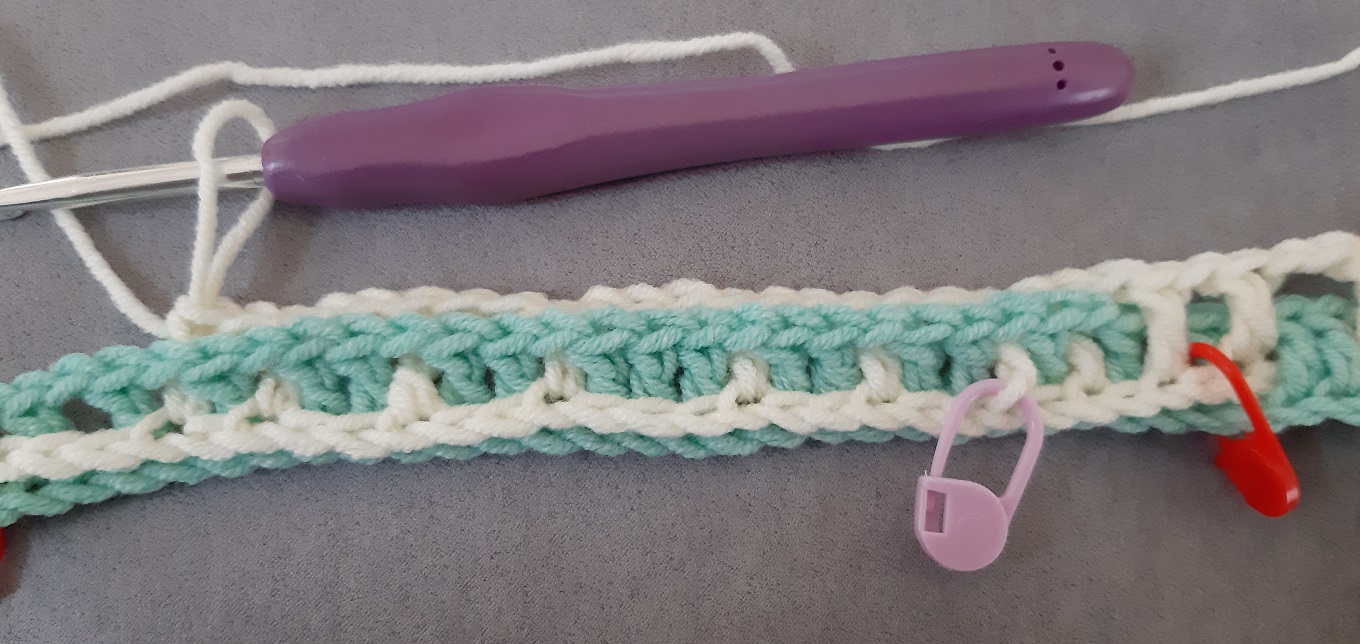
 The next instructions say b 8x. Here the first dc is crocheted at the back. Again we only had to make 1 in-between-chain, skip 1 stitch of the setup row and crochet the dc at the back.
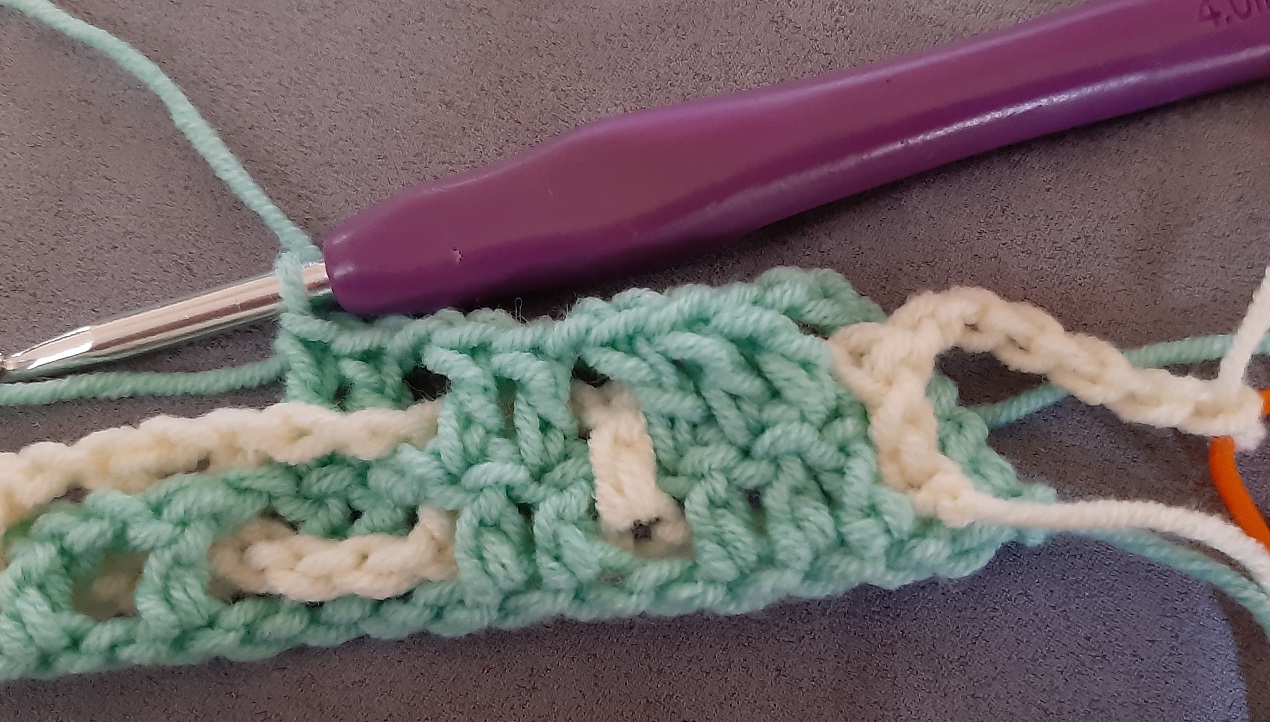
 Again 1 dc at the back after 1 in-between-chain. Here you see that you have come to a marker of the setup. The dc that is made just before the set c2-c2-c3-c2-c2 clusters, is made at the marker. So this way you can check if you didn’t make a mistake before it (for example skipped too many or too little stitches).
 Here we pass a cluster of 2 dc’s again, so there were made 2 in-between-chains, 2 stitches of the setup were skipped, and a dc was crocheted at the back.
 Again like the previous step.
 Here we pass a cluster of 3 dc’s, so there have been made 3 in-between-chains, 3 stitches of the setup were skipped, and a dc was crocheted at the back.
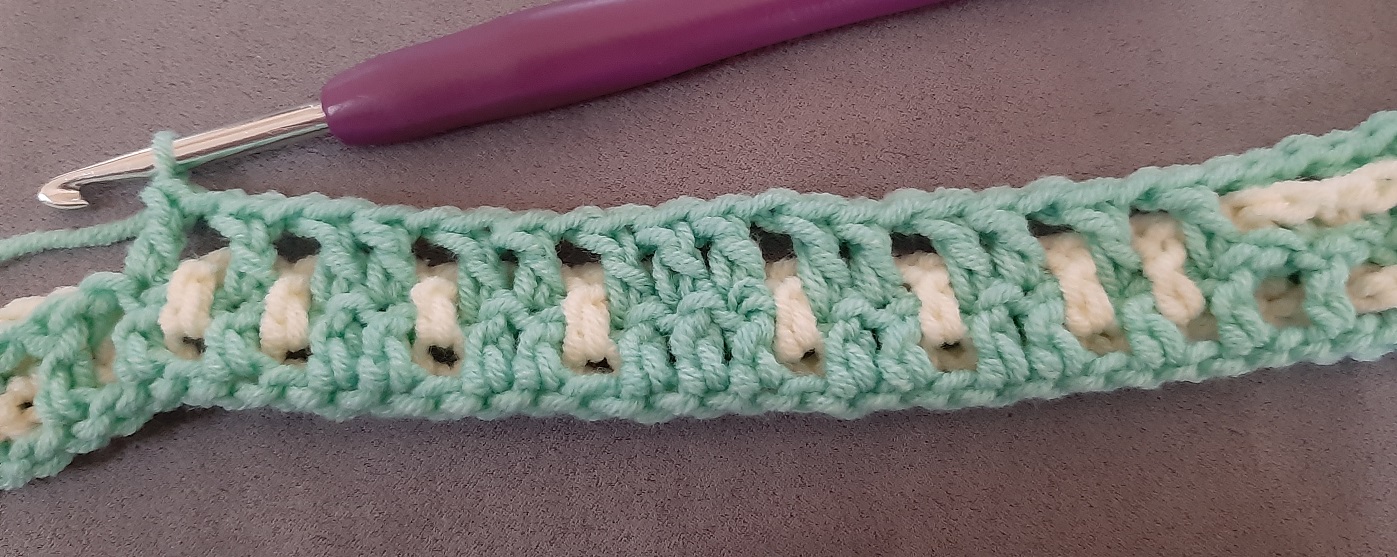
 8 dc’s at the back have been made.
 Here the first 2 dc’s of f 3x. Do you see that the dc is done again at the marker ? Just before the c2-c2-c3-c2-c2 clusters.
 3rd Dc front.
 and then b 2x.
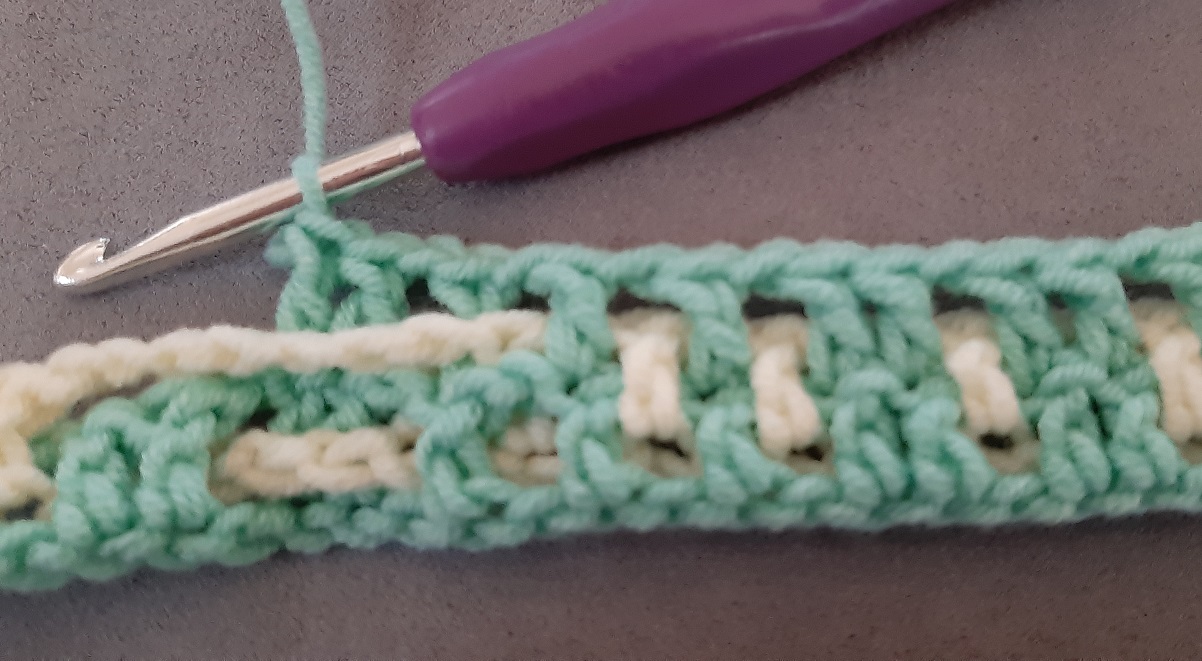
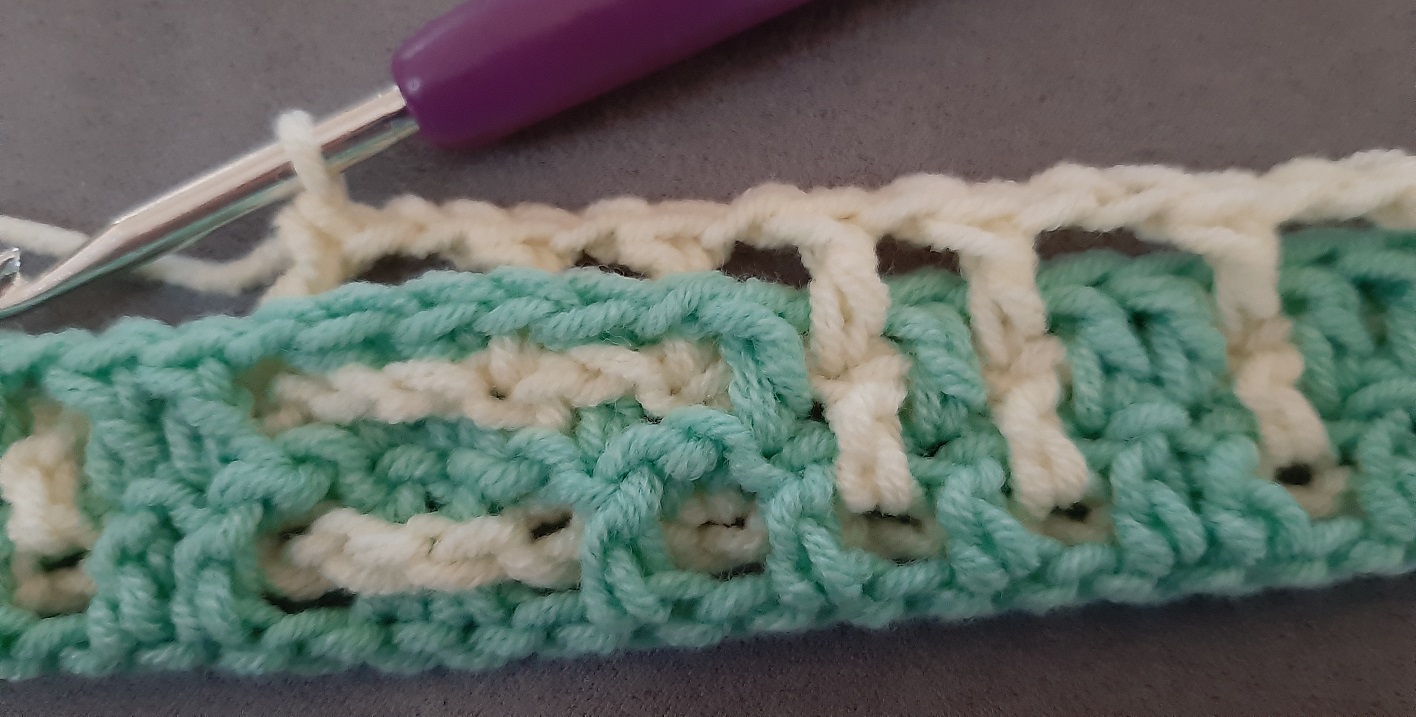
 And again f 3x.
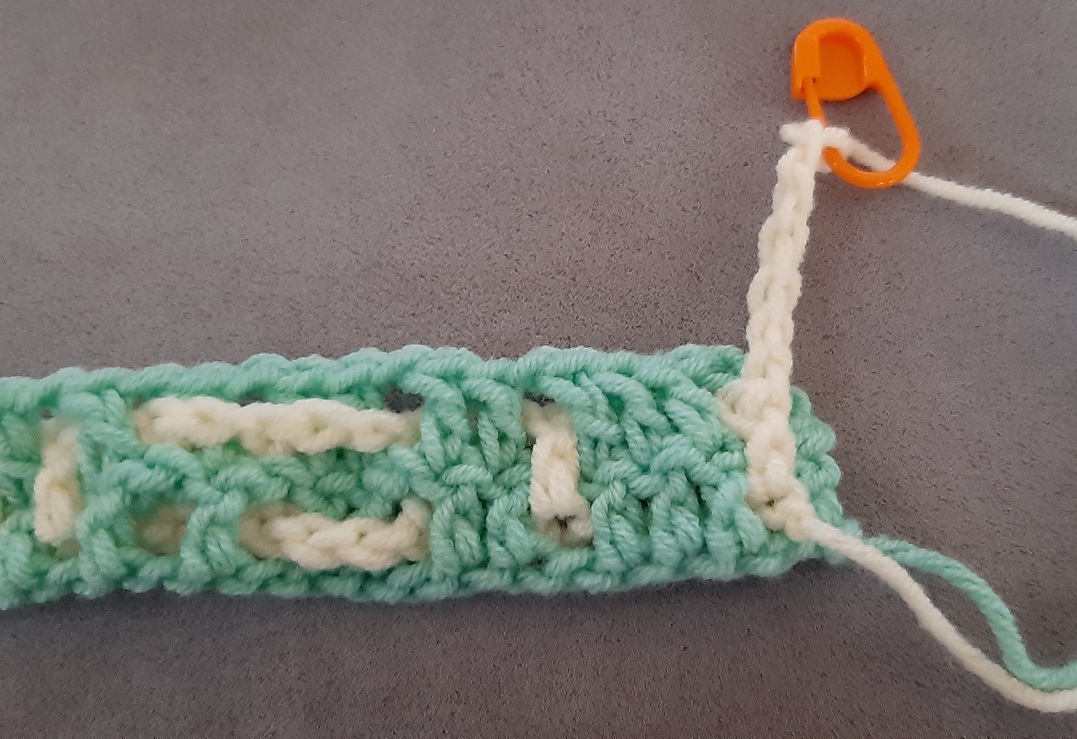
 And we are finished with row 1b!
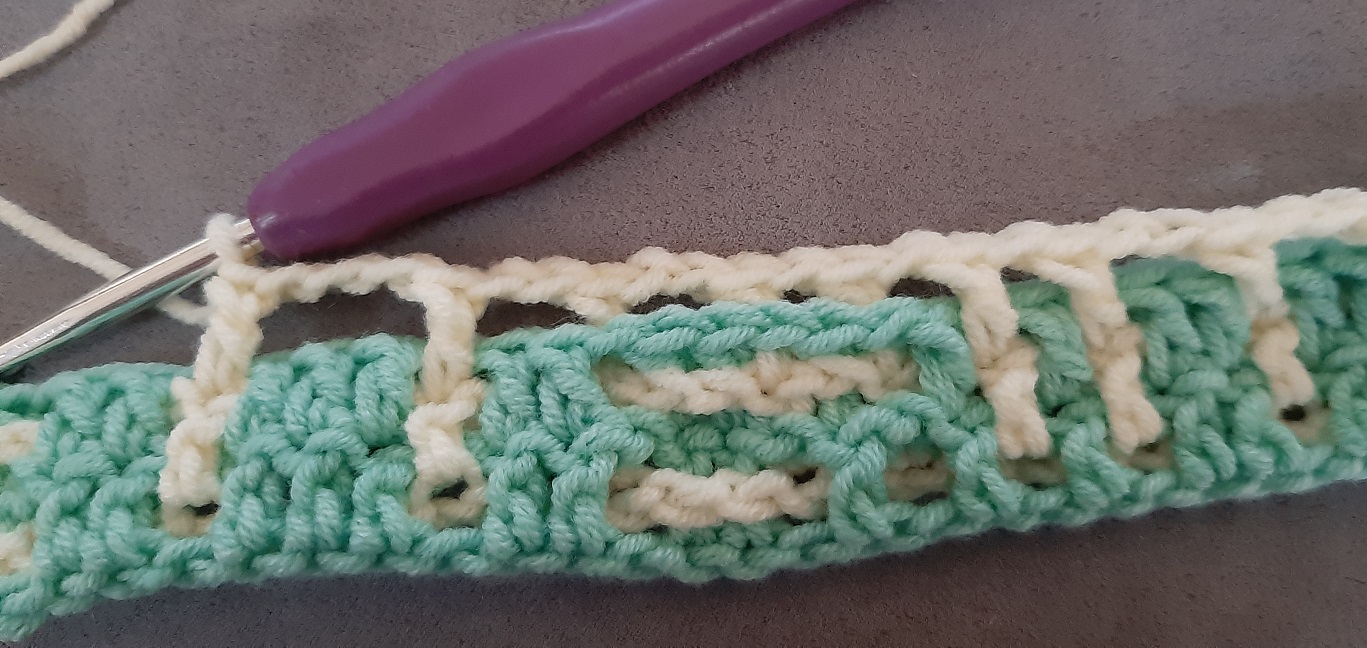
Row 2a
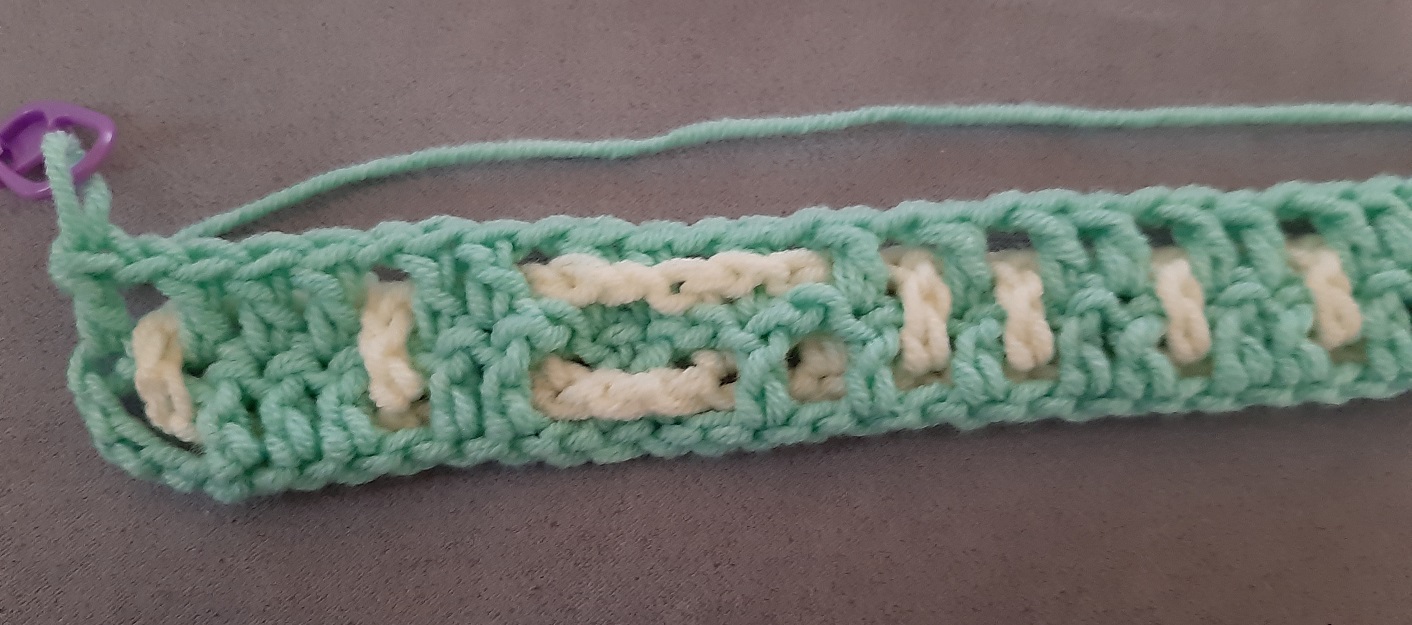
Row 2a – back: color 2 to front, side st, f 2x, *(b 2x, f 9x, b 2x, f 3x)* 2x, b 2x, f 9x, b 2x, f 2x, side st
I already made the 6 turning chains in color 2. I put these to the front, following the instructions: color 2 to front. And the side stitch in color 1 is crocheted with the in-between-chain: 4 turning chains.
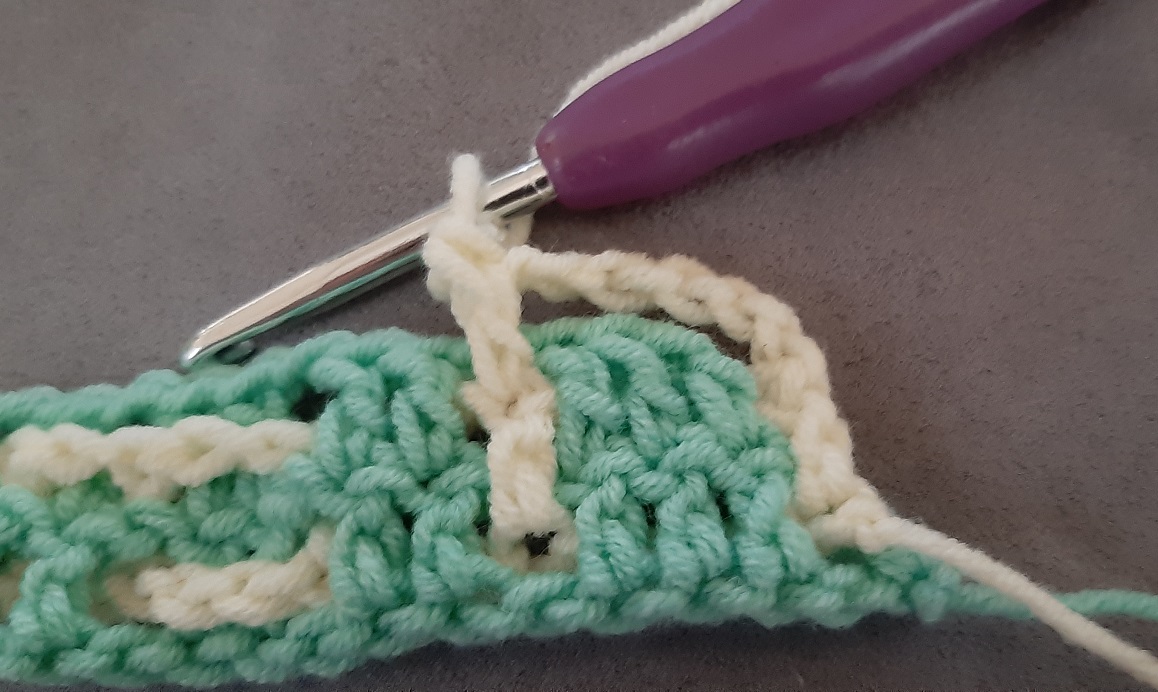
 The instructions won’t mention any longer the number of dc’s in the clusters! You can just easily identify this from the row below! It now is just about crocheting back or front, and looking at the row below. So if it now says f 2x, then you know you have to crochet 2 clusters at the front. With the first cluster you can see that this were 3 dc’s in the row below of color 1, and that remains 3 dc’s!
The rule for the a-rows were that you only had to make 1 in-between-chain. Now you see why that is, because you only have to go past 1 dc of color 2.
 The next cluster also has to be done at the front, and that is a cluster of 2 dc’s.
 After tjhat b 2x, so this is the first cluster at the back.
 Here the 2nd cluster (1 dc) that is done at the back.
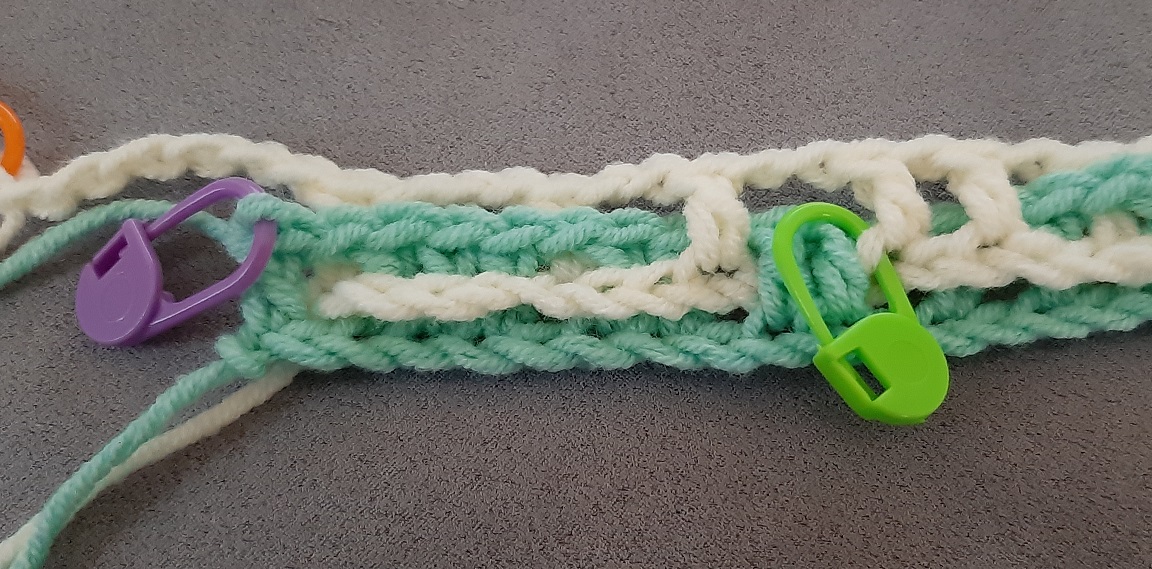
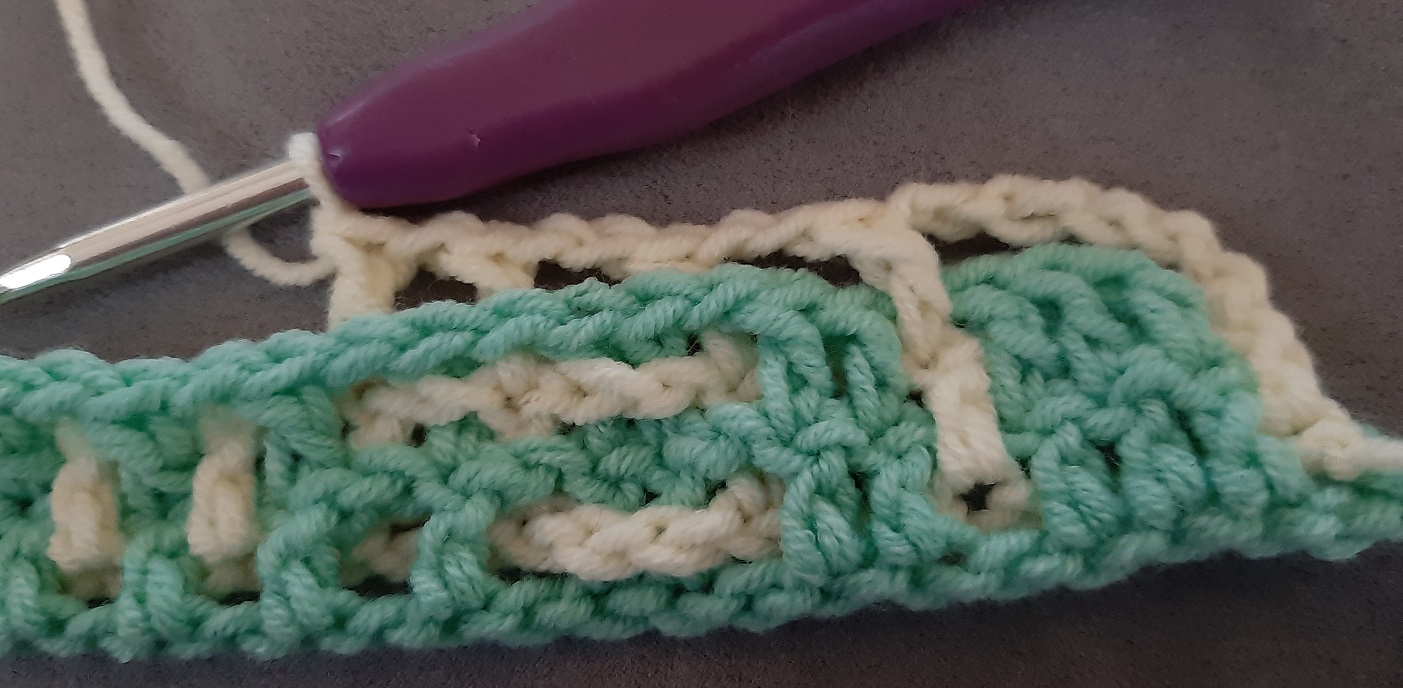
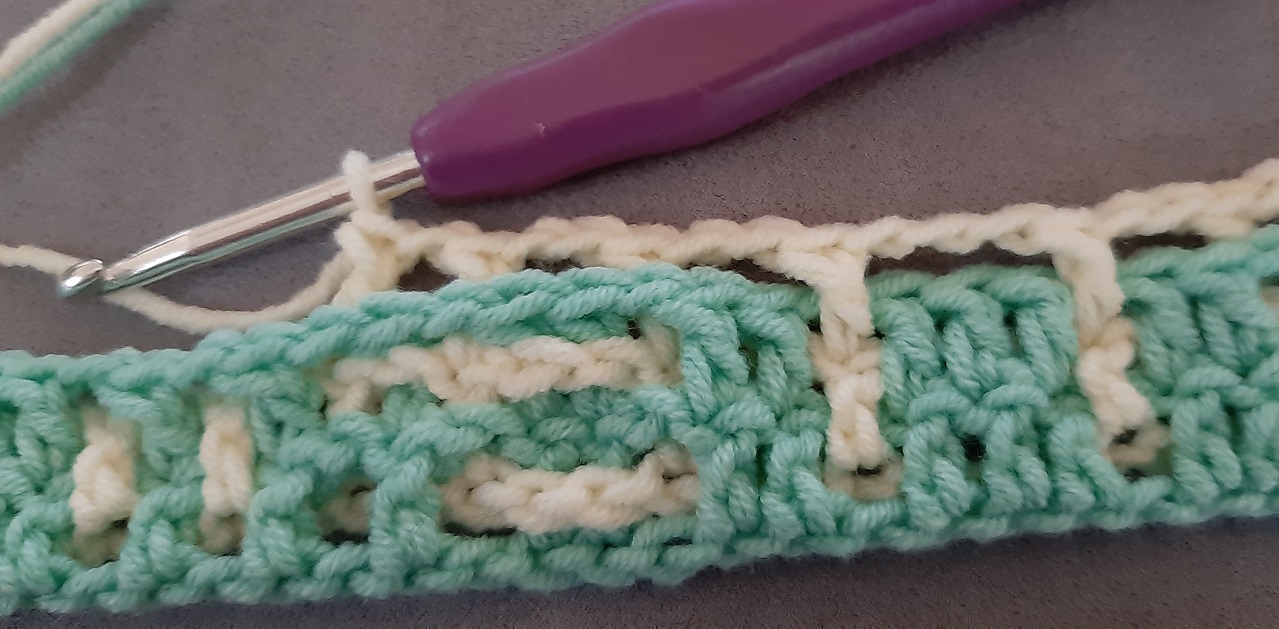
 After this f 9x. Open the picture to see it fully.
 Then b 2x.
 And f 3x.
 Row 2a is now finished.
Row 2b
Row 2b – back: f 2x, *(b 3x, f 8x, b 3x, f 2x)* 3x
Here also you will not get instructions about the number of in-between-chains! Look at the number of dc’s of the clusters of color 1, and then you know how many in-between-chains you have to make. You don’t have to skip stitches anymore, but just work into the top of the dc’s of the previous row in color 2.
Here you see the start of row 2b. The first 6 chains (3 for the dc plus 3 for the 3 in-between-chains that pass the first cluster) were already made, and they are at the front, correctly as it was meant to (if this is not the case, you did something wrong at the start of row 2a with following the instruction where to place color 2). So this is the first dc at the front.
 And here is the 2nd dc front.
After this 3 dc’s back: b 3x.
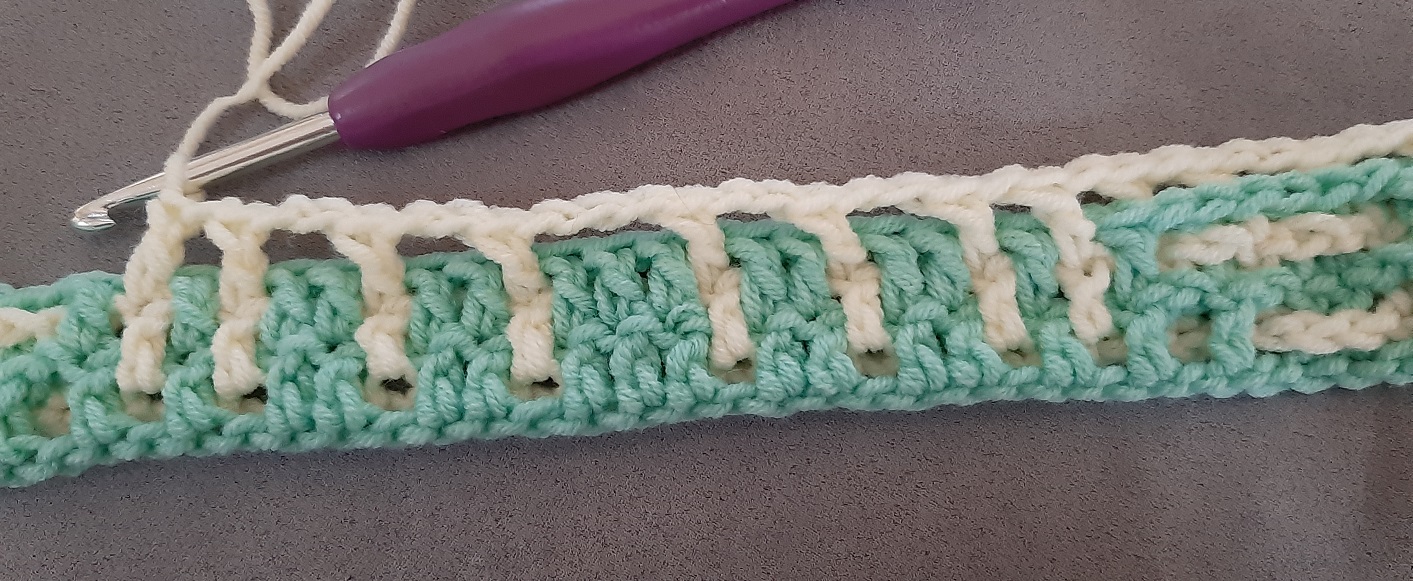 And 8 dc’s front: f 8x. See again how the number of in-between-chains match the width of the clusters of color 1!
 b 3x.
b 3x.
 f 2x.
f 2x.
 And again b 3x.
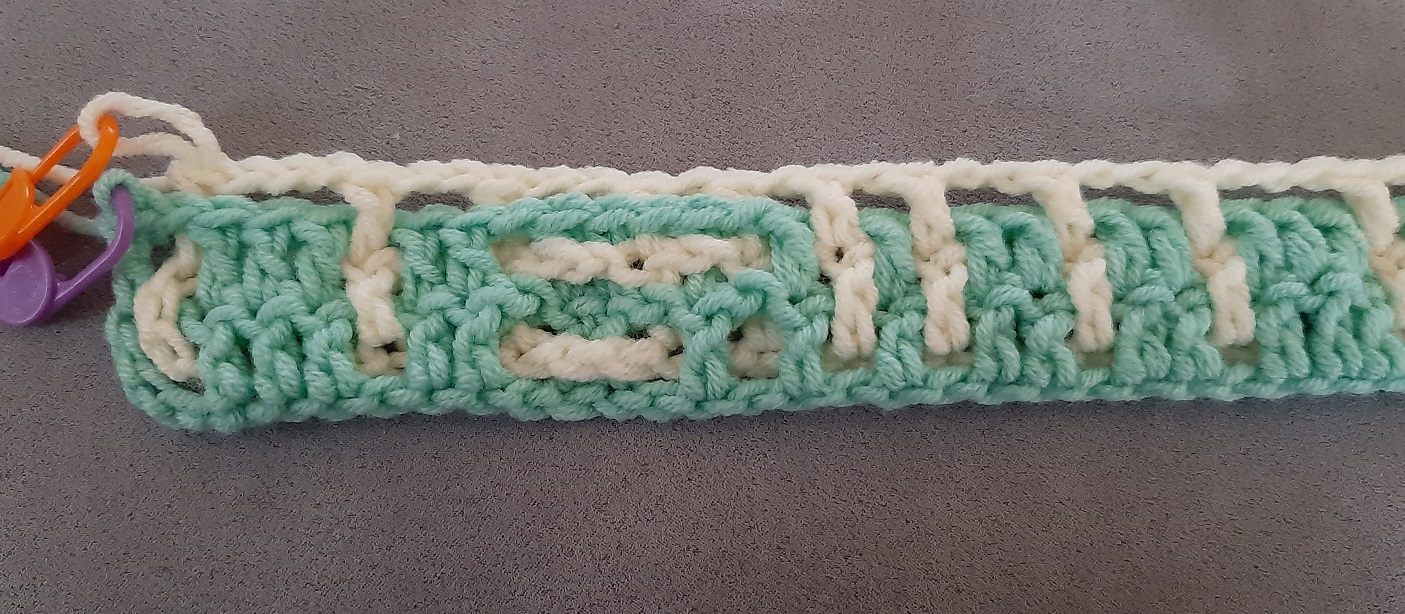
And finished!
So far this tutorial
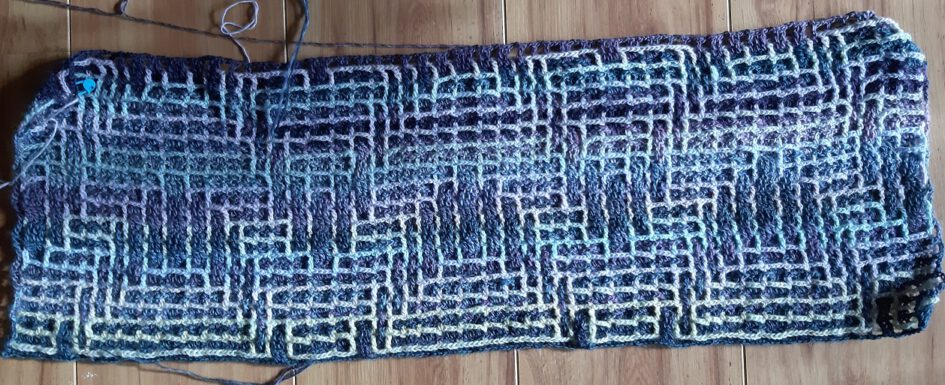
The rest of the pattern is available on Ravelry: https://www.ravelry.com/designers/the-craftsteacher. The pattern of the shawl at he start of these pages is called ‘The Arches’. It is crocheted just a tiny bit different than in this tutorial, so that it results in a very airy piece, but this is described clearly in the pattern. When you have followed this tutorial, it is no problem at all to crochet the shawl if you already have interwoven crochet experience.
See the links at the first page for the videos, then success will be guaranteed.
And, soon I also hope to introduce double clustered interwoven crochet, where both colors will get clusters of 1 or more dc’s. So keep an eye out on the website, YouTube (subscribe to my channel: https://www.youtube.com/c/TheCraftsteacher) and my facebook-groups for the announcements!